
Coming along way from the German folklore, Hansel and Gretel, making gingerbread treats for the household during the holiday is a popular tradition. In the U.S and many parts of Europe, families dedicate a day to creating unique and personalized gingerbread houses to get into the Christmas spirit. It’s a fun family activity which many kids enjoy. When thinking about making a gingerbread house, there are many options, such as either making it from a pre-made gingerbread house kit or from scratch. In this article, we will walk you throw the steps of making a gingerbread house from both. Before we get into the directions, here are some things to consider before creating your gingerbread house.
Jump to any section:
- How long before Christmas should I make my gingerbread house?
- Should i make my gingerbread house from a kit or from scratch?
- Difference between gingerbread kits and scratch
- What you will need to make your house from kit?
- Steps: How to make a gingerbread house from a kit
How long before Christmas should I make my gingerbread house?
You can make your gingerbread house about 2 to 3 weeks before Christmas. A gingerbread house kit tends to keep fresh and safe to eat for 2 to 3 weeks. Making the gingerbread house from scratch, the you can make a gingerbread house about 4 weeks before Christmas and it still will be fresh and safe to eat. If you want to extend the lifespan of your house, consider freezing it.
Should I make a gingerbread house from a kit or from scratch?
Deciding to build your gingerbread house from a kit vs scratch is a night and day process. Depending on how much time you have and the individual who are making the houses with you, one creation process may be better suited for you and your party. Below are the pros and cons of building a gingerbread house from a kit vs from scratch
The Difference Gingerbread House Kits vs Making from Scratch
Making a gingerbread house from a kit is simply faster and cleaner. You do not have to worry about buying all the ingredients, making the royal icing and baking the gingerbread from scratch. This saves significant assembly time, money for all the needed ingredients and clean up time. On average, making a gingerbread house from a kit usually takes about 1-2 hours with minimal cleanup efforts, which makes it a short and sweet activity compared to making it from scratch.
Making a gingerbread house from scratch however, can be a multi-day process. You will need to purchase many ingredients beforehand. The prepping, baking, decorating and clean up can make this activity last up to 3-4 hours depending on how many individuals are making houses.
One of the downsides of making a gingerbread house from a kit is that you lose potential quality bonding time with you and your kids, family or friends when compared to creating everything from scratch. Also, you lose the personalization aspect since most kits have the same look and decorations. We would recommend consider who is making the gingerbread house for the appropriate decision on building it from scratch or from a kit.
If you have children who are a bit younger and are just looking forward the decorating aspect of building a gingerbread house, we would recommend purchasing a kit. There are many kits that will suite the appropriate age levels and vary sizes such as small, medium and large gingerbread houses. If you are making It with older friends and family, creating the house from scratch while eating and drinking can make it a very fun and relaxing activity. Maybe include the children after all the baking has been included.
What you will need to create a gingerbread house from a kit
While kits have almost everything you need to create an easy to assemble and cute decoration. There is a good chance that you may need to purchase additional ingredients.
Here is what you need:
- Gingerbread House kits
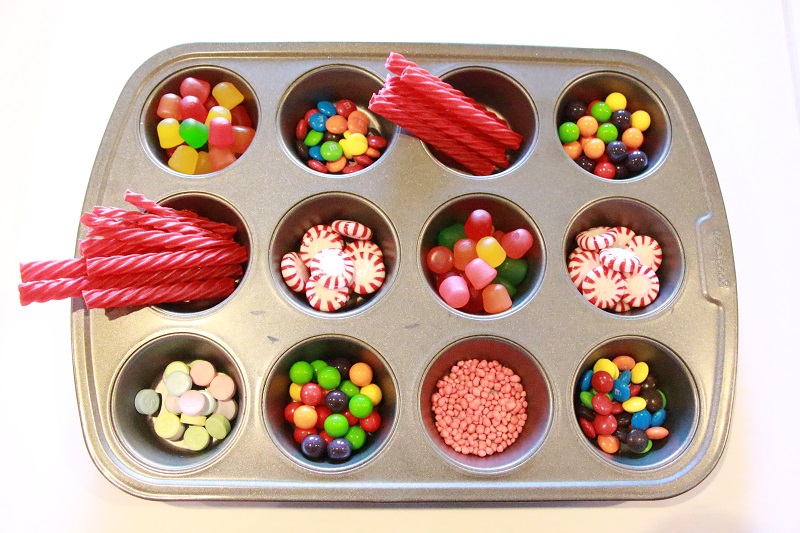
- Additional Candy such as M&Ms, peppermints and candy canes
- Additional Royal icing
- A base for your gingerbread house
- And additional decorations such as fake snow, Christmas trees and lights.
How to make a gingerbread house from a kit.
A gingerbread house kit will give you basic instructions on how to assemble your gingerbread house.
All depending if the kit is pre-assembled or not, these steps may vary. For some kits, they do not give enough icing or candy. We found the main issue with some kits is that there wasn’t enough icing. To make your own royal icing from scratch, please review our section here:
The steps below are for a gingerbread house that comes “un-assembled.”
Directions on how to make a gingerbread house:
- Take out all the needed materials – you need the kit, candy, icing, a base for the house and additional decorations. Make sure you chose an area that has enough space for all of these
 2.Read the kit directions that come with the kit – While its very straight forward on how to build a gingerbread house, some of the kits may have some minor details and tips such as knowing how long to hold the gingerbread pieces together while constructing the house.
3. Find some gingerbread house inspiration and ideas – Before making and decorating your gingerbread house, find some fun and easy gingerbread decorating ideas. This will give you an vision to work towards. Having an idea before you start decorating on the fly is a sure way to come out with beautiful looking gingerbread house.
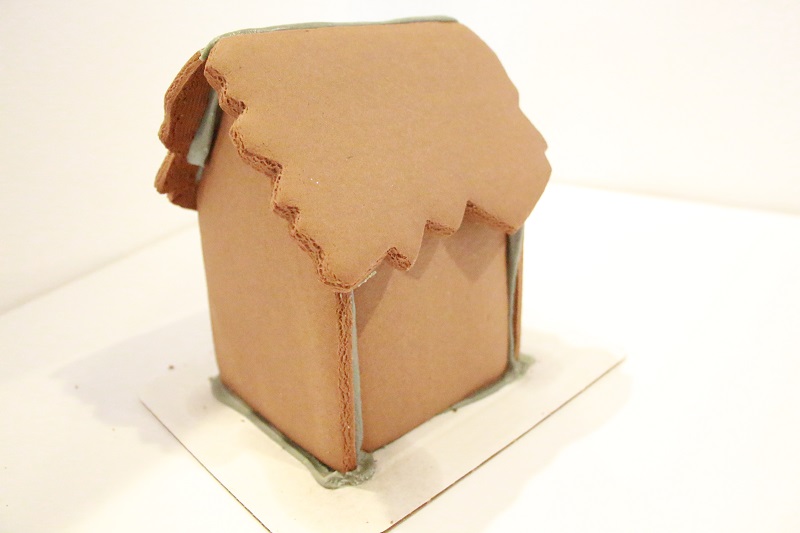
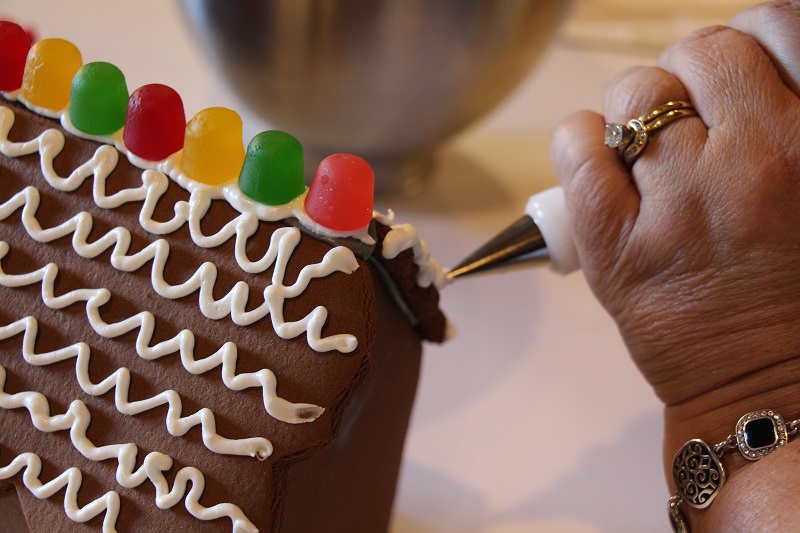
4. Start decorating the pre-made gingerbread pieces. While it may seem natural to want to decorate after the house has been constructed, we have found that decorating all the pieces at a flat angle vs being constructed is way easier and leads to a more polished and clean design. If you are working with kids, either way is fine; as long as they have fun. Follow your design or begin to free hand your work.
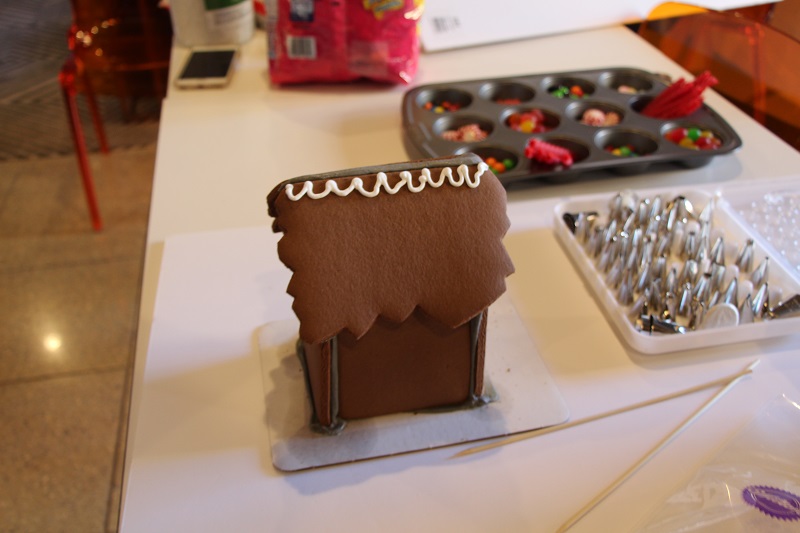
 5. Start building your house by icing the sides of the pre-made gingerbread. Start with the base of the house, frost the edges and place and hold the wall pieces for 45+ seconds to make sure the piece sticks. The pre-made royal icing will get hard and hold the piece together. Do this step for all four walls. Once the walls have solidified, add your icing to the roof portion of your house. Hold the pieces down for 45+ second (gently) and wait for them to hard.
6. Let the gingerbread house fully dry and harden. After you assemble and decorate your house, we highly recommend waiting about 30-45mins after to ensure the house is ready for transportation.
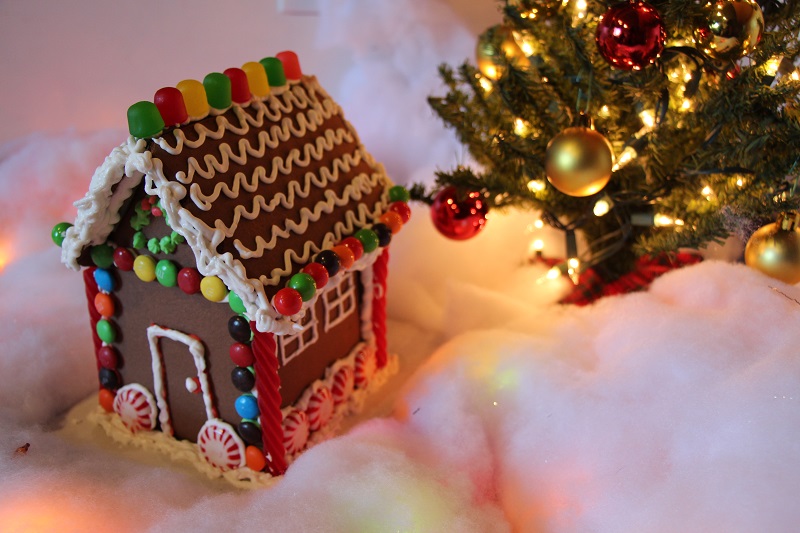
7. Add your additional décor and make it a centerpiece. After the gingerbread house has dried. Add fake snow, Christmas trees, lights and other Christmas décor to make it standout. Then place it on a dinner table or on the mantle as a Christmas centerpiece everyone can enjoy.
In the next week, we will add instructions to this blog post on how to make a gingerbread house from scratch.