
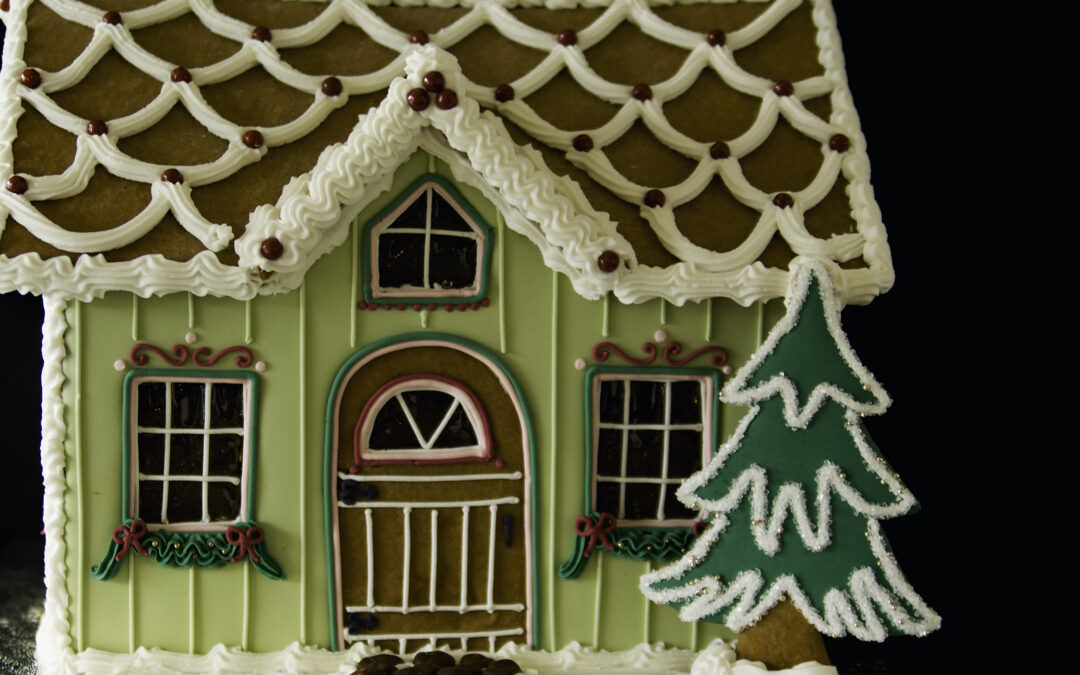
A Grinch house is not a harder build than a normal gingerbread house. It is the same walls and the same roof. What makes it go wrong is the colour, and almost nothing written about it will tell you that.
Search this and you get shops selling licensed kits, pinboards full of finished houses, and one tutorial. Plenty of pictures of the destination, almost nothing about the road. The two decisions that actually determine whether yours looks like the character or looks like a vaguely green cottage are which shade of green you mix and when you mix it.
This covers both routes to getting one, buying the themed kit or converting a plain one, and then the parts nobody writes down: how to get a green that reads as Grinch, why it will look different in the morning, how to build the crooked Whoville lean on purpose, and why the red keeps ruining the green.
If you are building with a small child, skip to the last section first. The advice changes completely and the usual version of this build will not work.
We will start with the fork, because it decides everything after it.
1. Buy the Kit or Convert a Plain One
For most people, converting a plain kit gives a better result than buying the licensed one.
That is not the obvious answer, so here is the reasoning. A themed kit sells you shapes and printed panels, and it makes the colour decision for you. The green in the box is whatever the manufacturer chose, usually a safe mid green, and you cannot change it. Convert a plain kit and you choose the shade, which is the one variable that decides whether the finished house reads as the character.
Buying the kit still wins in one situation, which is when low effort is the entire point. There is nothing to mix and nothing to match, and for a busy week that is worth real money.
Converting also wins on availability. Licensed kits are the first thing to sell out, and if you are reading this in December a plain kit that holds together plus a bottle of gel colour is a route that still exists.
Kit or Convert
There are two routes to a Grinch house and most people pick the wrong one for their situation. Answer three questions.
2. Getting the Green Right
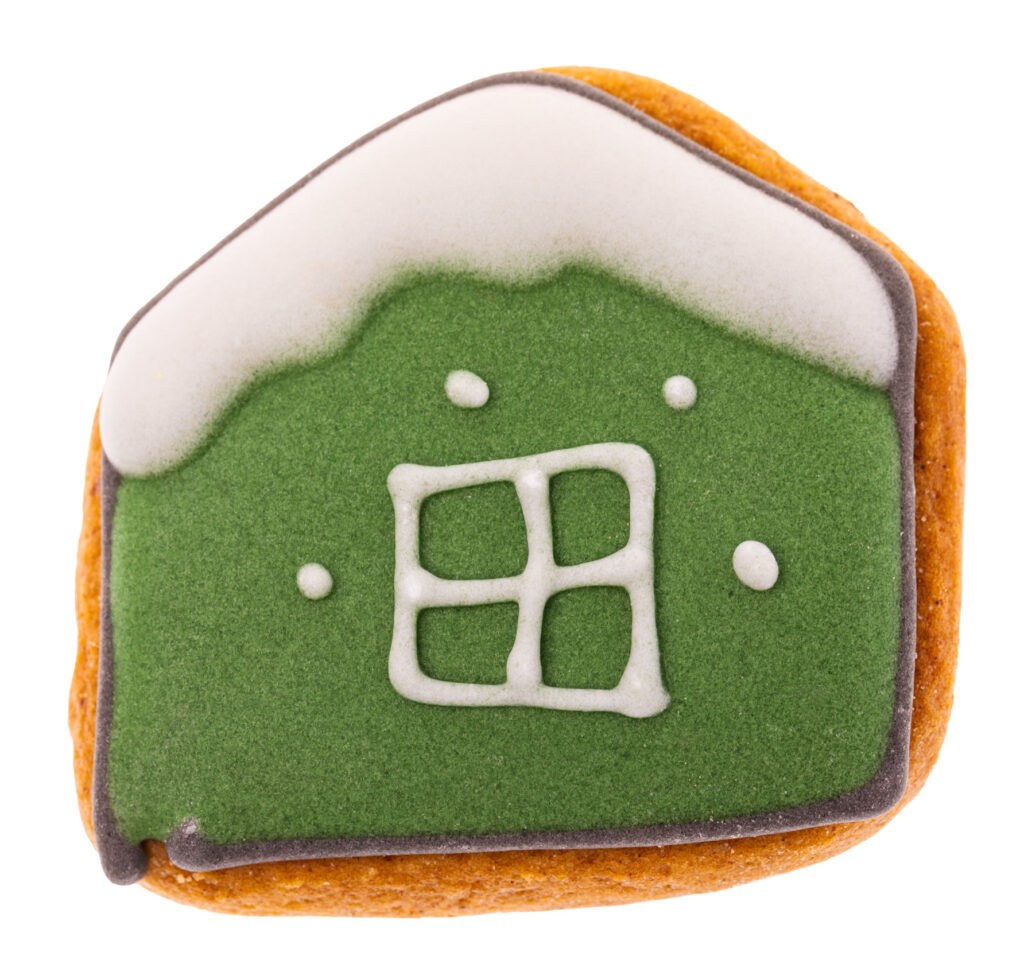
Use gel colour, not liquid, and go deeper than you think you need to.
Liquid food colouring is mostly water. Adding enough of it to reach a saturated green thins royal icing until it will not hold a piped edge, which is a structural problem dressed up as a colour problem. Gel delivers pigment without meaningful liquid, so the icing stays where you put it.
There are three shades worth naming, and each has a different failure attached to it.
- Mint. A pale wash. Forgiving, tastes of nothing but sugar, and does not read as the character unless your red accents are doing the storytelling.
- Grass. Clearly green, no bitterness, no staining. The right answer more often than people expect.
- Full Grinch. Deep and saturated, and the only shade that reads instantly. It also needs a lot of gel, which is where the problems start.
Deep green is expensive in ways that are not about money. Heavily coloured icing can turn bitter, and it stains mouths, fingers and tablecloths. Taste it before you commit a whole batch, because there is no fixing it afterwards.
If you only have blue and yellow, a workable green leans yellow, roughly two parts yellow to one part blue, and you add the blue last a drop at a time. Both are certified colour additives approved for use in icings, and both must be declared by name on the label, so you can check what you are buying.
Keep some icing white. Structural joints do not need colour, coloured icing is harder to judge for stiffness, and you will want white for snow and for the eyes of anything you pipe.
Make it with a proper royal icing recipe rather than colouring a pouch, because pouch icing is soft by design and colouring it does not make it any stiffer.
The Grinch Green Ladder
Pick the shade you are after and how much icing you are colouring. Every rung has a different failure attached to it, and the deeper you go the more the failure matters. Gel brands vary a lot in strength, so treat every number here as a place to start and not as a recipe.
Where to start
3. Your Green Will Look Different Tomorrow
Colour icing the day before you need it, and judge the shade after it has rested, not while you are mixing.
Royal icing colour deepens as it sits. Mix to exactly the shade you want and you will wake up to something darker than you intended, which is fine if you planned for it and disappointing if you did not. The practical version is simple: mix a little lighter than your target, cover the bowl, and look again in an hour or two.
This is also why matching a second batch mid-build is so hard. A fresh bowl next to a rested bowl will not match even with identical measurements, because one has had time and the other has not. Mix all your green in one go.
Picture a parent who mixed a perfect deep green on Saturday evening, went to bed pleased, and came down to something closer to bottle green with a grey cast. Nothing had gone wrong. The icing had simply finished doing what it does, and had they mixed two shades lighter the night before, it would have landed exactly where they wanted.
Keep the bowl covered with a damp cloth throughout. Royal icing crusts in about fifteen minutes of open air, and a crust that gets stirred back in leaves lumps that block a piping tip at the worst moment.
4. Building the Whoville Lean
Whoville architecture is crooked, and a crooked house has to be cut crooked. You cannot lean a square house afterwards.
The trick is that the lean lives in the panels, not the assembly. Cut the two side walls as parallelograms rather than rectangles, leaning both the same direction by the same amount, and the house stands up leaning without any joint being under strain. Try instead to tilt a square house during assembly and you get a structure fighting itself, which fails at the roof about twenty minutes later.
Two more details do most of the work:
- Curl the chimney. A chimney that bends is the single most recognisable Whoville feature and it is easy, because a chimney carries no load.
- Exaggerate the roof overhang. A roof that extends further than looks sensible reads as whimsical. A flush roof reads as a normal house painted green.
If you are working from a kit, you can still do this. Trim one edge of each side panel with a serrated knife before you build, gently and with the panel flat on a board. Kit panels are brittle, so accept that you may lose one and buy accordingly.
To cut from scratch instead, our cut your own panels templates give you a square starting point to distort, and building from scratch covers the structural dough you need for panels that will take the trimming.
5. The Red Problem
Red bleeds into green, and it will happen after you have finished and gone to bed.
Deeply coloured icings migrate into lighter icing they are touching while both are still wet. Red is the worst offender, and a Grinch house is mostly a red accent problem: the Santa hat, the heart, the ribbon. Pipe red directly onto wet green and by morning you have a soft pink halo around every red detail.
The fix is timing, not technique. Let the green dry properly, several hours and ideally overnight, before any red goes near it. Red on dry green stays where you put it.
Say you are decorating on the morning of a party and have no overnight. Two workarounds: use red candy rather than red icing for the accents, which cannot bleed at all, or pipe a thin white outline as a barrier and let that set before the red goes on. The candy version is faster and usually looks better.
The same rule applies to any dark colour on a light one, so if you are piping black details, treat them the same way.
6. Candy That Works and Candy That Fights You
The best Grinch candy is red, small and light. The worst is anything heavy, anything that melts, and anything already green.
Green candy sounds like the obvious choice and it is a trap. Against a deep green house, green candy disappears. The house needs contrast, which means red, white and the occasional pink, with the green doing its work as the surface rather than the decoration.
Avoid anything that weeps. Gummies and some coated candies release moisture into icing over a day or two, and on a coloured house that shows as a dark ring. Anything heavy has a second problem, because a saturated green icing that has taken a lot of gel is often slightly softer than plain white icing and holds less weight.
Our guide to which candy actually works covers the weeping and weight problems in detail, and the 45 decorating ideas gallery is worth a look for the shapes before you commit.
7. What the Licensed Kits Actually Give You
A licensed Grinch kit gives you themed printed panels, pre-portioned colour, and no decisions. That is the whole offer, and for some people it is exactly right.
What it does not give you is a deeper green than the manufacturer chose, a crooked build, or any control over the icing that holds it together. Whatever the box ships, make royal icing for the walls, because themed kits are no better than plain ones on the structural side and are frequently worse, since the licence is where the budget went.
Order early if you are going this way. Themed kits are the first to sell out and there is no late-December version of this plan.
If you like this kind of build, the site covers two other themed routes: the Hogwarts castle, which is the most demanding licensed build on any shelf, and the haunted house version, which uses the same convert-a-plain-kit method with a completely different palette.
8. Doing It With Young Children
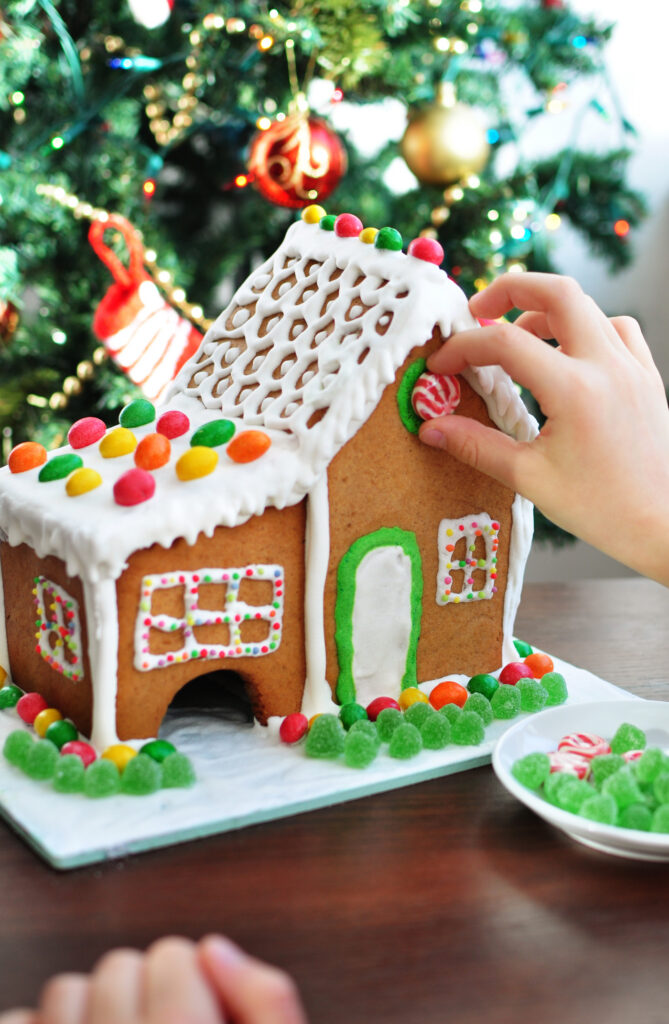
Under about six, change the plan. Start from a house that is already built, use the grass shade rather than full Grinch, and let them spread the icing with the back of a spoon instead of piping it.
Each of those has a reason. Small children cannot assemble walls and will not wait for icing to set, so a pre-built house removes the only step that can fail. The grass shade does not stain hands, mouths or the tablecloth, which matters more than the shade being perfect. And spreading is a motion a four-year-old can do well, where piping is one they cannot.
Picture a five-year-old handed a piping bag of deep green icing. Within a minute the bag is squeezed from the middle, the tip is blocked, their hands are green, and an adult is doing the house while the child watches. The same child with a spoon and a bowl of grass-green icing covers the whole roof happily and calls it theirs.
Colour additives are worth one thought here. They are approved for use in food, though the FDA notes that some people are sensitive to certain certified colours, Yellow No. 5 among them, which is one of the two colours in most greens. If you are building with other people's children, the grass shade uses far less of it.
Our tips before you start covers the general young-children version of a build, and mini houses are worth considering, because a smaller house finishes before attention runs out.
Build Your Grinch House With Best Gingerbread Houses
Get the green right and the rest of this build is an ordinary gingerbread house. Mix it deep, mix it early, keep the red away from it until it dries, and cut the walls crooked on purpose.
If you are converting rather than buying the licence, the starting point matters, so our guide to the best gingerbread house kits rates all 31 we have reviewed on how well they hold together, which is the quality that survives being repainted green.