Best Gingerbread Houses is a participant in the Amazon Associates program. As an Amazon Associate
we earn from qualifying purchases, at no extra cost to you. A commission never affects what we recommend
or how we rate it.
If you look up how to make a graham cracker gingerbread house, you will find two
sets of instructions that disagree with each other about almost everything. One says royal icing and an
hour of waiting. The other says melted white chocolate and five minutes. One says saw gently with a
serrated knife. The other says press straight down and never saw.
Both are right. They are describing two different builds, and neither says so.
Everything that looks like a contradiction between them comes from one decision made silently at the
start, which is what you are sticking the walls together with. Get that decision right for your
situation and the rest of the afternoon follows from it.
We have spent a long time on this site cataloguing kits, templates, dough recipes
and icing consistencies, and graham cracker houses are the version we recommend most often to people who
have young children and one free afternoon. They are cheap, they are fast, and nothing about them is
precious. This is how to make one that stands up, which crackers to buy, how to do it for a whole
class, and how long you actually have before it sags.
A note on what this page is not. We have not run a controlled test of every
cracker brand in a lab. Where a specific claim comes from another builder’s kitchen, we say whose
kitchen it was.
Pick Your Glue First

This is the decision the whole build hangs on, and there are three realistic
options. They are not interchangeable and they do not fail in the same way.
| Glue | Sets in | Strength | Best for | The catch |
|---|---|---|---|---|
| Royal icing | 1 to 2 hours before the roof, overnight to fully cure | Strongest, and the only one that gets properly hard | A house you want to keep on the table for days, or older children who can wait | Contains raw egg white unless you use meringue powder. Slow |
| Melted white chocolate | About 5 minutes at room temperature, 2 in the fridge | Strong enough for a small house, and it stays slightly soft | Small children, short attention spans, one afternoon | Softens in a warm room. Re-melts if you leave it near a radiator |
| Canned frosting | Never | None | Sticking sweets onto a house that is already standing | It is fat based, so there is no water in it to leave. It will not harden at any point |
The reason royal icing and white chocolate behave so differently is that they set
by opposite mechanisms. Royal icing dries: water evaporates out of it and leaves a rigid sugar structure
behind, which takes hours because the water has to physically leave. White chocolate cools: the fat in it
recrystallises as the temperature drops, which takes minutes because nothing has to go anywhere. That is
the whole explanation for every timing disagreement you will find on this topic.
Canned frosting is in the table only because people reach for it. It is fat based
like the white chocolate, but unlike white chocolate it never solidifies at room temperature, so there is
no point at which it becomes structural. It is genuinely fine for pressing sweets on afterwards.
Pick Your Glue
The two best guides on this topic give opposite instructions because they quietly made different choices here. Three questions and this makes the choice for you.
General guidance for planning, not a guarantee. Set times shift with room temperature and humidity. Royal icing made with raw egg white is uncooked at every stage: meringue powder is the substitute where anyone vulnerable is eating it. Nothing you select is stored or sent anywhere.
Picture a Saturday with a four year old and a six year old at the table. The four
year old will lose interest in roughly twenty minutes, which is less time than royal icing needs to hold
a wall. White chocolate is the right answer there, not because it is better, but because it finishes
inside the window you actually have. The same two children on a rainy Sunday with a grandparent helping
could easily do the royal icing version and get a sturdier house out of it.
If you go the royal icing route, our
royal icing
recipe has both the egg white and the meringue powder versions, and the meringue powder one
removes the food-safety question that comes with an uncooked egg. That matters more than usual here,
because graham cracker houses are overwhelmingly built by and for small children.
FDA
guidance is to use pasteurized egg or egg products in anything served raw.
Which Graham Crackers to Buy
Buy the cheap ones. This is counterintuitive and it is the most practically useful
thing on this page.
The blogger behind It’s Always Autumn, who has built these repeatedly, reports
that Walmart’s Great Value crackers cut cleanly while Honey Maid tend to snap in half. We have not tested
that ourselves, so treat it as her finding rather than ours, but the mechanism makes sense: a denser,
crisper, better-made cracker fractures along its own lines when you put a blade into it. A softer, more
crumbly one deforms slightly instead of splitting.
You are not eating these. You are using them as building material, and the
qualities that make a good snack cracker are the opposite of what you want in a wall panel.
On quantity, plan four to five full crackers per house. The two most detailed
guides differ, four in one and five in the other, and the difference is whether the house has a separate
base or sits on a plate. Buy more than you need regardless, because you will break some.
If you want a bigger or more ambitious shape than a cracker rectangle allows, that
is the point at which you have outgrown this method. Our
free
templates are cut for real gingerbread panels.
How to Cut Them Without Shattering
Here is where the two guides disagree most directly, and the resolution is that
the right technique depends on the cracker in your hand.
A serrated knife with a gentle sawing motion works on a softer cracker, because
the teeth bite and remove material rather than pushing. Straight-down pressure works on a crisper, more
brittle cracker, because a clean brittle fracture propagates neatly and sawing just vibrates the whole
thing to pieces. Neither guide is wrong. They are holding different crackers.
- Score first. Draw the blade along your cut line with almost no pressure to make a groove.
- Then commit. Either saw gently along the groove, or press straight down through it, depending on how the cracker felt when you scored it. If scoring produced crumbs, saw. If it produced a clean line, press.
- Support both sides. A cracker cantilevered off the edge of a worktop will snap under its own weight before your knife reaches the end.
- Cut on a flat board, never in your hand.
One more trick worth knowing, from Restless Chipotle: in a very dry kitchen you
can let the crackers sit out briefly to pick up a little humidity before cutting. A fractionally softer
cracker is much less likely to shatter. Do not overdo it, because a genuinely soft cracker will not hold
a wall.
For the roof peak, cut two of your wall crackers into a triangle by taking a
diagonal off each top corner. Cut both at once, stacked, so they match. Two mismatched gables is the
single most common reason a graham cracker roof will not sit flat.
What You Need
Everything for one house, about an afternoon. Pick your glue first, because it decides how long you wait.
Materials
- 4 to 5 graham crackers per house, plus spares, because some always break while you cut them
- Glue: 1 batch of royal icing made with meringue powder, or melted white chocolate
- Sweets in bowls in the middle of the table
Tools
- A serrated knife and a flat cutting board
- A paper plate or a square of card for the base
- 2 tins to prop the walls while they set
- Piping bags for the icing or the melted chocolate
How to Build It
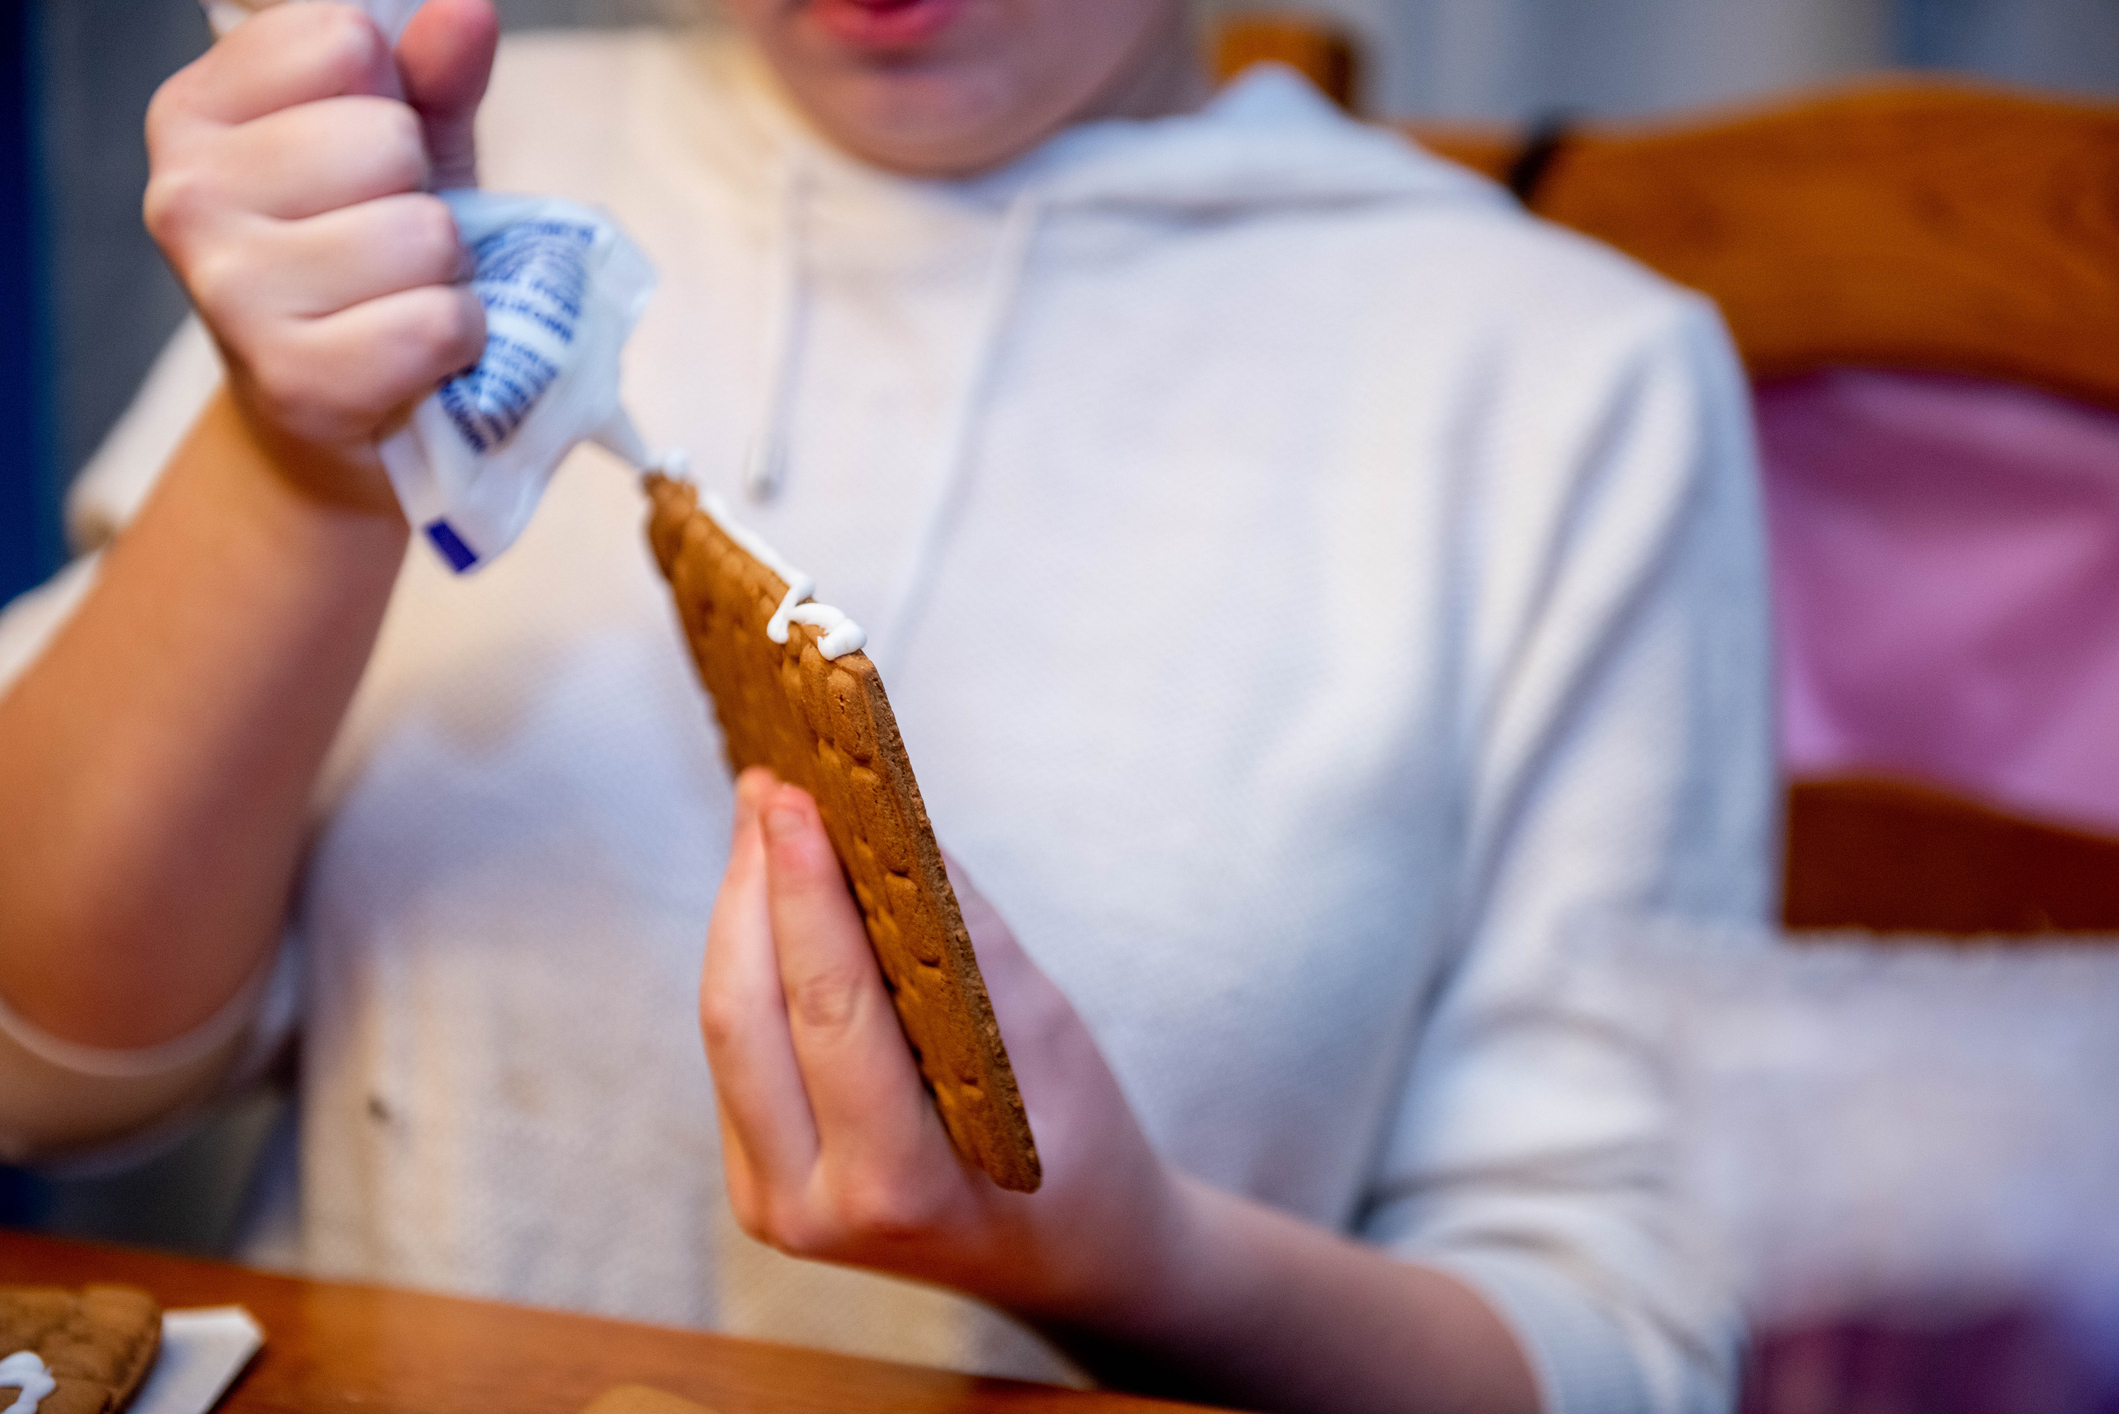
The steps are the same shape whichever glue you chose. Only the waiting
changes.
- Lay out a base. A paper plate or a square of card is plenty. Run a line of glue where the walls will stand.
- Stand the two side walls first, then the two gable ends, gluing every vertical edge as it meets its neighbour.
- Wait. This is the step that differs. White chocolate: about five minutes, or two in the fridge. Royal icing: one to two hours, propped.
- Glue along both top edges and lay the roof panels on, meeting at the ridge. Hold them for a moment.
- Fill the ridge gap with more glue. There will be a gap. It becomes snow.
Prop the walls while they set, whichever glue you used. Two tins of beans inside
the box shape will do it. The walls are not heavy, but graham crackers are light enough that a knocked
table will move them, and a joint that shifts while setting never fully recovers. If you have built with
real gingerbread before,
what to do before
you start applies here too, just on a faster clock.
Doing This With a Group
Graham crackers are the usual answer for a crowd, but they are not the only one. Mini gingerbread houses solve the same problem with real gingerbread when you have time to bake.
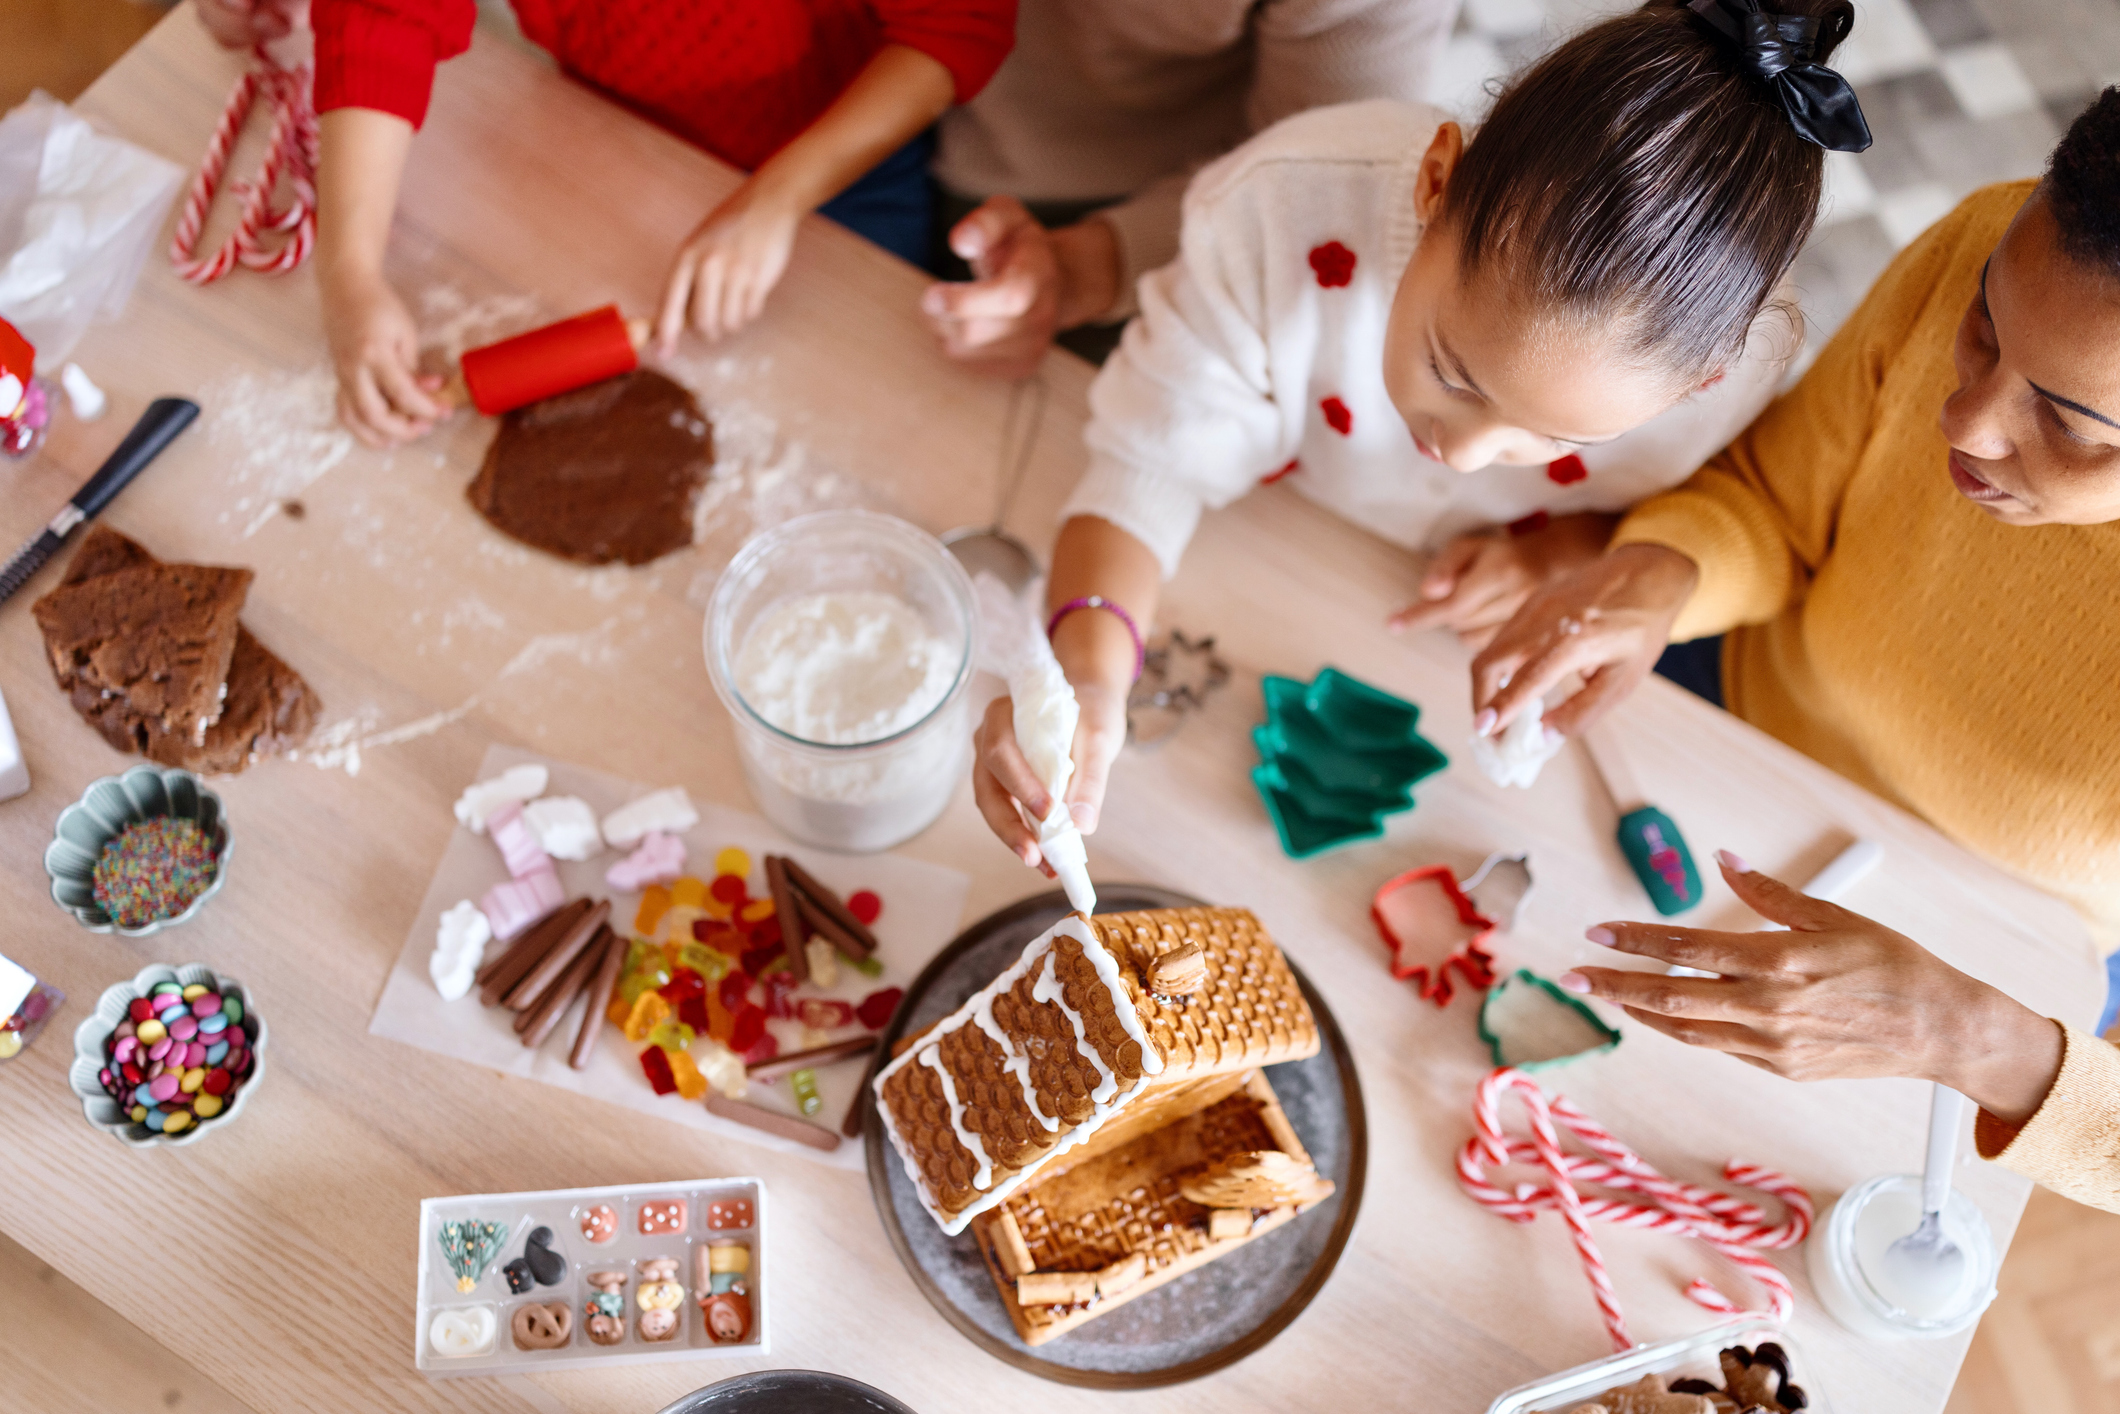
Graham cracker houses are the standard classroom and party build for good reason,
and the arithmetic catches people out.
| Children | Crackers | Glue | Realistic plan |
|---|---|---|---|
| 4 to 6 | 1 box, plus spares | 1 batch royal icing, or 2 cups white chocolate chips | Everyone builds their own |
| 10 to 15 | 2 to 3 boxes | 2 to 3 batches royal icing | Cut all panels in advance. Children assemble and decorate |
| 20 or more | 4 to 5 boxes | White chocolate, and a lot of it | Pre-assemble the shells entirely. Children decorate only |
Group Build Planner
Somewhere around ten children, assembly stops being the activity and becomes an adult running between tables holding walls up. This tells you which side of that line you are on, and what to buy.
A planning estimate, not a measurement. Royal icing quantities follow the 2 to 3 batches per 15 children figure published by Restless Chipotle. Buy more crackers than the number says: breakage during cutting is the one thing everyone underestimates. Nothing you enter is stored or sent anywhere.
The pre-assembly threshold is the useful number here, and it is lower than people
expect. Somewhere around ten children, assembly stops being the fun part and becomes the part where an
adult runs between tables holding walls upright. Build the shells the night before, let them cure
properly, and hand out finished boxes to be decorated. Nobody has ever complained about this.
Say you are running a class of twenty four seven-year-olds in the last week of
term. Twenty four houses assembled live is not an activity, it is a crisis. Twenty four pre-built shells
on a tray, with bowls of sweets and piping bags of white chocolate, is forty minutes of genuine
calm.
Decorating
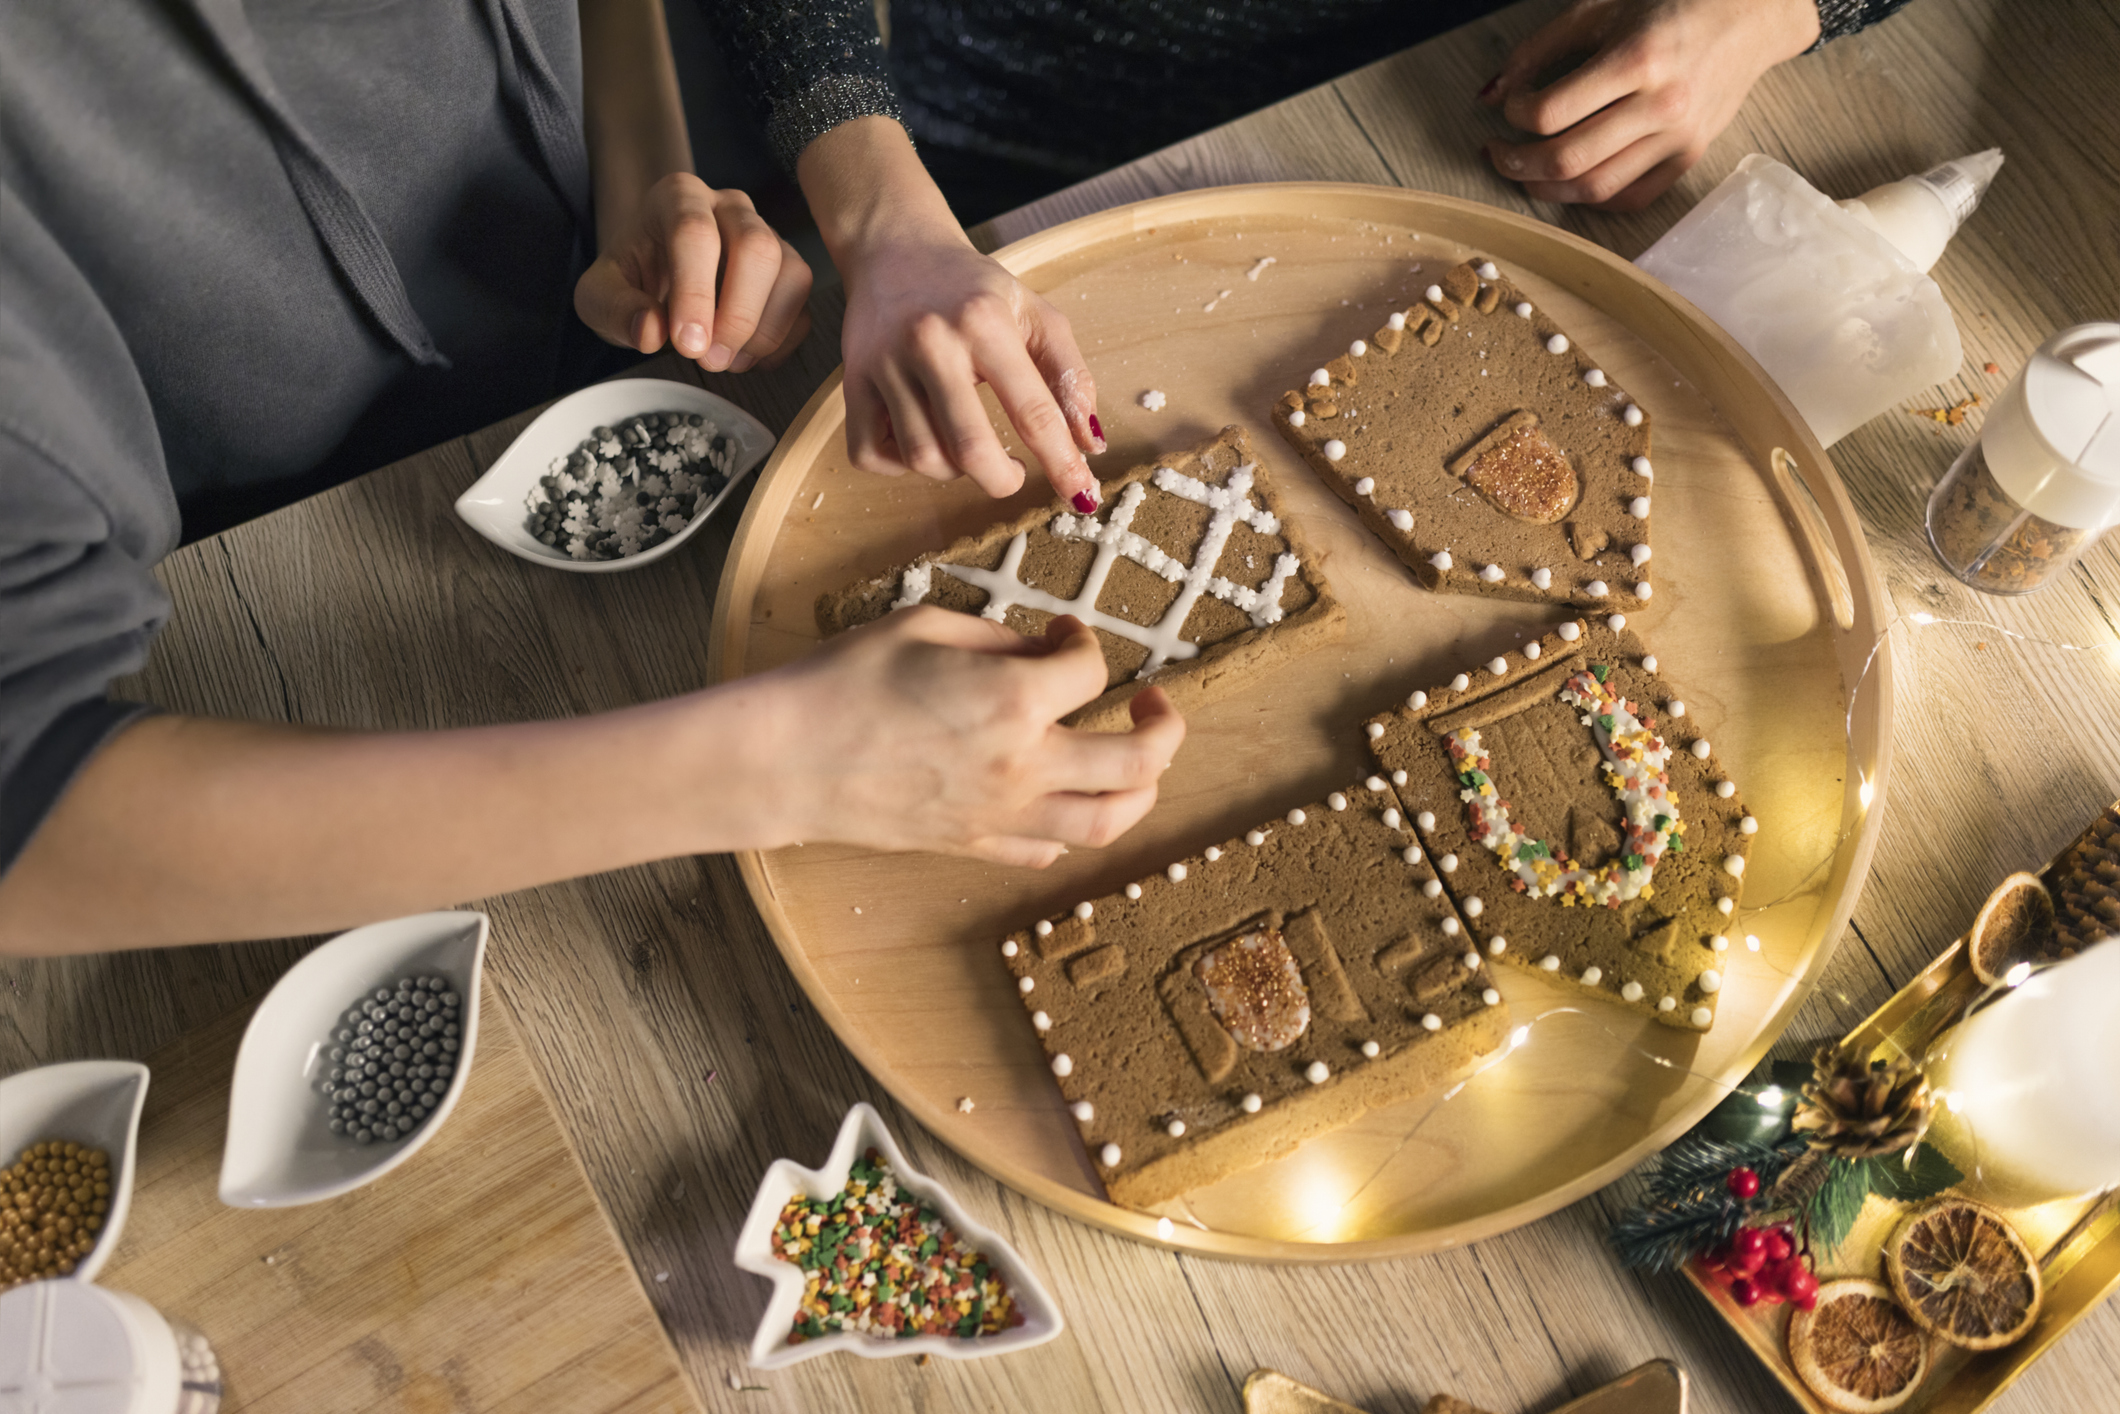
Keep it simple: put the sweets in bowls in the middle of the table and stay out of
it.
The only technical point is that whatever you used as glue is also what sticks the
sweets on, and it needs to be at the right consistency. Royal icing wants to be stiff for this. White
chocolate needs to still be liquid, so it will need reheating for fifteen seconds part way through the
session. That is normal and not a sign anything went wrong.
Heavier sweets slide. Anything with weight, a whole gumdrop or a big chocolate
button on a sloped roof, needs a proper blob rather than a smear.
Our guide to
candy for every part of the house covers what sticks where. For what to actually put on it, our
45 decorating ideas scale down to a cracker house without much trouble.
Why They Go Soft and How Long You Have
A graham cracker house is a short-lived object, and this is the part every other
guide leaves out.
Restless Chipotle puts the window at about twelve hours before
they start to go soft. That matches what the materials would predict. A graham cracker is a very
dry, low-moisture biscuit sitting in direct contact with royal icing, which is mostly water when it goes
on. Moisture moves from wet to dry, so the cracker draws water out of the icing along every glued edge.
The joints soften from the inside, and a house that was rigid at bedtime is sagging by
lunchtime.
Three things follow from that, and they are the practical payoff:
- Build the day you want to look at it, not three days before.
- White chocolate buys you longer, because there is no water in it to migrate. This is its real advantage over royal icing and almost nobody mentions it.
- Keep it away from steam. A kitchen with something boiling in it is the worst place in the house for a graham cracker build.
If you want something that is still standing at New Year, this is the wrong
material. Real construction gingerbread is a far denser, drier panel and lasts for months as a display
object, which our guide to
how long a
gingerbread house lasts goes into properly.
When to Use Real Gingerbread Instead
Graham crackers are the right choice more often than people think, and there are
three situations where they are not.
You want it to last. Anything beyond a couple of days, use
gingerbread. Our construction
gingerbread recipe is built specifically to bake flat and stay rigid.
You want a shape that is not a box. Crackers are rectangles and
you are limited to what you can cut out of a rectangle without it breaking.
You are entering it in something. Nobody has ever won a
gingerbread competition with graham crackers, and the judges can tell from across the room.
If entering is genuinely the plan, our competition guide covers what the judges score and the rule that the entry has to be almost entirely gingerbread.
Between those poles there are other options too, from shortbread to store-bought
biscuits, and we have compared them in
what to
use instead of gingerbread.
Build Your Gingerbread House with Best Gingerbread Houses
Graham crackers are the fastest way into this, and once you have done one you tend
to want a bigger one. If you would rather start from a box than a cracker, our rated comparison of
gingerbread house
kits covers thirty one of them, graded on how well they actually hold together and how much
decorating they leave you to do yourself.