
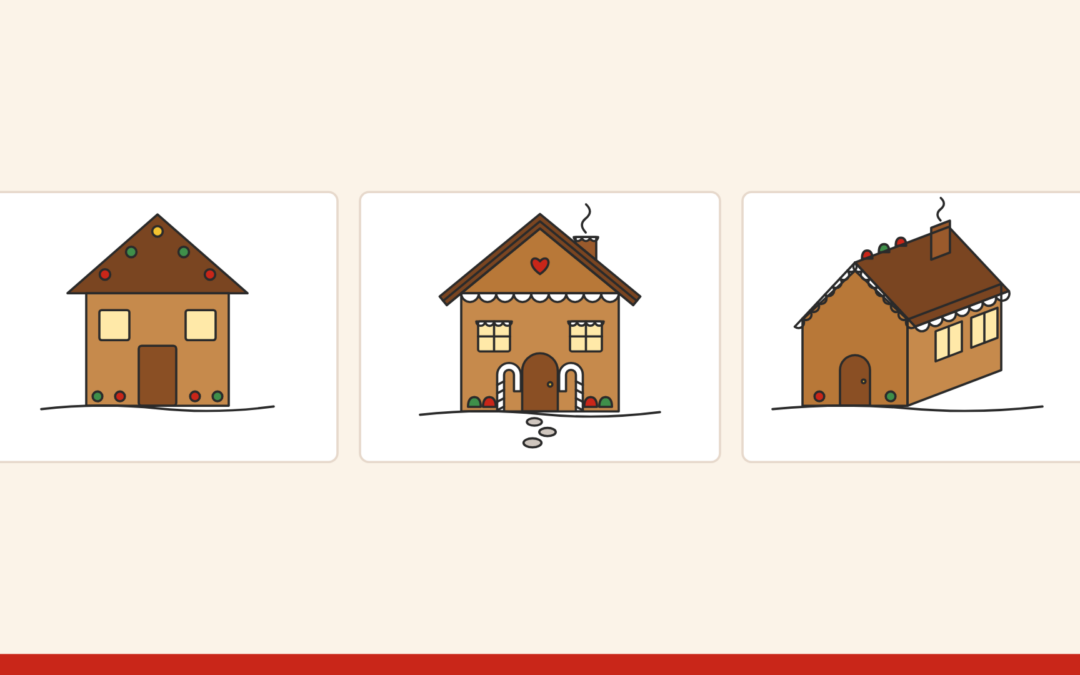
Drawing a gingerbread house takes a box, a triangle and a handful of circles, and the order you draw them in is most of the trick. This guide gives you three step-by-step drawings, from a five-step house for a four year old to a 3D corner view for a ten year old. Every step has a picture with the new lines shown in red, so nobody has to guess what changed.
Every drawing on this page is our own. We draw the templates and coloring pages on this site from measured shapes, and the house in the middle drawing uses the same proportions as the front wall of our free classic gingerbread house template. That is why a finished drawing can double as the decorating plan for a real house.
By drawing a gingerbread house we mean both the picture on paper and the plan for one you will actually bake. If you are a parent with a four year old and an eight year old at the same table, the three drawings let each child work at their own level. If you teach a class and need a lesson that runs the same way twenty times, the drawing coach below works on a projector. And if you are sketching a design before you build, the last part of this guide turns your picture into a plan.
By the end you will have a finished drawing, the candy shapes to decorate it, three fixes that make it look like gingerbread instead of a plain house, and a printable sheet for every drawing. We start with supplies and picking a drawing, then the three step-by-step drawings, then candy, coloring and building for real. First, what you need on the table.
What You Need to Draw a Gingerbread House
A pencil, an eraser, paper and one black marker. That is the whole kit for the drawing itself. Add crayons, colored pencils or markers for the coloring at the end.
- Pencil and eraser. Draw every step in light pencil first. You will erase some lines later, and a heavy line leaves a groove.
- Plain paper. Printer paper is fine. For the 3D drawing, turn it sideways, because the side wall needs room to slide back.
- A fine black marker. For tracing over the pencil when the drawing is done.
- Something to color with. Two browns if you have them, plus red, green and yellow for candy. You will not need white. The paper is the icing.
- A ruler, optional. Useful for the 3D drawing. Young children do better without one, because wobbly walls look more like real gingerbread anyway.
For small children, check the box for the AP seal from the Art and Creative Materials Institute. The Northern New England Poison Center explains that the AP seal means a product has been certified as nontoxic. The same page adds that even nontoxic supplies can be a choking hazard, so keep marker caps and crayon stubs away from the youngest artists.
Which Drawing Should You Start With?
Start with the drawing that matches the child’s age and patience, not the one that looks best. A drawing that is too hard gets abandoned at step three, and a drawing that is finished gets colored, hung up and shown to everyone.
| Drawing | Steps | Best for | What it teaches |
|---|---|---|---|
| Little hands | 5 | About 4 to 6 | A square, a triangle, and candy as dots |
| The front of a house | 9 | About 6 to 10 | Roof overhang, icing drips, candy canes that read as candy |
| 3D corner view | 6 | About 9 and up | A side wall that slants back, so the house looks solid |
If a child cannot yet draw a closed square, skip drawing for now and start with gingerbread coloring sheets, which give them the lines and let them do the fun part. If they can draw a square but lose interest after a few minutes, use Little hands. If they already draw houses on their own, go straight to the front of a house, and save the 3D view for a second sitting.
Picture a snow day with a five year old and an eight year old at the kitchen table. The five year old gets Little hands and is done, dots and all, in the time the eight year old reaches the chimney. Nobody waits for anybody, and both houses end up on the fridge. One drawing for both would have bored one child or frustrated the other.
The drawing coach below walks through all three, one step at a time. Pick a drawing and click Next, or put it on a big screen and draw along.
Step-by-Step Drawing Coach
Pick a drawing, then click through it one step at a time. The red lines are the ones to draw next. Arrow keys work too.
For fun and practice; your drawing does not have to match. Your place in the steps is remembered in this browser only, and nothing you do here is sent anywhere.
How to Draw a Simple Gingerbread House for Young Kids
This is the easiest way to draw a gingerbread house: a square, a triangle, a door, two windows and a lot of dots. Five steps, and every one is a shape a four year old already knows.
1. Draw a big square
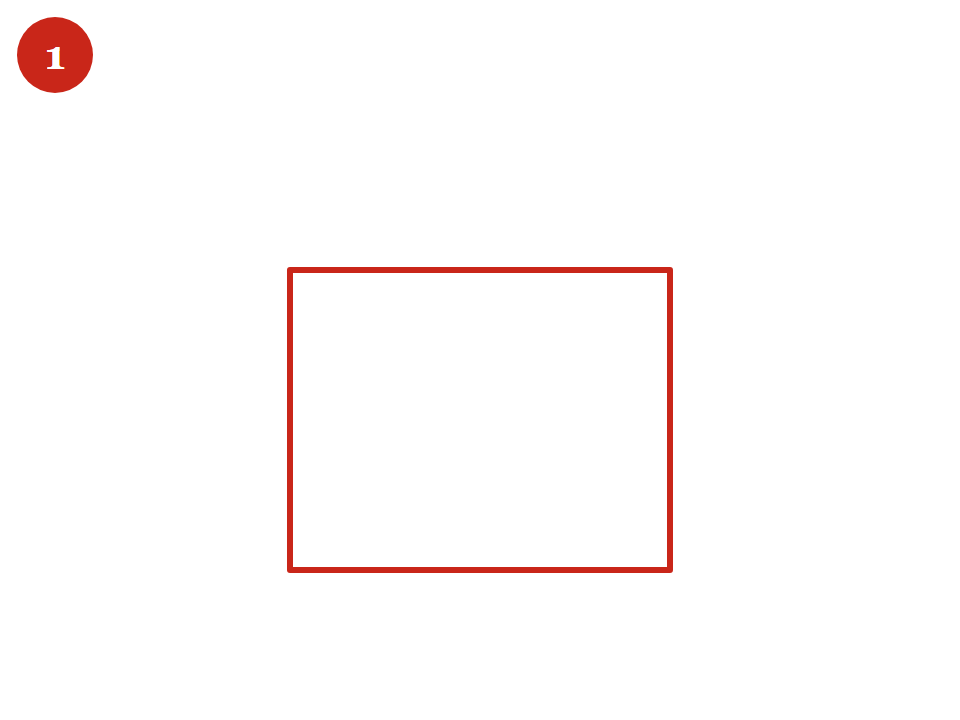
Make it about as wide as a hand. It does not need to be straight. Gingerbread walls never are.
2. Put a triangle on top

Start the triangle a little past each side of the square, so the roof hangs over the walls. That small overhang is what makes a square with a triangle look like a house.
3. Draw a door in the middle

A tall rectangle that sits right on the bottom line. If it floats above the line, the house looks like it has no floor.
4. Add two windows

One small square on each side of the door, up near the roof.
5. Dot on the candy

Circles along the roof edge and a row beside the door. Every circle is a gumdrop, so there is no wrong number.

The whole drawing is on one printable sheet: Little hands steps, US Letter PDF or A4 PDF.
How to Draw the Front of a Gingerbread House in 9 Steps
This is the classic gingerbread house drawing: the front of the house, with a thick roof edge, icing drips, an arched door, candy canes and a chimney. Draw in pencil, one step at a time, and trace in marker at the end.
1. Draw the walls as a wide box
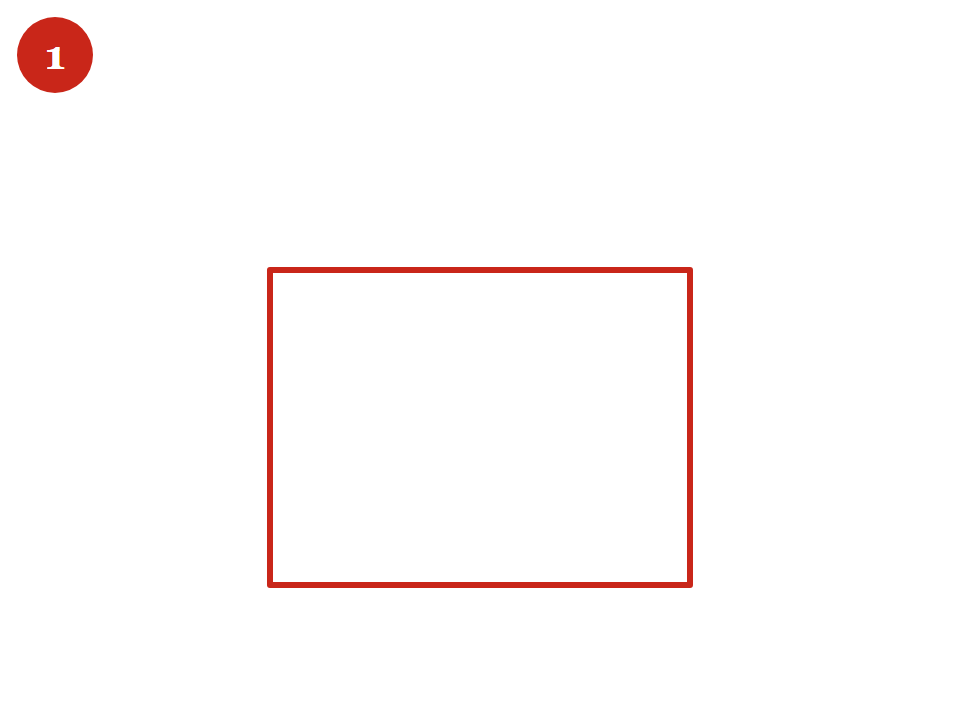
Make the box a little wider than it is tall, about four across to three down. That is the shape of the front wall on our classic template, which matters later if you want to build it.
2. Add a triangle for the top of the wall
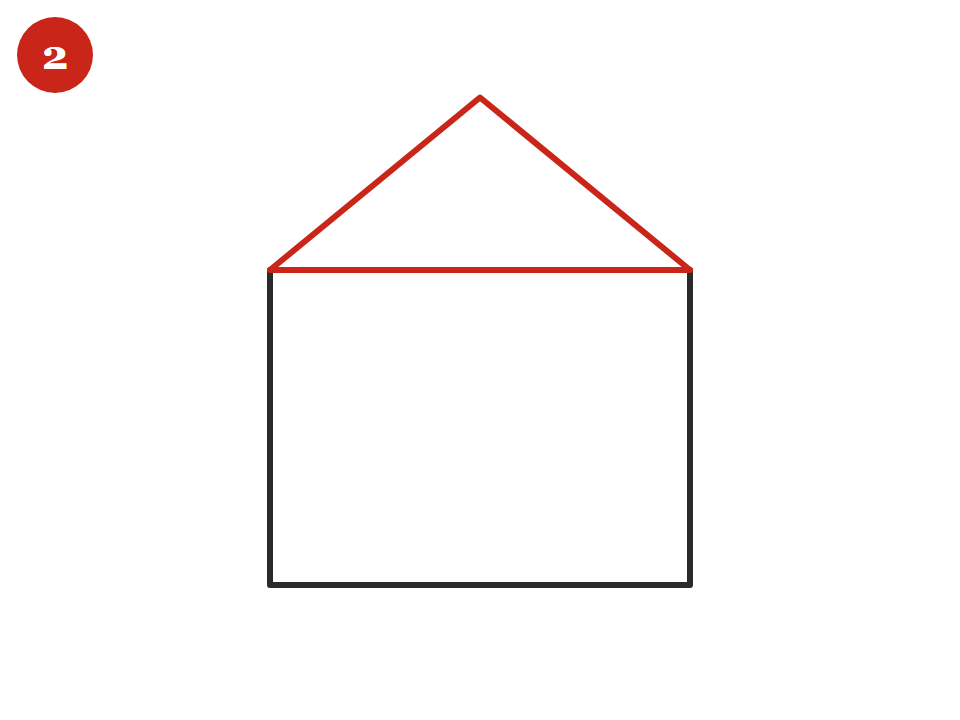
Its bottom corners sit on the top corners of the box. Keep the point low and wide. A tall, skinny triangle makes the house look like a church.
3. Draw the roof edge around the triangle

Draw a bigger upside-down V just outside the triangle, then close the two ends with short lines, so the roof edge is a thick band. Let it run past the walls on both sides.
4. Pipe the icing

Draw a line along the middle of the roof band, then a row of round drips hanging under the top of the box. Count them before you start. Nine fits a box this size.
5. Add an arched door
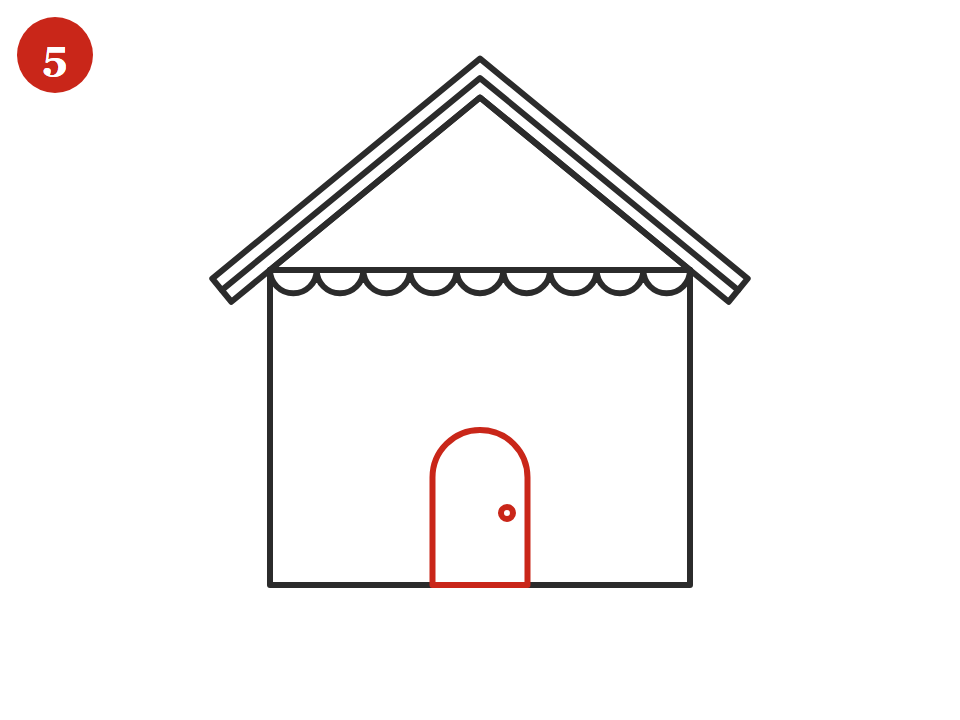
A tall shape with a round top, sitting on the bottom line in the middle. Add a small round knob.
6. Add two windows with icing on top

A square on each side of the door, a cross inside each one, and three or four small drips along the top.
7. Stand a chimney on the roof
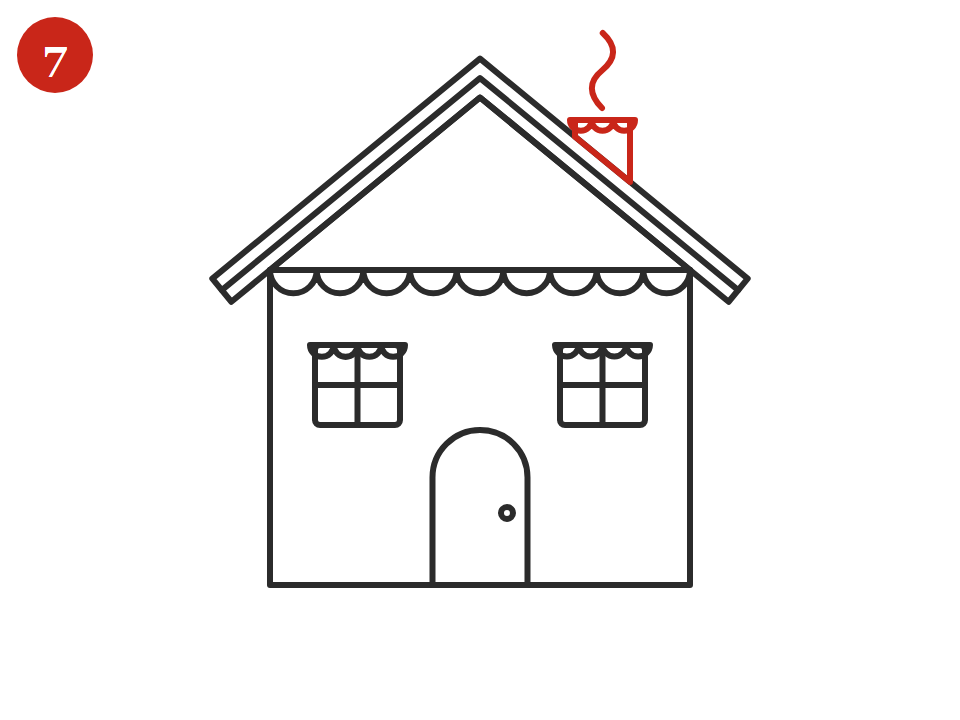
Two straight lines up from the right side of the roof, a flat top with drips, and a curl of smoke. The chimney starts on the roof edge, not inside the triangle.
8. Decorate with candy
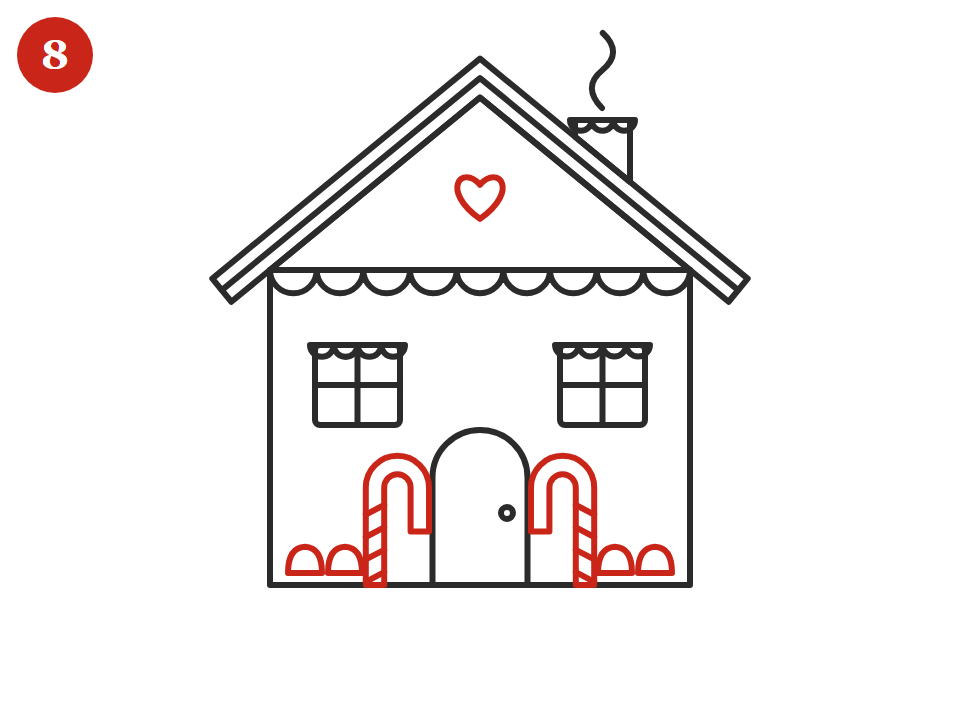
A heart in the triangle, gumdrops along the bottom, and a candy cane on each side of the door, hooks facing in. Draw the canes as thick tubes, not single lines. The stripes need somewhere to go.
9. Finish with a path and the ground

Three flat ovals leading away from the door and a wavy snow line across the bottom. Now trace your pencil in black marker, wait a minute for the ink to dry, and erase.
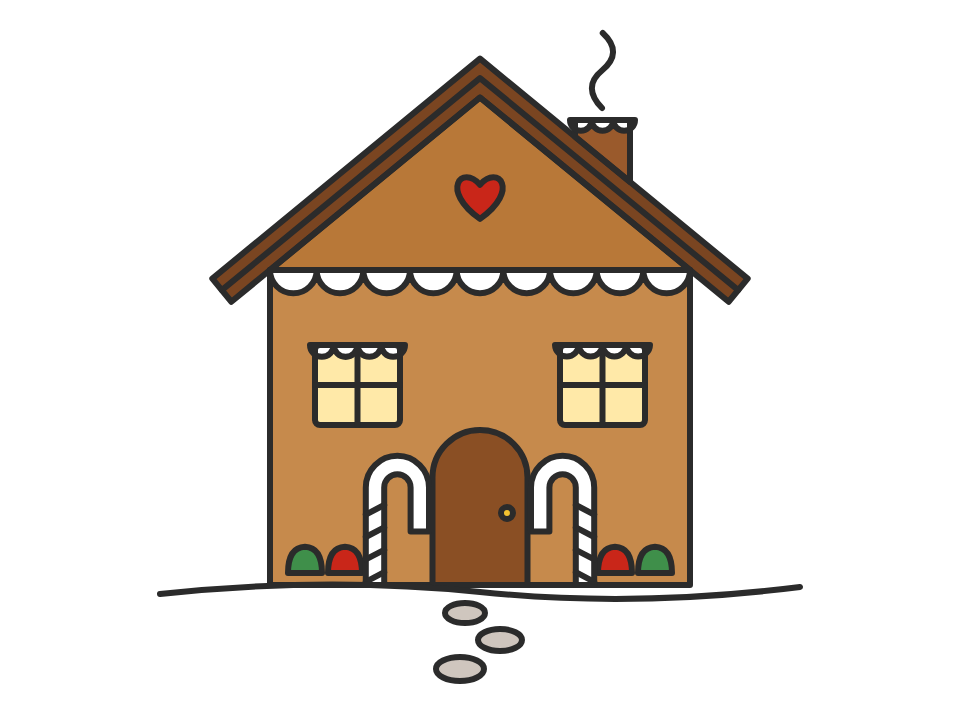
Print all nine steps on one page: front of a house steps, US Letter PDF or A4 PDF.
How to Draw a 3D Gingerbread House Without Perspective Rules
The easy way to draw a gingerbread house in 3D is to draw the front flat, then slide the side wall back with slanted lines that are all the same length and all point the same way. You do not need a horizon line or vanishing points. This is called an oblique drawing, and it is the easiest kind of 3D drawing to learn by hand.
Several art-lesson sites teach this subject with two-point perspective, and that is a good lesson for an older art class. For a ten year old at home it is usually too much at once, because the child spends the time on construction lines and has nothing left for the candy. The slide-back method below gets the same solid look in six steps.
1. Draw the front wall as a house shape

A box with a pointed top, drawn flat, like the front in the drawing above.
2. Slide the side wall back

From the two right-hand corners of the box, draw two slanted lines going up and to the right. Make them the same length and the same slant. Join their ends with a straight up-and-down line.
3. Lay the roof along the top
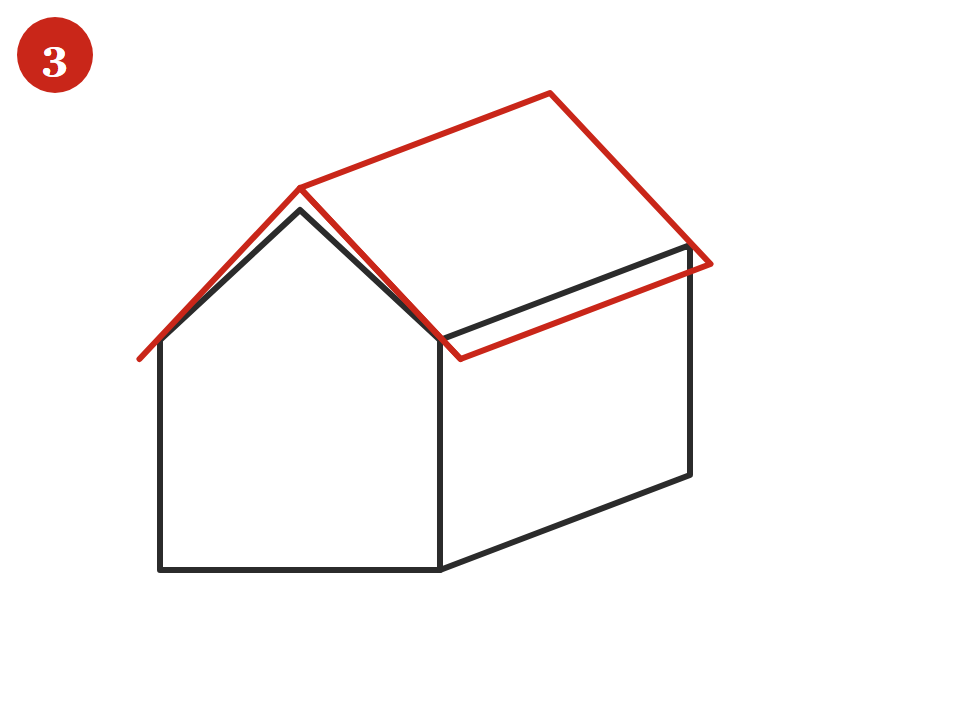
From the point of the front wall, draw a third slanted line, parallel to the other two. That is the ridge. Close the roof panel with a line that runs just past the top of the side wall.
4. Add a door and slanted windows
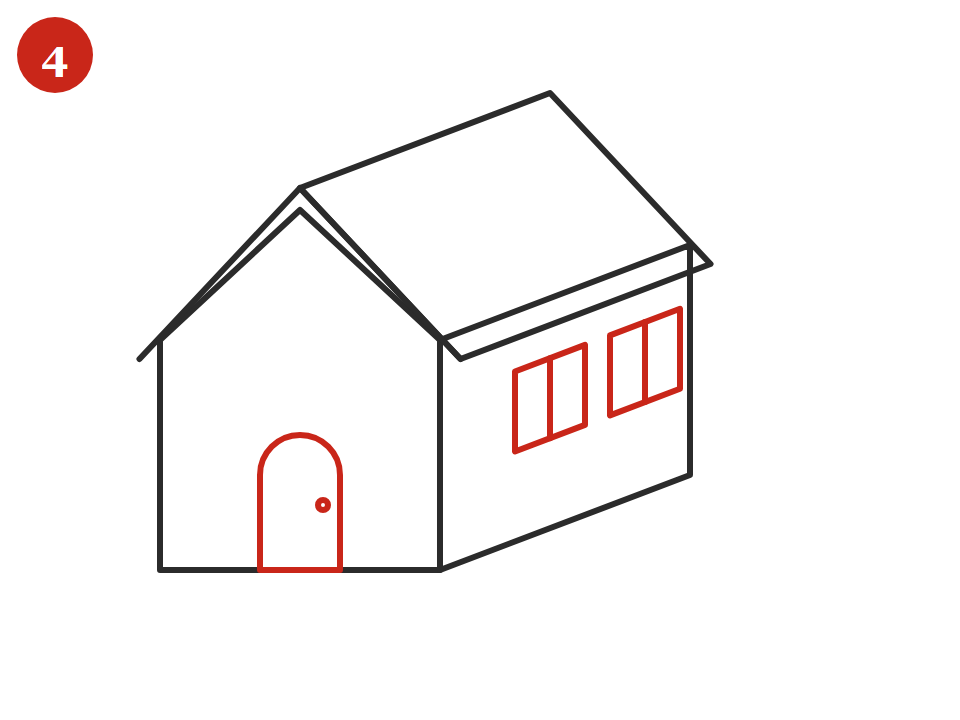
The door goes on the flat front. Windows on the side wall lean with the slant, so their top and bottom edges run parallel to the roof lines. This is the step that sells the 3D look.
5. Pipe icing along the edges

Drips hang under the roof edge on the side, and a scalloped line follows the front of the roof.
6. Add candy, a chimney and the ground

Gumdrops along the ridge, a chimney standing up from the roof, candy by the door and a ground line.

Say a ten year old draws the side wall and it looks wrong: the house seems to tip over. Usually one slanted line is steeper than the other. Lay a ruler along the bottom slant, slide it up to the top corner without turning it, and redraw the top line along its edge. The house stands up again, and the child has learned the one rule this drawing depends on. The steps are also on one sheet: 3D corner view steps, US Letter PDF or A4 PDF.
How to Draw Gumdrops, Candy Canes and Icing
Every candy on a gingerbread house drawing is one to three strokes. A gumdrop is a dome on a flat line. A peppermint is a circle with three curved lines from the middle. Icing drips are a row of half circles hanging under a line. Once a child knows these eight shapes, they can decorate any house they draw.

- Gumdrop: a dome with a flat bottom, plus a tiny curve for the shine.
- Peppermint: a circle with three curved spokes.
- Candy cane: a tube with a hook, then slanted stripes across the tube.
- Lollipop: a circle with a spiral inside, on a straight stick.
- Icing drips: half circles hanging under a straight line.
- Wafer shingles: rows of drips, each row shifted half a step.
- Candy buttons: small circles in a row.
- Snow on a ledge: a bumpy cloud line sitting on a flat line.
These are real candies, which is the point if the drawing is a plan for a build. Our gingerbread house candy list sorts them by the part of the house they stay on, so a drawing with peppermints on the roof and gumdrops on the walls can be built the way it was drawn. Practise all eight on the candy practice sheet, US Letter PDF or A4 PDF.
Three Fixes That Make It Look Like Gingerbread
Most gingerbread house drawings go wrong in the same three places. Each fix takes a few seconds, and together they are the difference between a plain house and a gingerbread one.
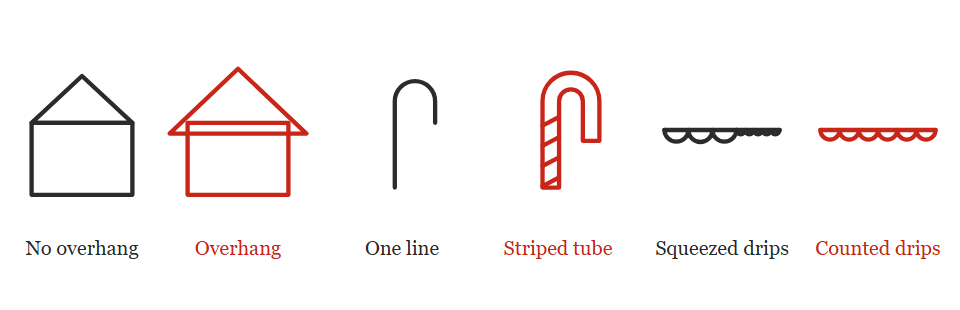
- Let the roof hang over the walls. A roof that stops exactly at the corners makes the house look like a box with a hat. Start the roof lines a little outside the walls on both sides.
- Draw candy canes as tubes, not lines. We learned this one drawing our own coloring pages: a cane drawn as a single hooked line reads as a walking stick. Draw it as a tube, two lines side by side with a rounded hook, and the stripes have room to show.
- Count the drips before you draw them. Drips drawn left to right without a plan get squeezed at the end. Decide the number first, put a light pencil tick where each one lands, then draw them all the same size.
The drips are the fix children resist most, because counting feels like homework. Turn it into the rule of the house instead: every roof gets an odd number, so one drip sits right in the middle over the door. It gives them a reason to count and makes the drawing look planned.
How to Color a Gingerbread House So It Looks Baked
Color the walls light brown, the roof a darker brown, and leave all the icing white. That one choice, not coloring the icing, is what makes a drawing read as gingerbread.
- Two browns. Light for the walls and darker for the roof. In the 3D drawing, color the side wall a shade lighter than the front, so the house looks lit from one side.
- Leave icing as paper. Drips, trim and snow stay uncolored. If the paper is not white, go over the icing with a white crayon or gel pen.
- Candy in three colors. Red, green and yellow are enough. Alternate them so no two of the same color touch.
- Windows yellow. A pale yellow window looks lit from inside and warms up the whole picture.
If you are coloring with paint or watercolor, trace the outline with a permanent marker, not a washable one. A washable line blurs as soon as water touches it. With crayons, colored pencils or markers, either kind of outline works.
Draw It, Then Build It
The front of a house drawing above is drawn to the same proportions as the front wall of our free classic gingerbread house template. On the template that wall is 2.8 inches wide, 2.1 inches to the roof line and 1.15 inches more to the peak. So a drawing of the front is not just a picture of a gingerbread house. It is a map of where the candy goes on the real one.

Here is how to use it:
- Print the plan sheet, US Letter PDF or A4 PDF. It has the front wall and one roof panel of the classic template at their real size, plus a 1 inch check square. If the square is not 1 inch, your printer shrank the page.
- Draw your decorations inside the outlines. Keep the door and windows on the front wall, and put roof candy on the roof panel, not in the triangle.
- Bake the pieces, lay the plan next to them, and copy the design across while the pieces are still flat, before you assemble anything.
One thing trips people up. In a front view, the triangle is the top of the wall, not the roof. On the real house it is cut as part of the front wall, and the roof panels are rectangles that lean back from it. Candy you drew in the triangle goes on the wall piece. Candy you drew on the roof edge goes along the bottom edge of the roof panels.
The designer below does the same thing without paper. Pick a roof, door, windows and candy, then print it as a coloring page or at template size, where the walls come out exactly 2.8 inches wide. It also lists the real candy each choice stands for.
Design Your House, Then Print It
Choose the roof, door, windows and candy. Print it as a coloring page, or print it at template size and use it as the plan for a real gingerbread house.
For planning and fun. The candy list is a suggestion, not a shopping guarantee; check allergens on every package. Your choices are saved in this browser only, and nothing is sent anywhere.
Picture a family planning a build for the weekend. On Thursday night each child designs a house, prints it at template size and colors it. On Saturday the plans sit next to the baked walls, and every argument about where the gumdrops go was already settled on paper. If you are baking your own walls, our step-by-step guide shows how to build a gingerbread house from scratch, from the dough to the assembly.
Drawing a Gingerbread House With a Class or a Group
For a group, draw one step at a time together and stop between steps until everyone has caught up. That is the whole method. The drawing coach on this page works on a projector: tick Big screen mode and click Next when the room is ready.
- Split by age, not by table. In a mixed group, give the younger children Little hands and the older ones the front of a house. Both run from the same screen with the tabs.
- Pencils down between steps. It keeps fast drawers from racing ahead and missing the drip count.
- Save the ink for the end. Marker goes on only when all nine steps are done in pencil.
- Print the step sheets as a backup. Anyone who falls behind can catch up from the sheet without stopping the room.
When you buy markers or crayons for a class set, the label is worth a look. The Consumer Product Safety Commission's art materials rules require a toxicological review, and the words "Conforms to ASTM D-4236" on a label mean the product was reviewed and carries any warning it needs. That is not the same promise as nontoxic, so for young children, the AP seal is still the one to look for.
Picture a second grade class of 24 with one afternoon before winter break. The drawing takes the first half hour, coloring the next twenty minutes, and the last part is the payoff: each child gets a graham cracker house to decorate the way they drew it. If you are planning that second half, our guide to gingerbread house kits for a classroom covers how many houses to buy and where to get them in quantity.
Frequently Asked Questions
How do you draw a gingerbread house easy?
Draw a square, put a triangle on top that hangs past both sides, add a door and two windows, then dot candy along the roof. That five-step version suits most children from about four.
How do you draw a 3D gingerbread house?
Draw the front of the house flat, then draw two slanted lines back from its right-hand corners, the same length and slant, and join them. Add a third parallel line from the roof point for the ridge. No vanishing points are needed.
What do you need to draw a gingerbread house?
A pencil, an eraser, plain paper and a fine black marker, plus crayons, colored pencils or markers to color it. A ruler helps with the 3D version.
Are the step-by-step sheets free to print?
Yes. Every drawing on this page is original artwork, free to print for home, classroom and library use. There is no email signup.
Can I turn my drawing into a real gingerbread house?
Yes. Draw the front of a house version or use the designer, print it at template size, and it matches the front wall of our free classic template. Copy the design onto the baked pieces while they are flat.
What if I just need a gingerbread house picture, not a drawing lesson?
For a card, a flyer or a newsletter, use black and white gingerbread house clipart, which comes ready to paste in.
Turn Your Drawing Into a Real House With Best Gingerbread Houses
A drawing is the cheapest way to plan a gingerbread house, and the best way to keep children busy while the walls cool. When the picture is done and they want the real thing, our guide to gingerbread house kits for kids rates each kit on whether the walls stay up and whether the icing holds, so the house on the table can look like the one on the paper. Once the house is done, our how to draw a gingerbread man steps add someone to live in it.