Best Gingerbread Houses is a participant in the Amazon Associates program. As an Amazon Associate we earn from qualifying purchases, at no extra cost to you. A commission never affects what we recommend or how we rate it.
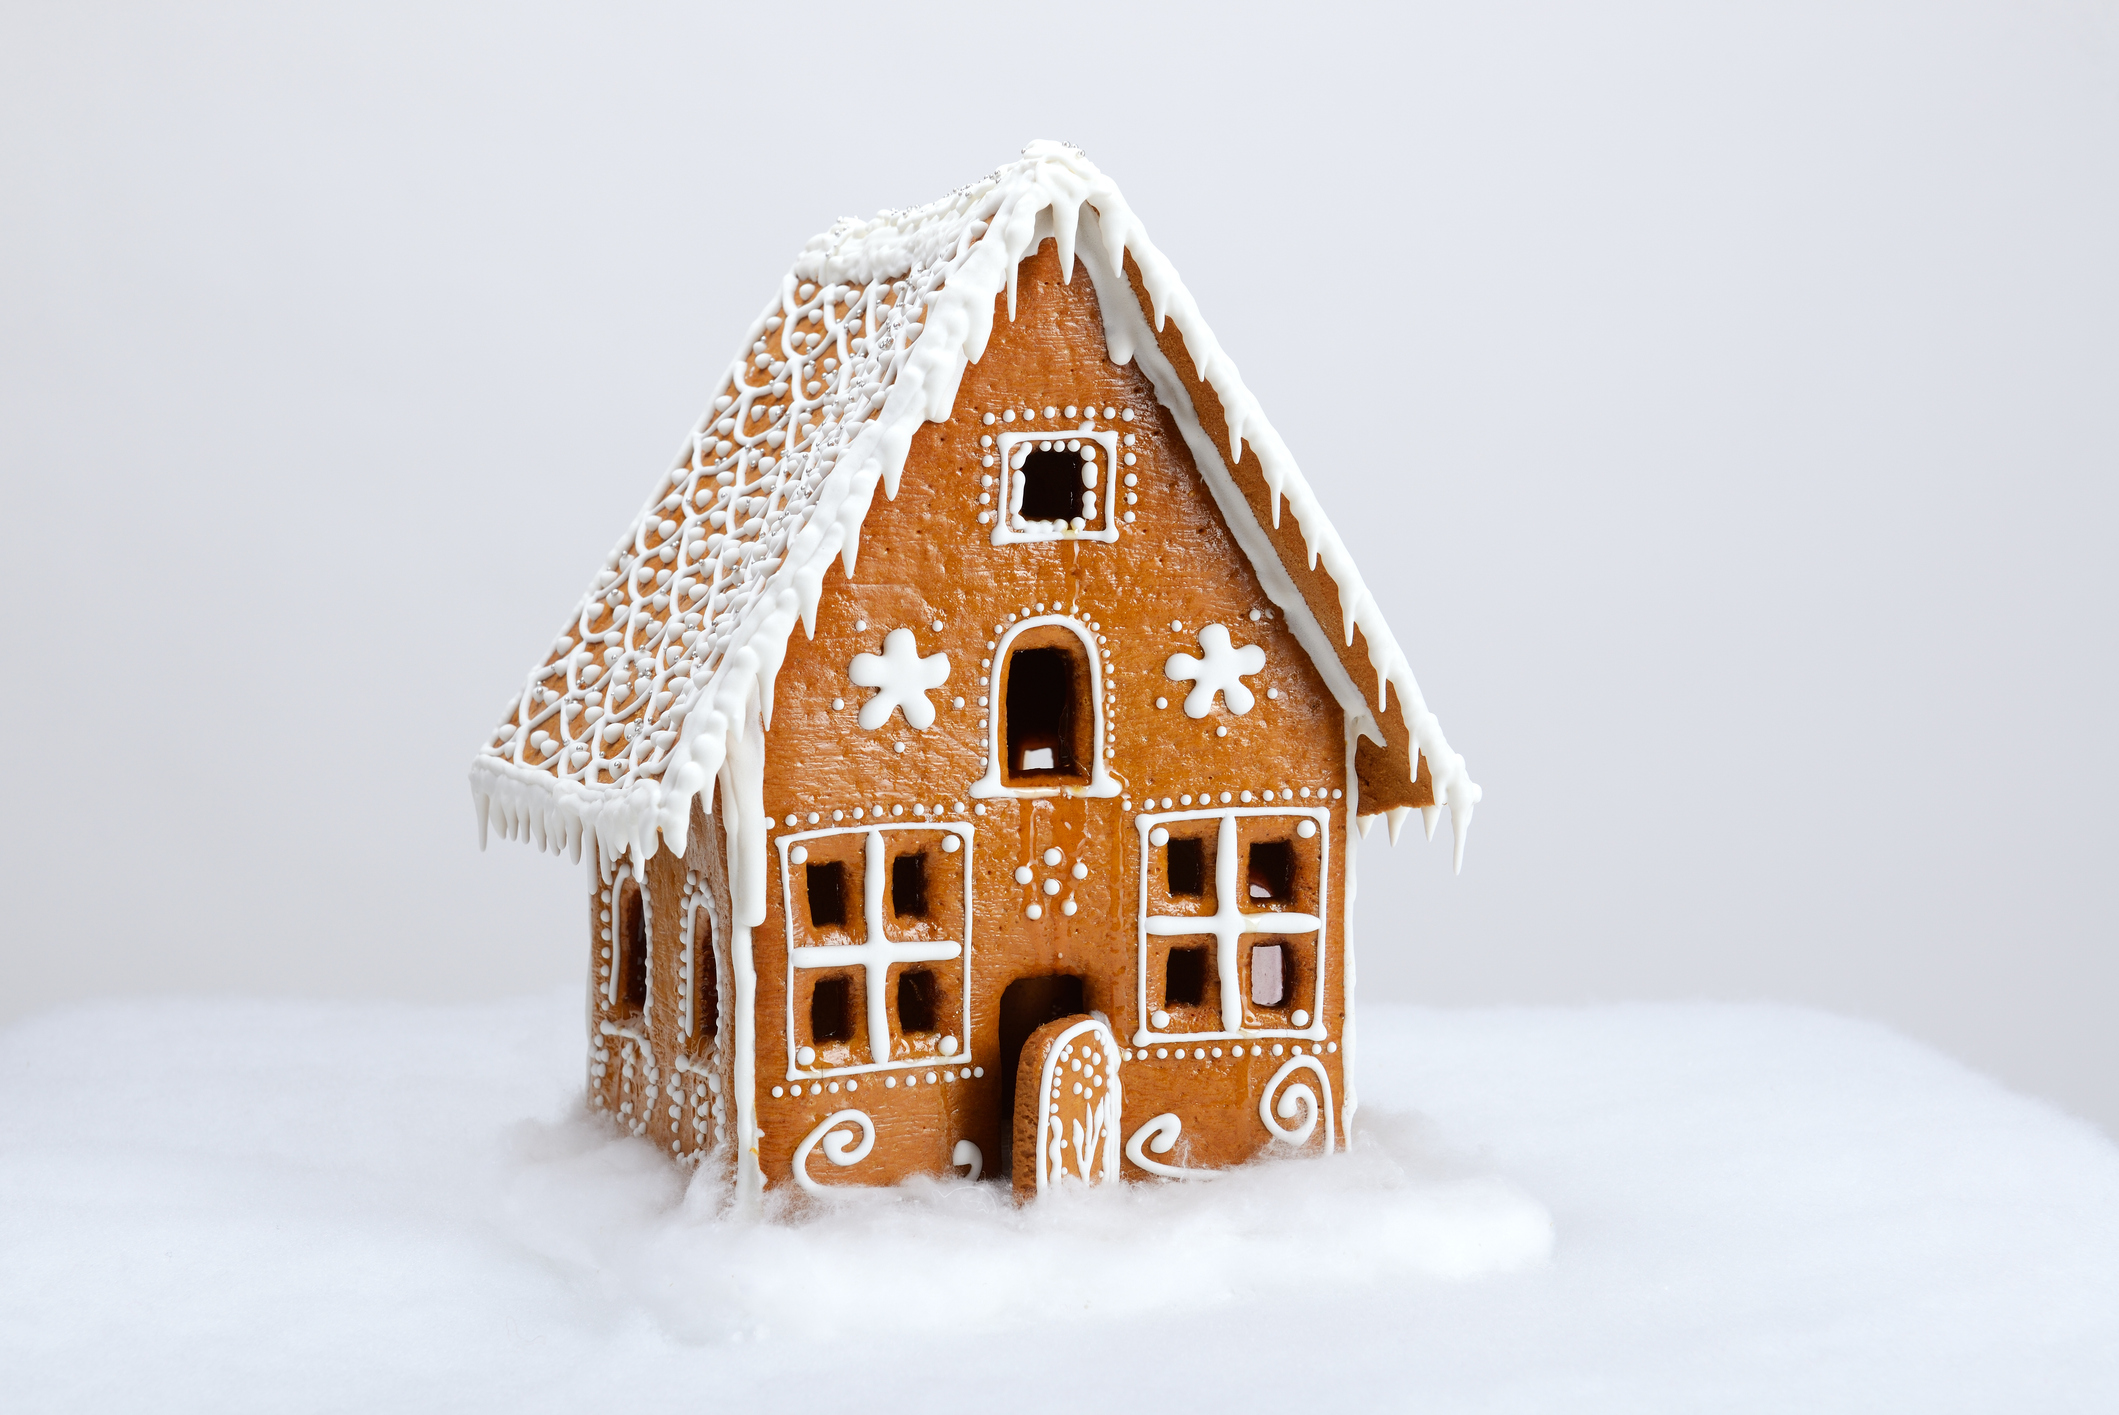
A sturdy gingerbread recipe is not the one that bakes hardest. A gingerbread wall can fail two ways, sagging or snapping, and the usual advice, bake it rock hard, only guards against the first. This dough is built to resist both: enough flour and enough time in a low oven that the walls will not sag, and enough syrup left in the panel that it bends a little instead of shattering when someone presses a gumdrop onto the roof.
It needs a saucepan, a bowl and no mixer. You get the dough, the reasoning behind each ingredient, a step by step method, troubleshooting, and a four second test on a scrap before you glue a wall.
Sturdy Gingerbread House Dough
A sturdy construction gingerbread that bakes flat, holds a wall, and still bends a little before it breaks. No leavening, about one part fat to four parts flour, and a heavy syrup load so the panels stay slightly ductile rather than going glassy. No mixer needed. Enough dough for one house about 7 by 5 inches with 5 inch walls, plus scraps.
Best Gingerbread Houses
Prep Time35 minCook Time25 minChill time1 hrTotal Time2 hr
CourseDessertCuisineAmericanServings1 houseOven300°F
Equipment
- Large saucepan
- Rolling pin with quarter inch guide rails
- Parchment paper
- Two half sheet pans
- Paper or cardstock template
- Sharp paring knife or pizza wheel
- Oven thermometer
IngredientsDough
- 5 1/2 cups all-purpose flour660 g, weighed rather than scooped
- 3/4 cup unsulphured molasses255 g
- 1/4 cup light corn syrup82 g, this is what keeps the panel from going brittle
- 2/3 cup dark brown sugar, packed145 g
- 2/3 cup vegetable shortening128 g, carries no water
- 2 tablespoons unsalted butter28 g, for flavor only
- 1 large egg
- 1 tablespoon ground ginger
- 2 teaspoons ground cinnamon
- 1 teaspoon ground cloves
- 1/2 teaspoon ground nutmeg
- 3/4 teaspoon fine salt
InstructionsDough
- Melt the shortening, butter, molasses and corn syrup together in a large saucepan over low heat. Take it off the heat as soon as the shortening has just disappeared and the surface has gone glossy rather than grainy.
- Stir in the brown sugar until it dissolves, then let the pan cool until the side is warm to the back of a finger and not hot, about ten minutes.
- Beat in the egg hard for fifteen seconds. The mixture turns a shade lighter and stops looking separated.
- Work in the flour, spices and salt a cup at a time, stopping the moment the dough pulls away from the bowl in a single mass and a pressed edge holds its shape.
- Divide the dough in two, flatten each half into a disc about an inch thick, wrap and refrigerate at least an hour. It is ready when a poked disc dents and stays dented.
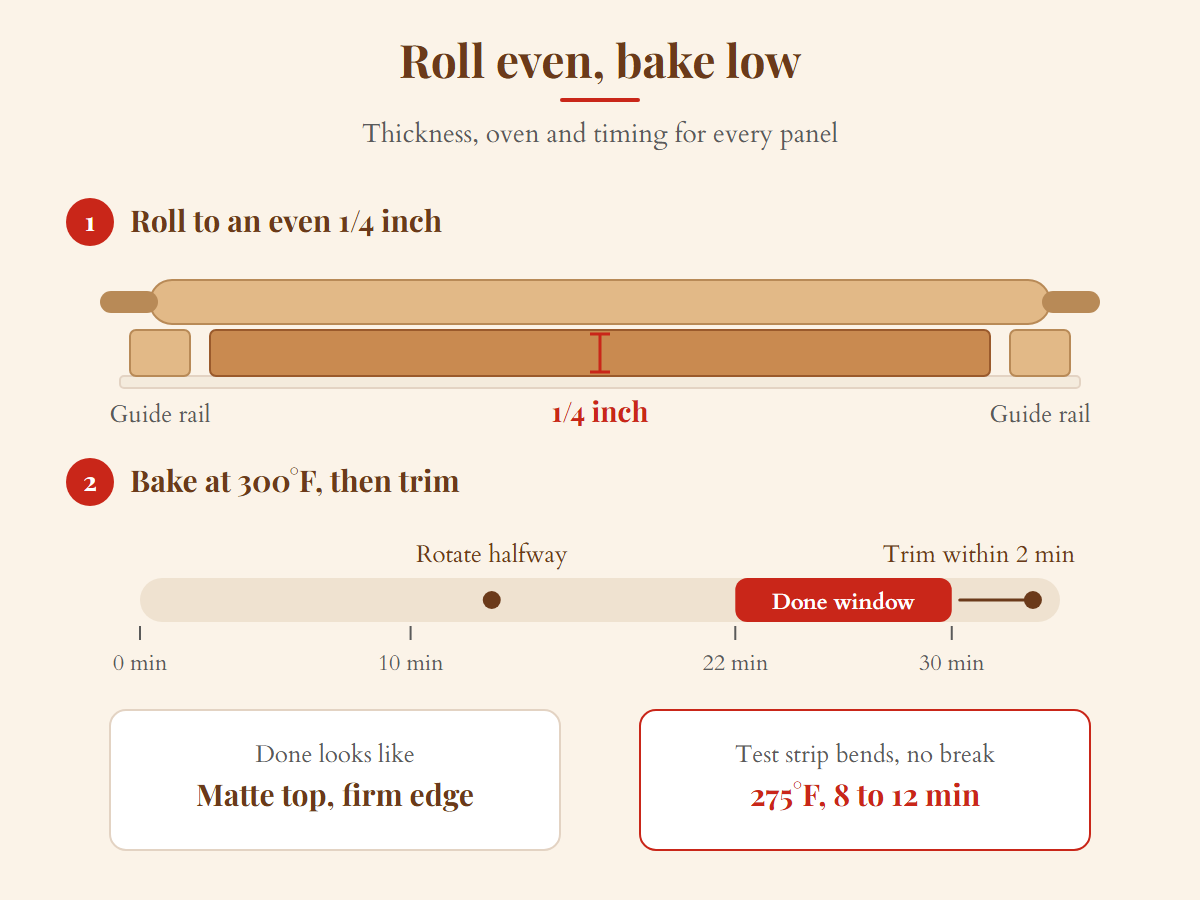
- Roll a quarter of the dough at a time on parchment to an even quarter inch against guide rails, then cut your panels and peel away the offcuts. Keep the rest of the dough in the fridge.
- Bake at 300 degrees for 22 to 30 minutes depending on panel size, rotating halfway, until the surface is matte and the edge is firm under a fingertip. Trim to the template lines within two minutes of the panels coming out, then cool them completely flat.
- Test a scrap strip once it is completely cool by pressing the middle until it gives. A few millimeters of bow followed by a clean snap means the panels are ready to build with.
Adapted from Gingerbread by Design construction gingerbread dough and Sugar Geek Show construction gingerbread. Method text written fresh. The mortar icing is covered separately on the royal icing page, which owns icing consistencies and tinting.5,333 kcal. Approximate, calculated from USDA reference values for the listed ingredients. This figure is the entire house rather than a portion, because a gingerbread house is not eaten in one sitting and there is no meaningful serving size for a building.
What Makes Gingerbread Sturdy Enough to Build With
Sturdy gingerbread comes from five choices, and none of them is baking the panels until they are rock hard. Use about one part fat to four parts flour by weight, leave out the baking soda and baking powder, keep a syrup and an egg in the dough, roll every panel to an even quarter inch, and bake low and slow.
- About 1 part fat to 4 parts flour, by weight. Serious Eats credits a 1:4 ratio of butter to flour for the strength of its construction gingerbread, and Haniela’s describes its own construction dough as about 1:4 fat to flour. This recipe lands at roughly 1:4.2, which is 156 grams of shortening and butter to 660 grams of flour.
- No leavening. Baking soda and baking powder put gas in the dough, and every bubble is a weak spot in a wall.
- A syrup and an egg. Molasses or corn syrup holds a little water in the baked panel and the egg sets into a network, and together they let a wall bend before it breaks. Serious Eats credits its corn syrup with keeping fresh gingerbread pliable enough to cut while it is still warm.
- An even quarter inch. Thin spots dry faster than thick ones, and a panel that dries unevenly pulls itself out of true as it cools.
- A low oven and a long bake. 300 degrees until the surface goes matte, because drying takes time rather than heat.

Google’s own summary for this search calls the goal a construction-grade, rock-hard gingerbread, and plenty of forum advice agrees. That protects you from sag and walks you straight into the other failure: a panel so dry it splits the first time a thumb presses a gumdrop onto the roof. You will also find the opposite advice in baking forums, to leave out the brown sugar, honey and corn syrup for a harder panel. Both camps are right about one failure each. Taking the syrup out guards against sag and invites snap; keeping it guards against snap, and the long, low bake takes care of sag. The next two sections show why, and the bend test further down tells you which side of the line your own panels landed on.
Ingredient Notes
Most of this list is what you would expect. Four choices are doing real work, and they are the reason this dough behaves differently from a gingerbread cookie recipe.
Unsulphured, not blackstrap. Grandma’s unsulphured molasses is the usual supermarket jar if yours does not carry it.
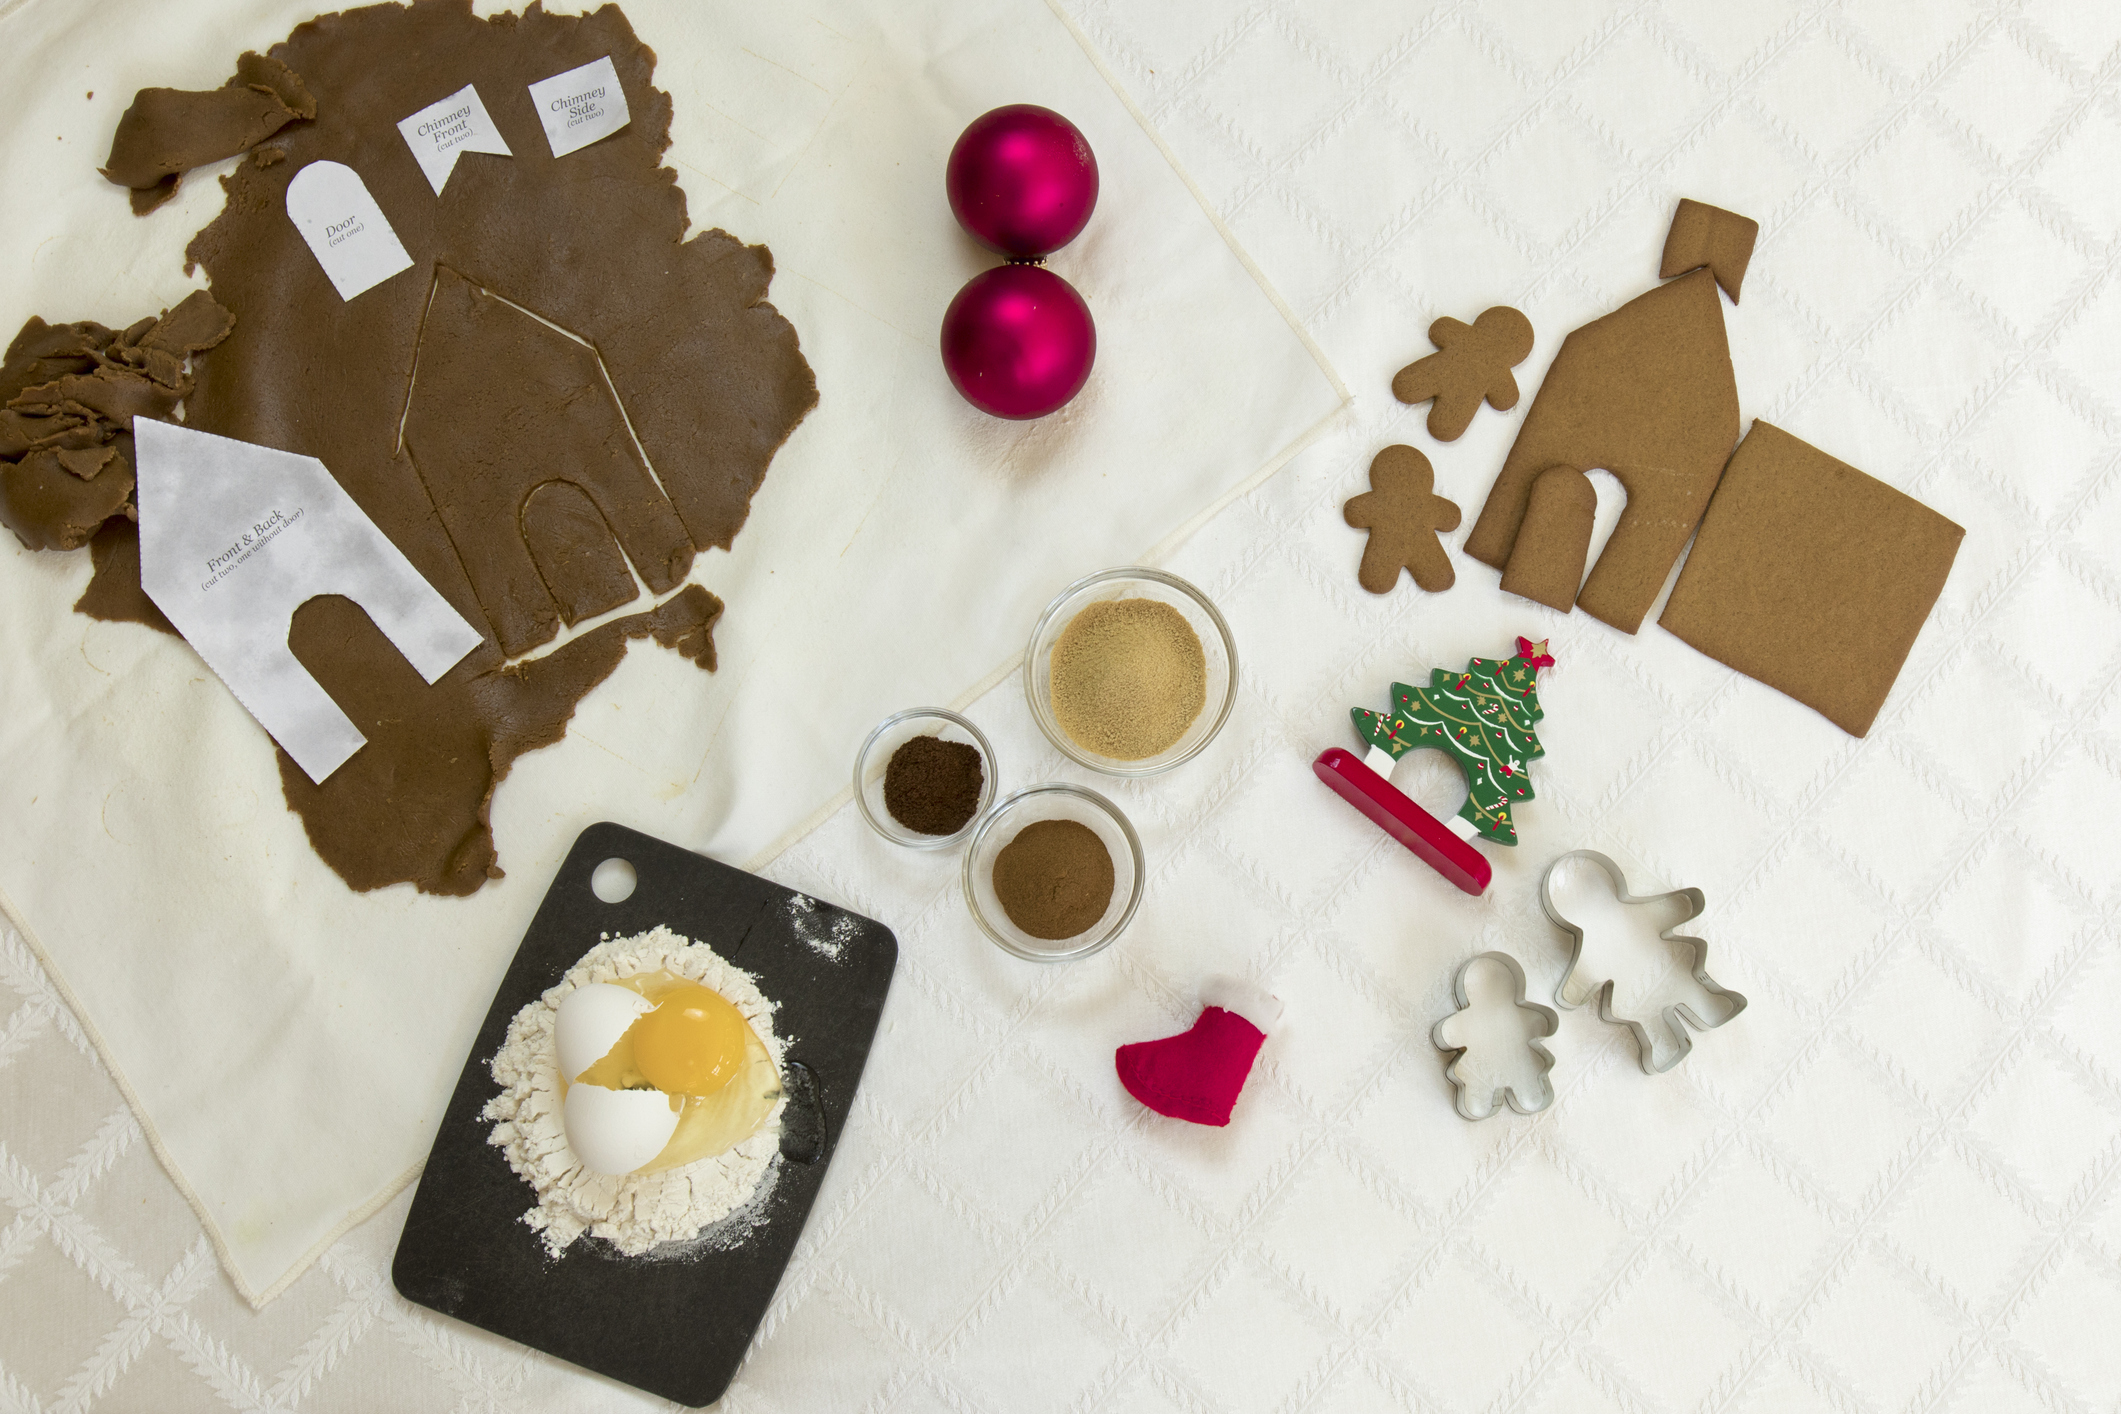
The fat is mostly shortening. Butter tastes better and builds worse. Butter carries water, and in the oven that water turns to steam and leaves small pockets behind in the panel. Pockets are where a wall cracks. Shortening carries no water and melts at a higher temperature, so a cut edge holds its shape for longer before the structure sets around it. We keep two tablespoons of butter for flavor and let the shortening do the structural work.
The syrup is not there for sweetness. Molasses and corn syrup both hold on to a little water instead of drying out completely, and that is what keeps a baked panel from going glassy. Take the syrup out and you get a harder panel that snaps under a thumb. It is the most overlooked ingredient in a construction dough.
The egg stays in. Egg protein sets into a continuous network across the panel as it bakes. That network is what lets a panel bend a few millimeters before it gives, rather than going straight from rigid to broken.
There is no baking soda and no baking powder, and that is on purpose. Leavening does exactly one job: it puts gas into the dough. Gas means bubbles, bubbles are weak spots, and a panel that rises unevenly is a panel that rocks when you stand it up. Sugar Geek Show, Gingerbread by Design and Serious Eats, three of the construction doughs on the comparison table below, leave it out entirely.
If shortening is not an option, here is the fork. The deciding factor is whether the house gets touched. If it is a centerpiece that sits on a sideboard and gets photographed, swap in an equal weight of butter and accept a softer panel; nothing will ever load it. If small hands are going to press candy onto the roof for a week, use the shortening. That is where the water in butter costs you something.
The Two Ways a Gingerbread Wall Fails
A gingerbread wall fails either by sagging or by snapping. Sagging is a moisture problem: the panel still holds water, so it slowly bows under the weight of the roof. Snapping is a brittleness problem: the panel is so dry it has no give at all, so a single point of pressure splits it. The two problems have opposite fixes, which is why you cannot solve both by simply baking a recipe longer or shorter.
Panel thickness is the one measurement worth being fussy about, and a rolling pin with thickness rings removes the guesswork entirely.
This has actually been measured. MIT’s Department of Materials Science and Engineering put gingerbread through three point bending tests in its Laboratory for Physical Metallurgy. Shaymus Hudson, who runs that lab, uses a three-point bending apparatus that applies force to a material until it breaks. Asked what properties a gingerbread house actually needs, he named strength first and then added that “it also needs to have some ductility.” Ductility, not hardness. That is the whole argument of this page, and it is the opposite of what most construction recipes optimize for. Northeastern’s College of Engineering runs an annual Structurally Stable Gingerbread House Competition, which tells you the problem is real enough that engineering students compete over it.
Picture a house that looked square at bedtime and is leaning by breakfast. Nothing fell over. The walls simply bowed a few millimeters each under the weight of the roof, because the panels went into a 350 degree oven for twelve minutes, came out looking done, and were still holding water in the middle. That is sag, and because it shows up hours after the build is finished, almost nobody traces it back to the bake.
Snap arrives in a different moment. It arrives while you are decorating, when the roof is already on and you are pressing a row of gumdrops along the ridge, and on the fourth one there is a small crack you did not cause with any real force. An over-baked panel holds a steady load perfectly well right up until it does not. It is strong and it is fragile at the same time, which is a genuinely confusing combination if nobody has told you the two are different properties.
What the Recipes Ranking for This Search Actually Specify
Every construction gingerbread recipe makes three choices: which fat, how much leavening, and how hot and how long to bake. Nobody publishes those choices side by side, so here they are.
| Recipe | Fat | Leavening | Bake | Reader rating |
|---|---|---|---|---|
| Sugar Geek Show | Vegetable shortening | None | 300F, 30 to 50 min | 4.9 from 208 |
| Gingerbread by Design | Shortening plus 1 cup corn syrup | None, and no egg | 350F, 15 to 30 min | Not rated on the page |
| Serious Eats | 3 Tbsp butter plus corn syrup, no molasses | None, and no egg | 350F, about 25 min | 4.3 from 6 |
| Sally’s Baking Addiction | Butter | 1/4 tsp soda to 3 cups flour | 350F, 18 to 20 min | 4.4 from 110 |
| That Bread Lady | Vegetable oil | 1 Tbsp baking powder to 2 3/4 cups flour | 300F, 25 to 30 min | Not rated on the page |
| King Arthur Baking | Butter and buttermilk | 1 tsp soda to 5 cups flour | 350F, 10 to 12 min | 3.5 from 35 |
| NYT Cooking | Formula is behind the paywall and could not be read | 5.0 from 721 | ||
Two things fall out of that table. The first is that the leavening column splits cleanly: three of the six readable doughs use none at all, and two of those three also choose a fat that carries no water, while the third, Serious Eats, keeps its butter to three tablespoons and leans on corn syrup instead. The second is that among the four doughs with visible reader ratings, the highest rated bakes coolest and longest with no leavening, and the lowest rated bakes fastest, with more than twice as much soda per cup of flour as any other rated dough.
Four ratings is not a study, and the Serious Eats figure comes from only six readers. Reader ratings measure how a recipe felt to use as much as how it performed, and a recipe can be marked down for being slow rather than for failing. But the direction of it matches the physics, and it matches the choice the three leavening-free doughs made on their own. That is enough to act on, and it is what this recipe acts on.
If you already have a family recipe you would rather build with, the checker below runs it against the same choices before you roll anything out.
Will My Recipe Hold a House?Answer six quick questions about the recipe you already have, a family favorite or a cookie recipe you love, and this checks it against the choices that make gingerbread sturdy.Leavening in the recipeThe main fatSweetenersOven temperatureRolled thicknessWho handles the houseFor informational purposes only. This checks your recipe against general construction choices, not against a test bake, so treat the verdict as a guide and let the bend test have the last word. Nothing you select is stored or sent anywhere; it all runs in your browser.
How to Make the Dough Step by Step
1.Melt the shortening, butter, molasses and corn syrup
Put all four in a large saucepan over low heat and stir occasionally. Take it off the heat as soon as the shortening has disappeared and the surface has gone glossy rather than grainy. Do not let it near a simmer.
2.Stir in the brown sugar and let the pan cool
The sugar dissolves into the warm syrup in under a minute. Then wait. It is ready when the side of the pan is warm to the back of a finger and not hot, usually about ten minutes.
3.Beat in the egg
Add the egg and beat hard for fifteen seconds. The mixture turns a shade lighter and stops looking separated. If it looks curdled, the pan was still too hot.
4.Work in the flour, spices and salt
Whisk the spices and salt into the flour first, then add the flour a cup at a time. Stop the moment the dough pulls away from the bowl in a single mass and a pressed edge holds its shape instead of slumping. It should feel stiff and slightly tacky, never crumbly.

5.Divide the dough, wrap it and chill
Split it in two, flatten each half into a disc about an inch thick, wrap them and refrigerate for at least an hour. The dough is ready when a poked disc dents and stays dented rather than springing back.
6.Roll a quarter of the dough at a time and cut against your template
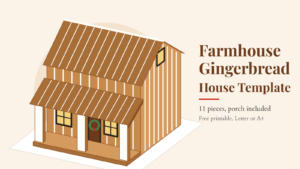
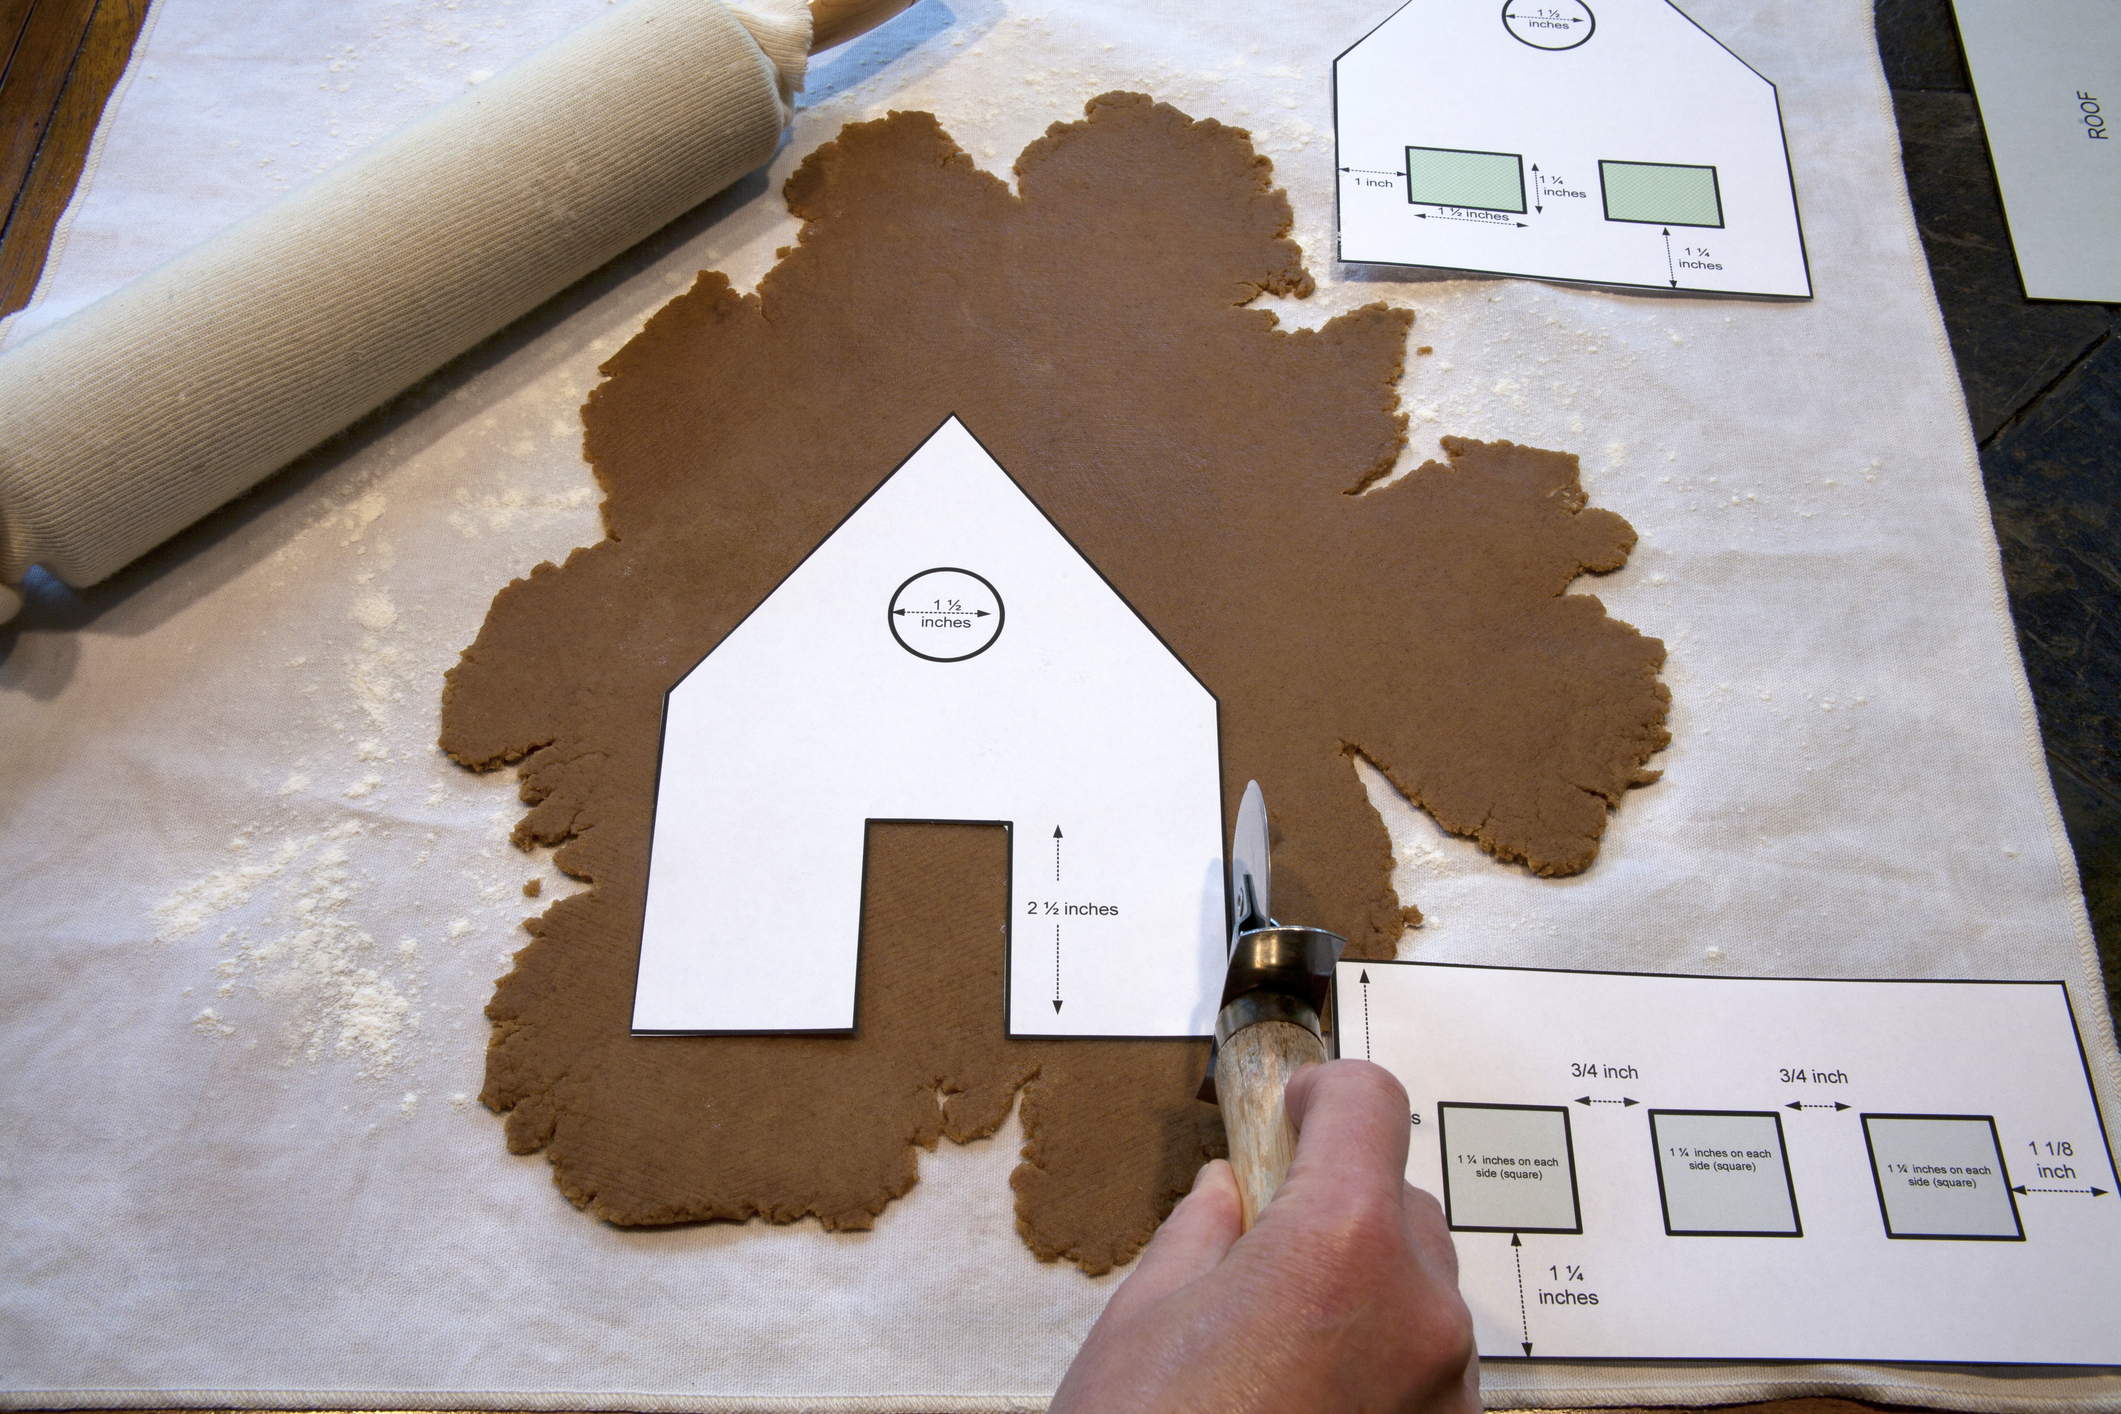
Roll on parchment to an even quarter inch, using guide rails or two stacked rulers if you have them, because uneven thickness is the single most common cause of a warped panel. Cut your shapes, peel away the offcuts, and leave the panels on the parchment. A correctly rolled sheet lifts in one piece without stretching at the corners. If you would rather not measure your own, we have printable gingerbread house templates sized for a standard sheet pan. Keep the dough you are not using in the fridge.
7.Bake at 300 degrees, then trim while warm
Slide the parchment onto a sheet pan and bake for 22 to 30 minutes depending on panel size, rotating halfway. They are done when the surface has gone matte and the edge is firm under a fingertip. Trim any spread back to your template lines within two minutes of them coming out, while the gingerbread still cuts cleanly, then cool them flat.

8.Test a scrap strip before you assemble anything
Bake one extra strip of dough, roughly one inch by four, on the same pan as the panels. Once it is completely cool, run the bend test below on it. This is the step almost nobody does and the one that tells you whether the last hour worked.
The Bend Test
Hold the cooled test strip at both ends and press the middle with your thumbs until it gives. What it does next tells you whether your panels are ready, and it costs you one scrap of dough to find out. There are three outcomes and they mean three different things.
If it bows a few millimeters and then breaks with a clean snap, that is the target. Build. If it shatters into shards with no bend at all, it is over-baked and brittle, and it will crack while you decorate rather than while you build. If it bends and stays bent, or flexes without breaking at all, it is still holding water and the walls will bow under the roof within a few hours. That last one is the one worth catching, because it is the failure that looks fine until you have already gone to bed.
Say you are building on a Saturday afternoon with two children who have been waiting all week. The strip bends and does not break. The right move is not to press on and hope; it is to put every panel back in the oven at 275 for ten minutes while everyone decorates the base board, and lose ten minutes instead of the house. The test takes four seconds and it is the difference between finding out now and finding out at seven the next morning.
The Bend Test Diagnostic
Bake one extra strip of dough with every batch. When it is completely cool, hold it at both ends and press the middle until it gives. Tell us what happened and this reads the panel for you, before you glue anything together.
For informational purposes only. Baking times vary by oven, panel thickness and kitchen humidity, so treat this as a guide rather than a guarantee. Nothing you select is transmitted anywhere or stored; the diagnosis is generated in your browser and disappears when you close the page.
Once the panels pass, the build itself is straightforward, and we have a full assembly walkthrough that takes it from four flat walls to a finished roof.
Troubleshooting
| Symptom | Cause | Fix |
|---|---|---|
| The dough spread and lost its cut shape in the oven | The dough was warm when it went in, or it was rolled too thin | Chill the cut panels on the pan for fifteen minutes before baking. Cold fat resolidifies and holds the edge through the first few minutes, which buys the starch and protein time to set before the dough can flow |
| Panels warped or curled as they cooled | Uneven thickness, or cooling in a draft | Roll against guide rails and cool the panels flat and slowly, away from an open window. Warping is differential drying: when one part of a panel loses moisture faster than another, the two shrink by different amounts and the panel pulls itself out of true |
| The test strip shattered with no bend | Over-baked, or the syrup was reduced | Pull the next batch four to five minutes earlier and check the oven with a separate thermometer. A dial that reads 300 and runs at 325 does exactly this. Keep the corn syrup in; it is what holds the last of the moisture in the panel |
| The test strip bent without breaking | Under-baked, still holding water | Return every panel to a 275 degree oven for eight to twelve minutes, cool flat, and test again. Add time rather than temperature, because a hotter oven colors the surface before the middle has dried |
| The panels crumbled instead of breaking in two | Too much flour, or the dough was not worked long enough to hydrate | Weigh the flour instead of scooping it, and add it a cup at a time. If the dough still looks dry, work in water a teaspoon at a time until it comes together in one mass |
| The walls slumped at assembly | The mortar icing was not stiff enough, or the roof went on too early | Whip the icing to a peak that holds its shape without drooping, and let each wall joint set for ten minutes under support before adding load. Royal icing gets its strength from egg protein setting alongside sugar crystallizing, and underwhipped icing has not built enough of that network to carry weight |
| The gingerbread went soft a day after baking | It pulled moisture out of the air, or out of icing that had not cured | Cool the panels completely before assembly and leave the finished house uncovered rather than boxed. Moisture moves from wherever there is more of it to wherever there is less until the two even out, and a sealed container traps it against the walls |
| A roof panel cracked while it was being decorated | Point loading a brittle panel | Attach decorations with a dab of icing rather than by pressing them in. If the roof is already brittle, glue a scrap strip along the underside of each panel as a brace before you go any further |
Make-Ahead and Timeline
Baked panels keep about a week in a dry room, so this build is easier split across days. Make and chill the dough on day one. Roll, cut, bake and bend test on day two, then assemble on day three. Splitting it also means the panels finish drying on the counter, which works in your favor.
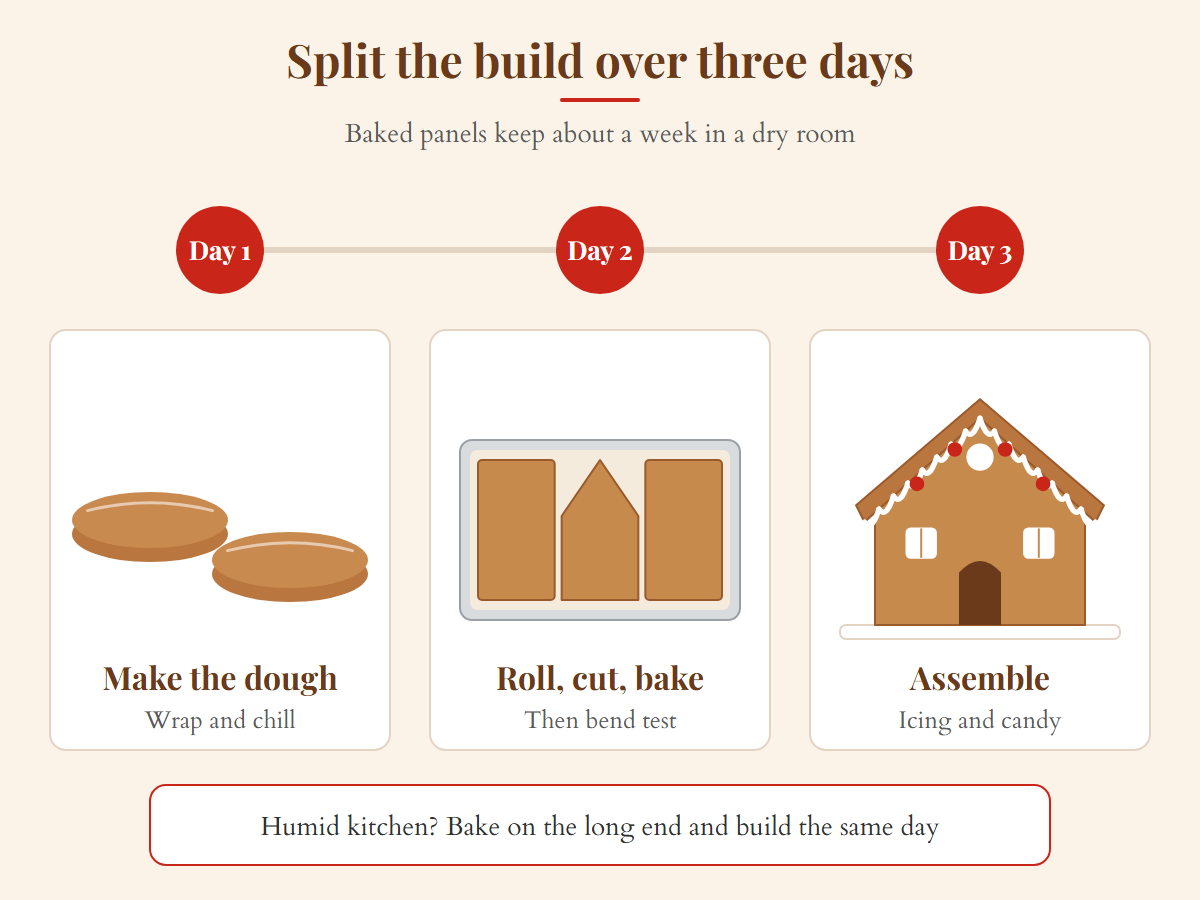
Humidity changes the timeline, and it is the deciding factor most guides leave out. In a dry winter kitchen, panels are ready to build with a few hours after they cool. In a humid room, or anywhere the oven has been running all day, they are pulling moisture back in the whole time they sit, so bake on the longer end of the window and build the same day rather than leaving them out overnight.
Picture a Saturday where the plan is to build at two because that is when the kids arrive. The version that works starts on Thursday: dough Thursday night, panels baked and tested Friday, and Saturday is nothing but icing and candy. The version that does not work is the one where the dough goes into the fridge at noon and everyone stands around at two watching it chill. Our building tips cover the rest of the day.
Use the scaler below to work out what your own house needs before you start. It takes your dimensions and returns the cut list, the total panel area and how many batches that is.
Dough Scaler and Cut List
Enter the house you want to build. This works out every panel you need to cut, how much total gingerbread that is, and how many batches of the dough above it takes. Measurements in inches.
Estimates for planning, not a guarantee. Yield assumes dough rolled to a quarter inch and a fifteen percent allowance for trim and offcuts; rolling thinner covers more area and rolling thicker covers less. The cut list includes a one inch roof overhang on each side and does not include a base board, a chimney or cut-out windows. Everything is calculated in your browser, and nothing you type is sent anywhere or saved.
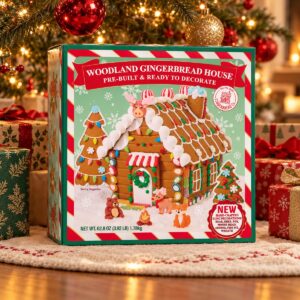
One more fork worth naming. The deciding factor here is failure tolerance, not skill. If you are building with someone who will be genuinely upset if a wall cracks, a scratch build is the wrong project this year, and that is not a small consideration; it comes up constantly in parenting forums. Start with a good kit, where the panels arrive flat and pre-baked and the only variable is the decorating. Bake from scratch the year after, when a cracked panel is a funny story rather than the end of the afternoon.
Decorating and the Mortar Icing
The icing on this page is deliberately minimal, because it has one job: hold two panels together at ninety degrees while they set. Whip meringue powder, water and powdered sugar to a stiff peak, use it straight from the bowl, and keep the working bowl covered so it does not crust. For everything else the icing has to do, the flooding consistency for a snowy roof, the piping consistency for window frames, tinting, and whether raw egg whites are worth the risk, we have a whole page on royal icing consistencies, tinting and the egg white question.
Mortar-grade icing is far easier with meringue powder than with raw whites, and it keeps indefinitely in the cupboard.
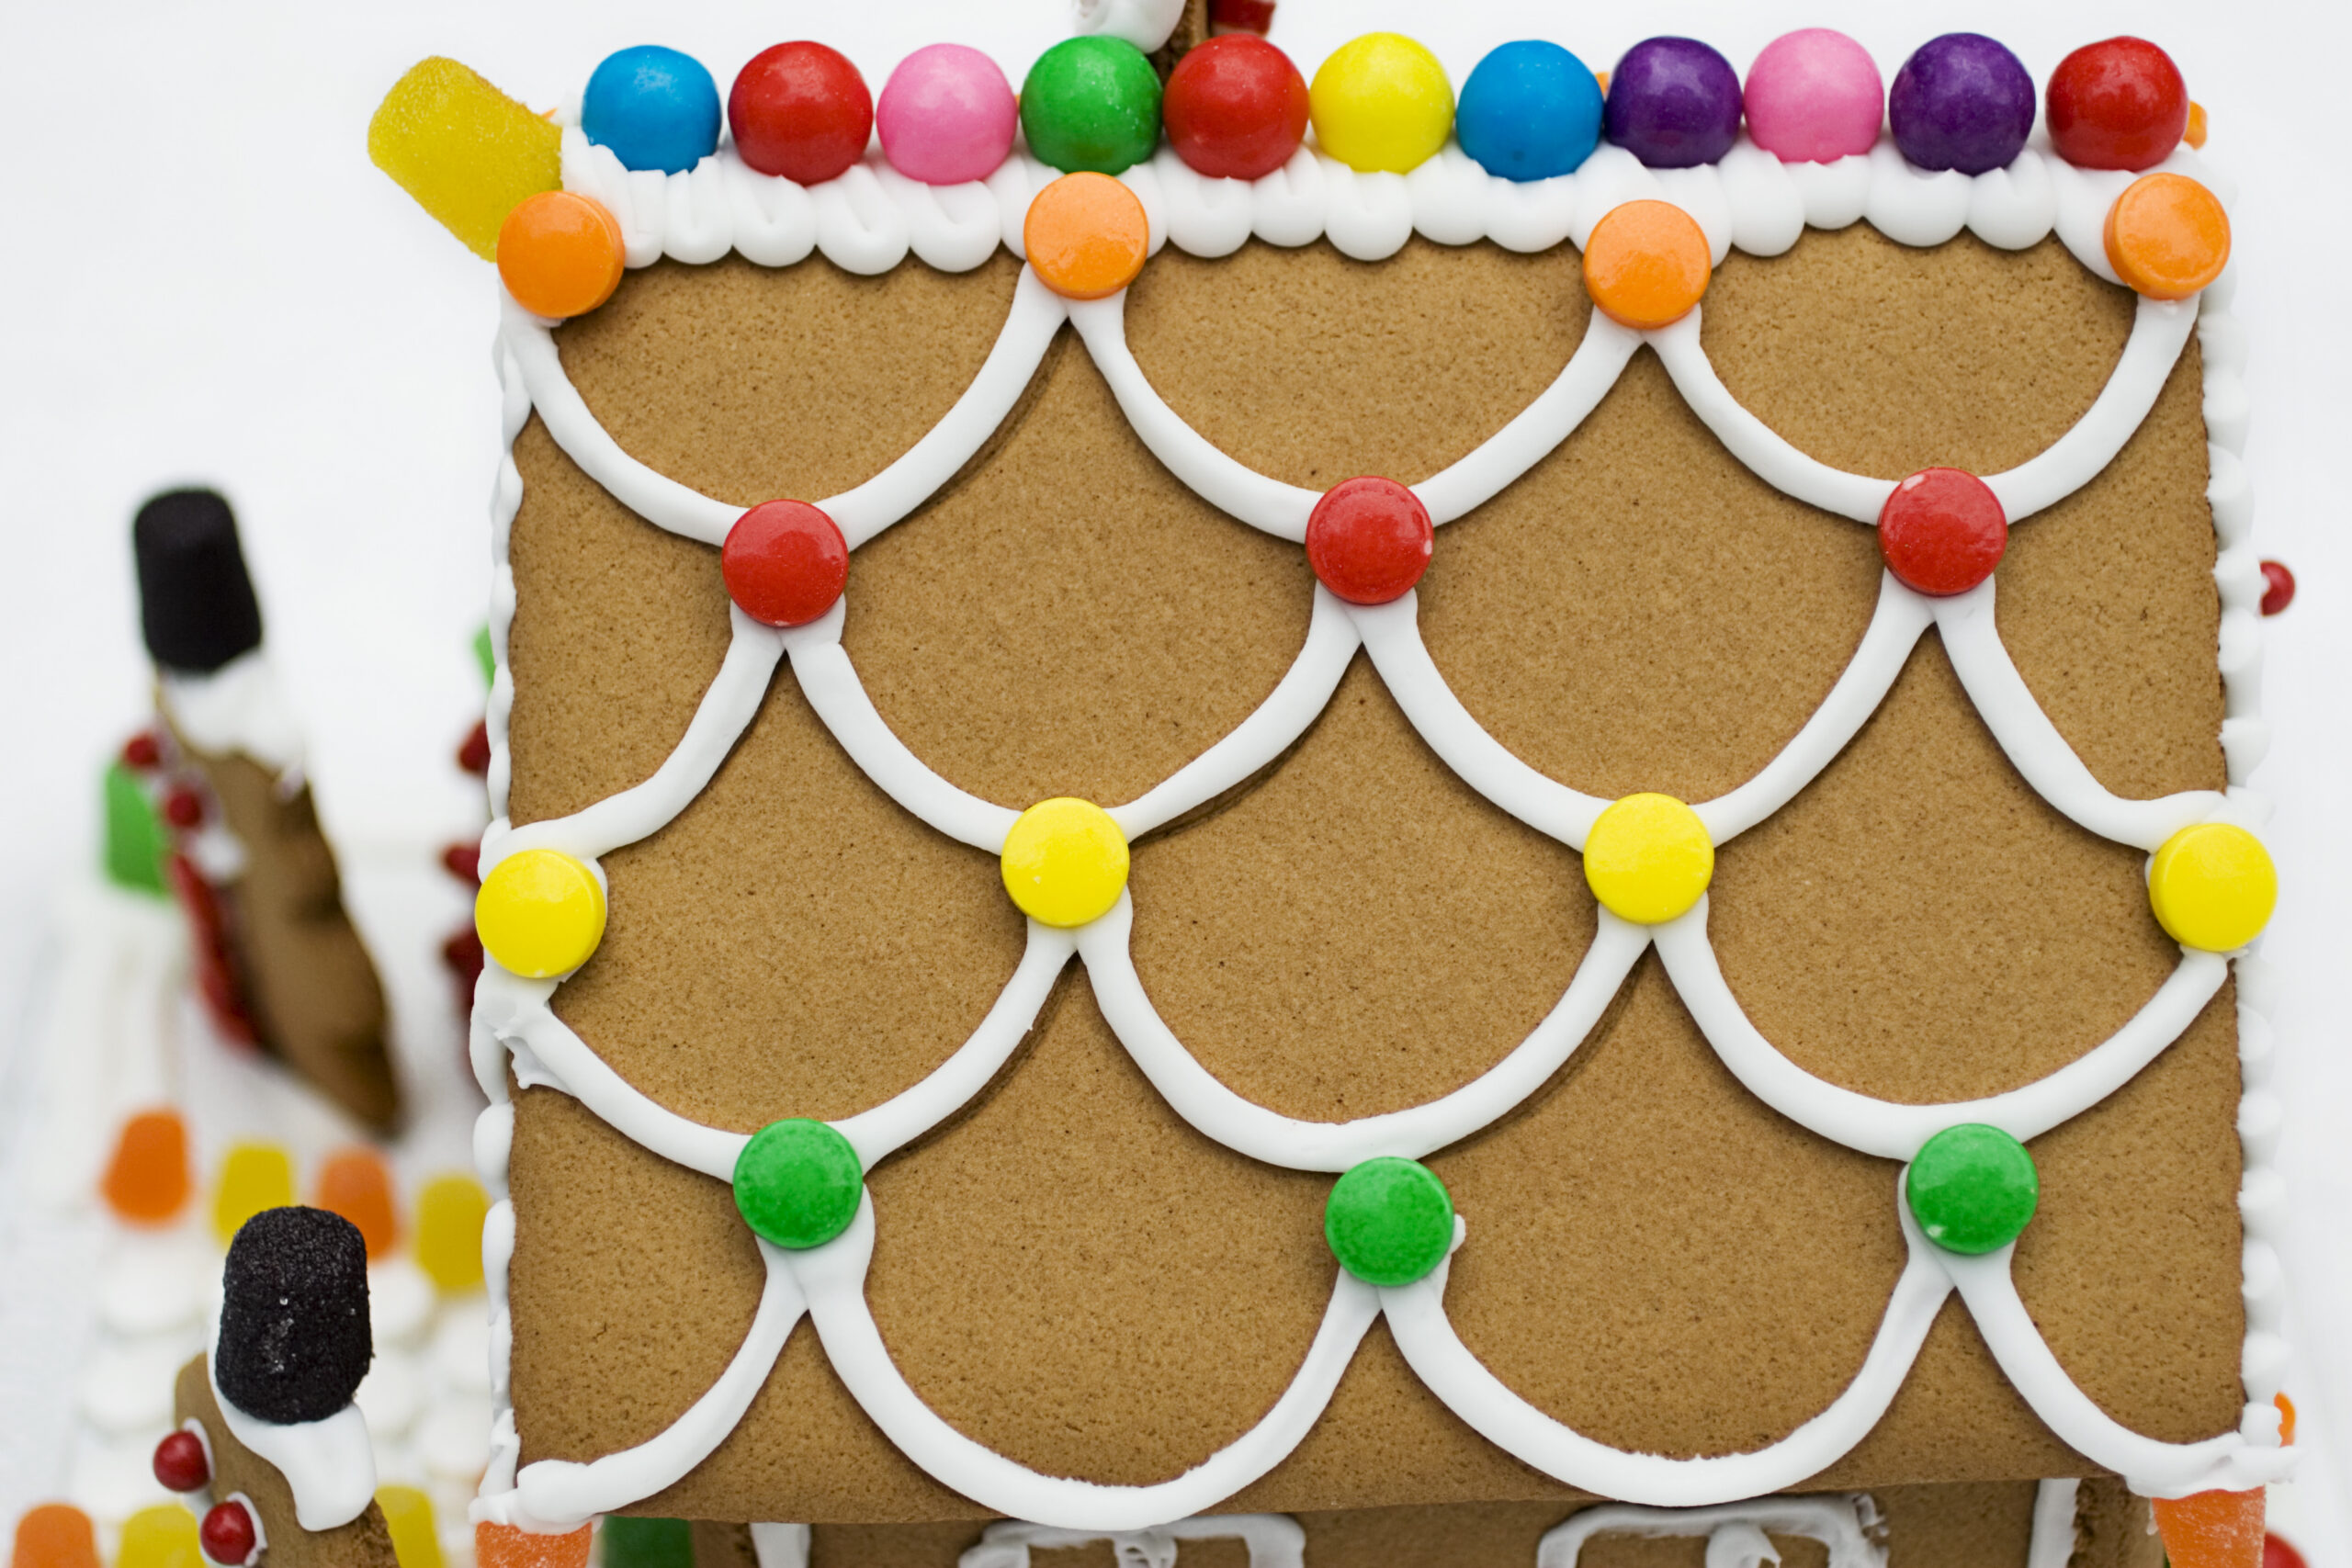
On the decorating itself, the point-load problem from earlier is worth carrying into your candy choices. Heavy candy pressed onto a roof is exactly the load that cracks a brittle panel, so weight matters more than most decorating guides admit. Our guide to which candy holds on a wall and which slides off sorts them by that, and if you want to see what the finished thing can look like first, start with the decorating ideas.
Storage Instructions
Store unbaked dough wrapped in the fridge for up to five days, or frozen for three months; thaw overnight in the fridge before rolling. Baked panels keep about a week stacked flat with parchment between them, uncovered rather than sealed. A finished house is best left out on its board where the air can keep it dry. For how long it stays genuinely worth eating rather than just standing, see how long a gingerbread house actually lasts.
FAQ
Can you actually eat this gingerbread house?
Yes, and that is the point of the formula. It is drier and less sweet than a gingerbread cookie, so it is closer to a hard spice biscuit. Most construction doughs solve the structure problem by giving up on flavor entirely; this one keeps a little butter and a lot of molasses so there is something worth breaking off.
Can I use butter instead of shortening?
You can, weight for weight, and it will taste better. The panel will be softer and more prone to sagging, for the reason set out in the ingredient notes above. If the house is a display piece nobody handles, that trade is fine. If it is going to be built on and picked at, keep the shortening.
Why is there no baking soda or baking powder in this recipe?
Because leavening puts gas in the dough, and gas pockets are weak points in a panel that has to carry a roof. Three of the doughs on the comparison table above leave it out too, including the highest rated one.
How much dough do I need for one house?
One batch covers roughly 225 square inches of finished panel at a quarter inch thick, about enough for a house seven inches across, five deep and five to the eaves, plus scraps. That is an estimate calculated from the weight of the dough rather than measured off a bake, so treat it as a planning number. The scaler above works it out for whatever house you want.
Can I bake the panels at 350 to save time?
You can, and you will spend the time you saved bracing the results. A hotter oven colors and firms the outside of a panel before the middle has finished drying, so it comes out looking done and behaving under-baked. Drying is the job here, and drying takes time rather than heat.
Can I make sturdy gingerbread without molasses?
Yes. The Serious Eats construction gingerbread lists corn syrup and no molasses, so molasses is not what holds a wall up; the syrup's job is keeping a little water in the panel, and corn syrup does that too. In this recipe, swap the 255 grams of molasses for the same weight of light corn syrup, add about a quarter more of each spice to make up the lost depth, and expect a paler, milder house. If the house is a centerpiece, the paler color is the only real cost. If it will be eaten, taste a baked scrap first, because the spices carry more of the flavor without molasses behind them. The swap is reasoned from that published formula rather than baked here, so run the bend test on a scrap before you build.
Can I use a gingerbread cookie recipe to build a house?
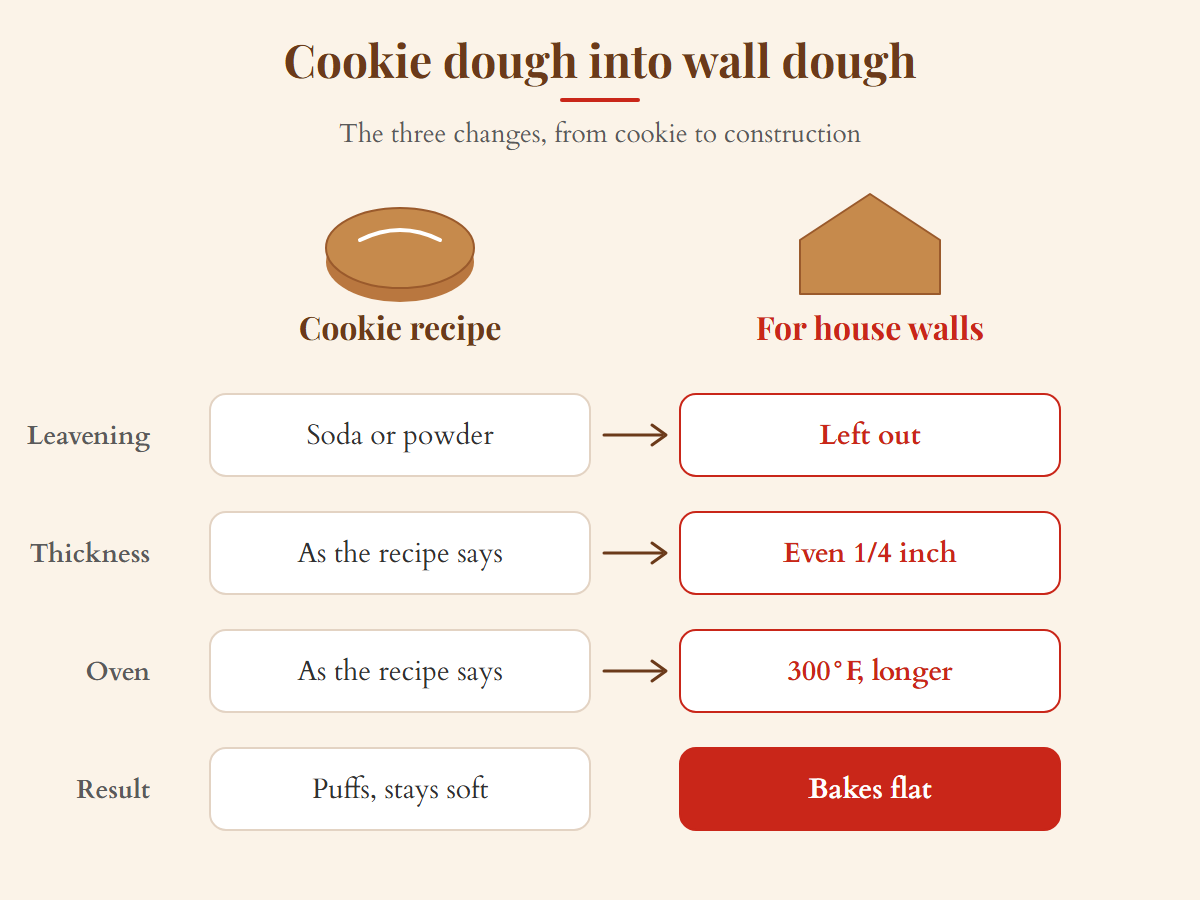
You can, if you change three things: leave out the baking soda or baking powder, roll to an even quarter inch, and bake at 300 degrees for longer. A cookie recipe keeps its leavening on purpose, because puff is what makes a cookie soft, and the same puff is what makes a wall rock and bow. For soft cookies to eat, our gingerbread cookie recipe is built for exactly that. For walls, start with the dough on this page, or run your own recipe through the checker above.
What can I use instead of royal icing to glue the walls?
Melted sugar is the strongest option and the least forgiving; it sets in seconds and burns badly, so it is an adults-only choice. Melted white chocolate is gentler, sets firm and tastes better than icing. If you want royal icing without raw egg whites, meringue powder or pasteurized whites give the same protein network without the risk, and the FDA's guidance on egg safety is worth reading.
More Gingerbread Recipes
- Gingerbread house dough and royal icing, the full icing reference, including consistencies and tinting
- Gingerbread house templates, printable panel shapes sized for a sheet pan
- How to make a gingerbread house, the assembly walkthrough
- Gingerbread house candy, what to buy for every part of the house
- Gluten free gingerbread house dough, the same structural thinking without wheat
Build Your Gingerbread House with Best Gingerbread Houses
If you are starting this week, here is the order to do it in.
- Decide today whether this is a display house or a house that gets handled, because that decides the fat.
- Run your dimensions through the scaler and buy flour for the batch count it gives you, not for one batch.
- Bake the panels and the test strip a full day before you plan to build.
- Run the bend test before you open the icing.
We have spent a long time on this site working out why gingerbread houses fall down, and the answer is almost never the icing. It is the panel, and it is decided in the oven an hour before anybody notices. If a scratch build is more than you want to take on this year, our guide to the best gingerbread house kits covers the ones that arrive flat, pre-baked and ready to decorate, which is a genuinely good answer for a first year.