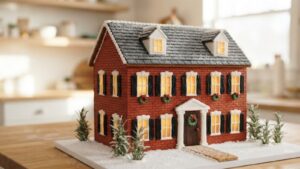
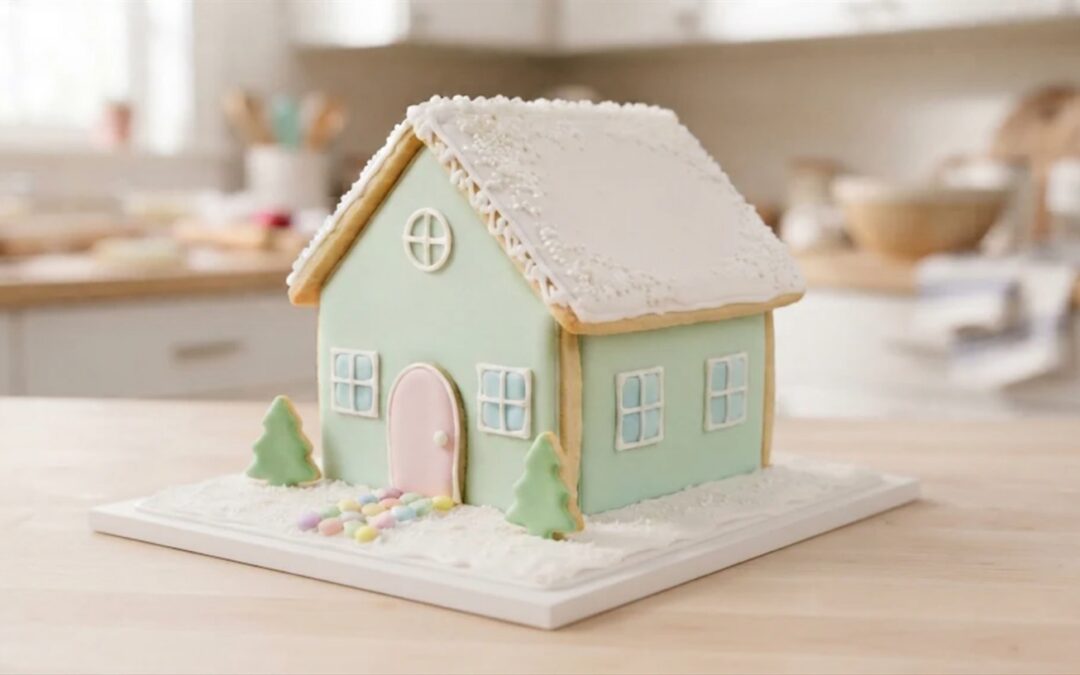
Some kids love building a gingerbread house and will not eat a single bite of it. A sugar cookie house fixes that, as long as the dough holds a straight wall. Most sugar cookie dough is made to puff and spread a little, which is lovely on a plate and a problem in a roof.
This dough leaves out the baking powder and swaps half the butter for shortening, following King Arthur Baking’s advice on cookies that keep their shape. The free template was drawn for a softer cookie: short walls, no holes cut anywhere, all checked by a script.
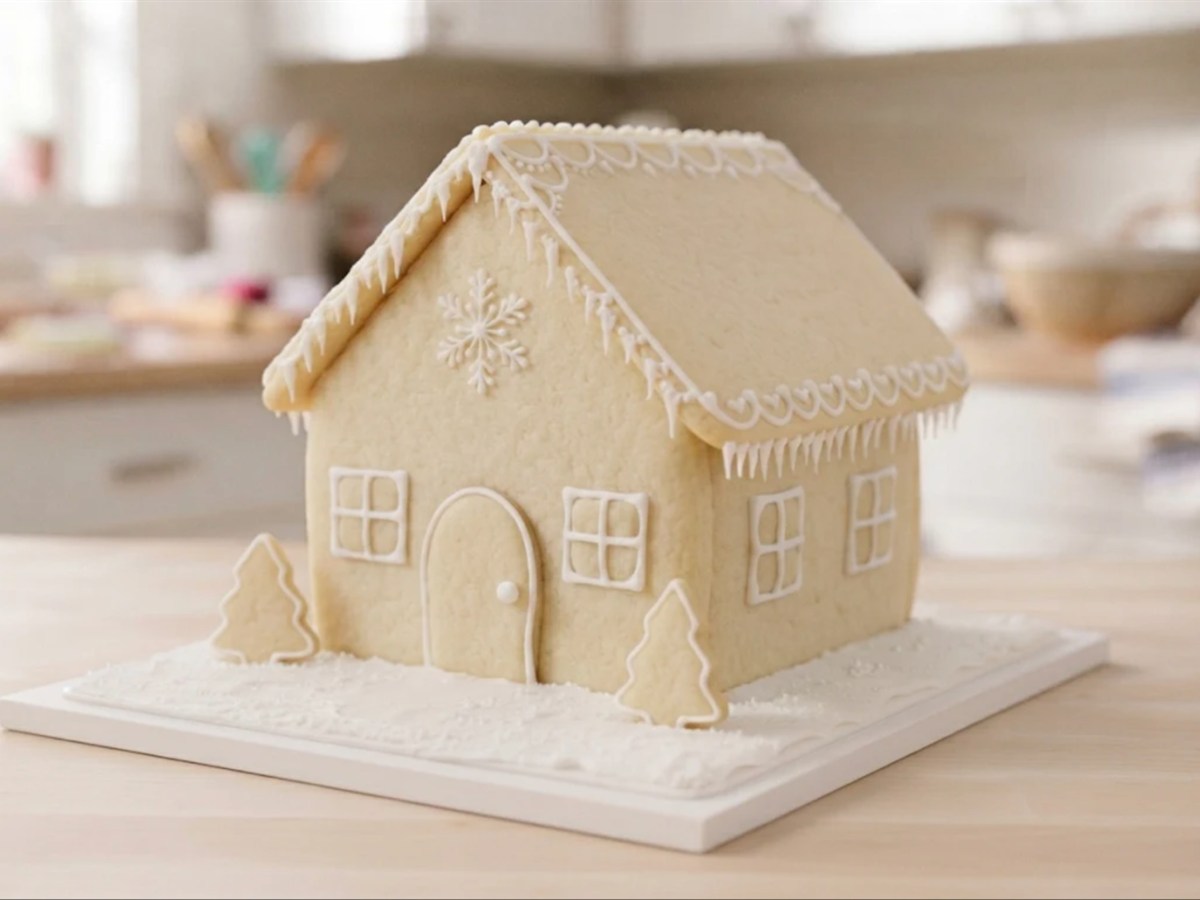
You will end up with a 5 1/2 inch cottage from half a batch of dough, with the rest left over for cookie trees and snowflakes. Start with the recipe card.
Sugar Cookie House
Makes 1 cottage, 4 inches wide, 5 inches deep and 5 1/2 inches to the peak, plus yard cookies · Prep 25 minutes · Bake 40 minutes over two pans · Chill, freeze and cool about 2 hours 40 minutes · Icing set and cure about 22 hours
Total time about 26 hours over 2 days, about 4 hours of it hands-on. The waits are what keep the walls from sliding.
Equipment: stand or hand mixer, rolling pin with 1/4 inch guides, parchment paper, 2 half sheet pans, the free 5-page template, a small sharp knife, piping bags with small round tips, 4 cans for propping, a board at least 10 by 10 inches.
Template: free 5-page PDF, US Letter, true size with a 1 inch test bar on every page.
Ingredients
No-spread sugar cookie dough
- 4 1/4 cups all-purpose flour, 510 g, spooned and leveled or weighed
- 3/4 teaspoon fine salt
- 3/4 cup unsalted butter, 170 g, cool but pliable
- 3/4 cup vegetable shortening, 144 g
- 1 2/3 cups confectioners sugar, 190 g
- 1 large egg
- 2 teaspoons vanilla extract
- 1/2 teaspoon almond extract
- 1 to 2 tablespoons cold water, only if the dough will not come together
Royal icing, make 2 batches one at a time
- 1/4 cup meringue powder, 43 g
- 1/2 cup cold water, 114 g
- 1/2 teaspoon cream of tartar
- 4 cups confectioners sugar, 454 g, unsifted
- Gel food coloring in 2 or 3 pastel shades
Method
- Make the dough: whisk the flour and salt, beat the butter, shortening and sugar on medium until smooth, beat in the egg, vanilla and almond, then mix in the flour on low and stop as soon as no dry flour remains.
- Chill the dough as two flat wrapped discs about 1 inch thick for 2 hours, until firm, then let them sit 20 to 30 minutes so they roll without cracking.
- Print the template at Actual Size, check the test bar, and roll the dough on parchment to an even 1/4 inch between guides.
- Cut the 10 pieces right on the parchment, peel away the scraps, and freeze the pieces on the pan for 10 minutes.
- Bake at 350 degrees F one pan at a time, about 16 to 20 minutes for walls and roof and 12 to 16 for the door and trees, until the edges are golden and the middle is firm, then trim against the template while warm and cool 30 minutes on the pan.
- Pipe the windows, trim and door while the pieces lie flat, glue on the door cookie, and let thin lines dry about 2 hours or a flood overnight.
- Stand the four walls on the board with the side walls between the gables, prop them with cans and wait 2 hours.
- Set the two roof panels on icing along the gable slopes and wall tops, then wait 4 hours before any snow or candy.
- Finish the snow, trees and path, then leave the house overnight before you move it.
Notes: the dough is adapted from King Arthur Baking’s Holiday Butter Cookies, made sturdier with shortening and less sugar per King Arthur’s guide to cookies that spread. Bake times come from Food Network Kitchen’s sugar cookie house and King Arthur’s cookie timing, not from a timed bake of this exact dough, and ovens vary, so bake the test strip with your first pan and check early. Wait times come from the set times on our icing pages.
Free Printable Sugar Cookie House Template
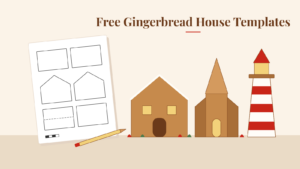
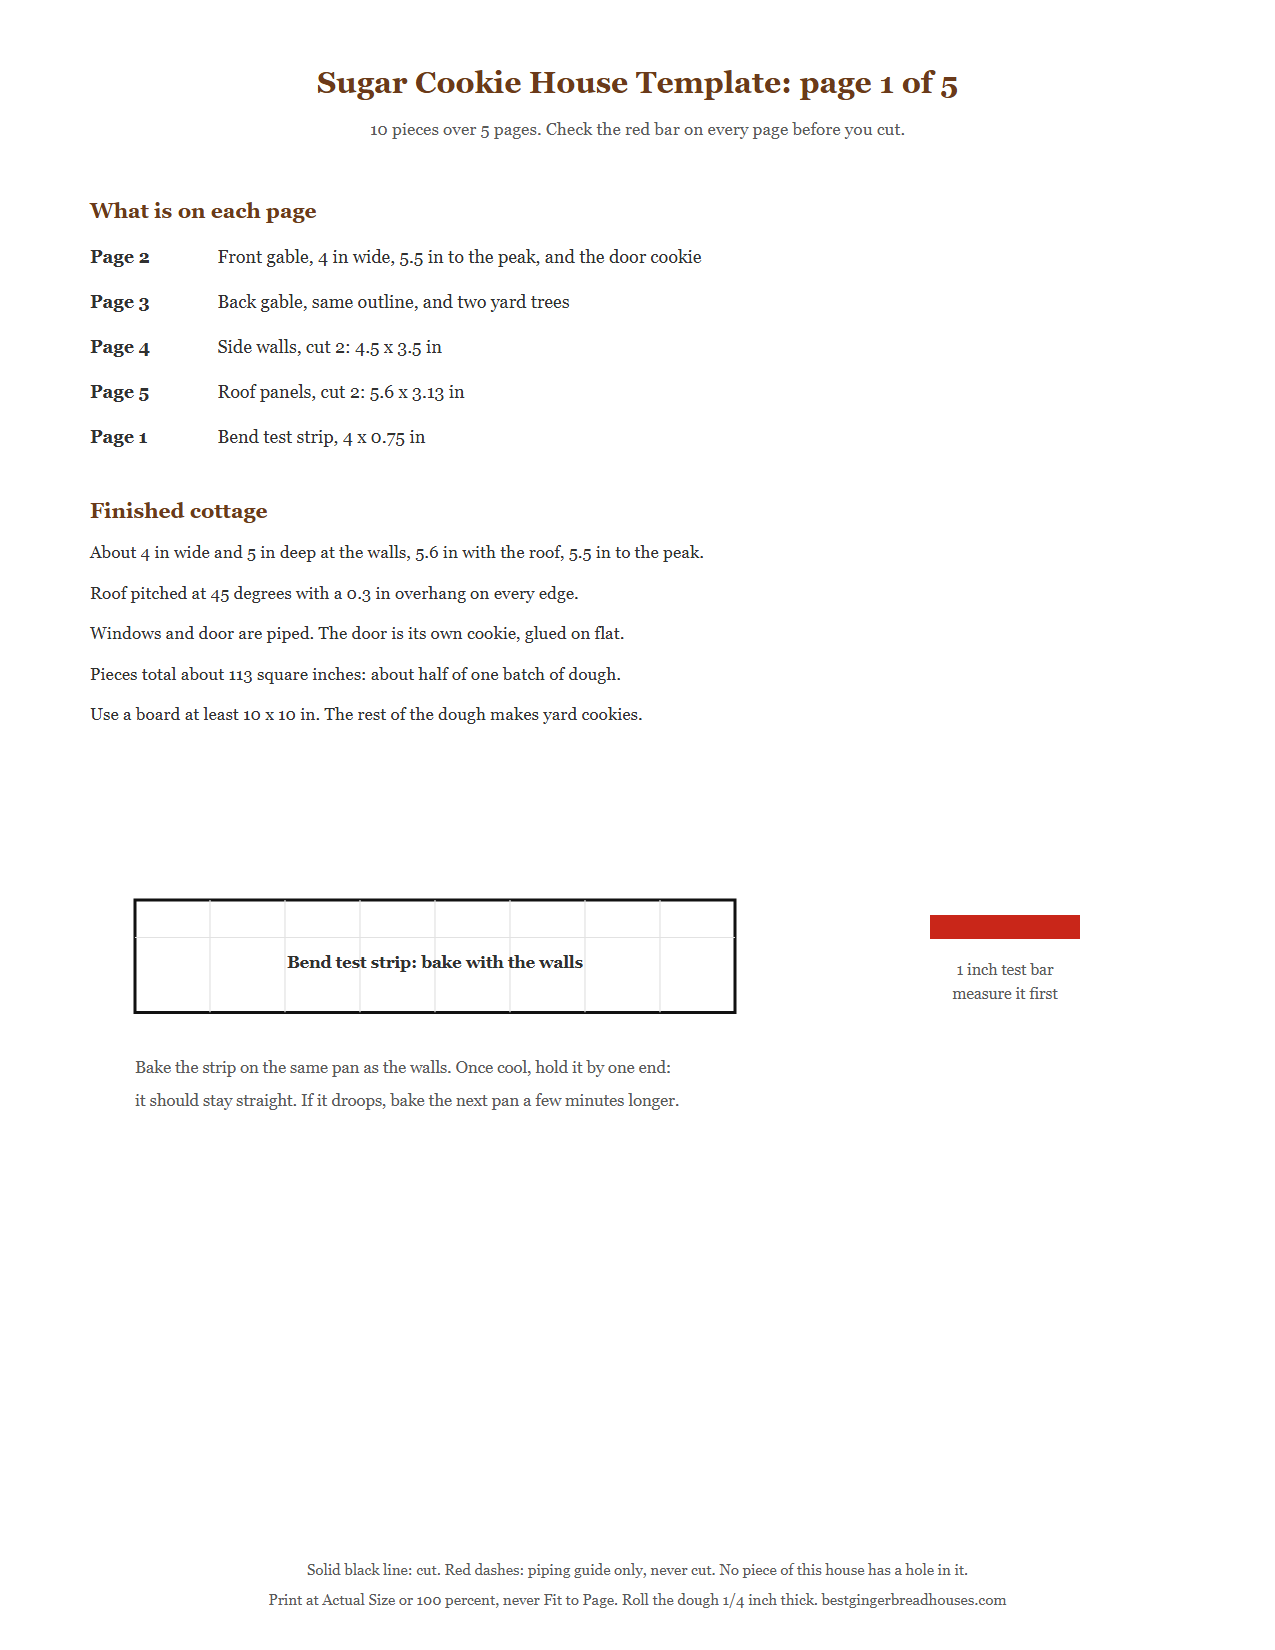
The template is five US Letter pages with every piece at true size over a faint 1/2 inch grid. Download the PDF, print it at Actual Size, and check that the red bar measures 1 inch before you cut anything. Solid black lines are cut lines. Red dashes are piping guides, and you never cut them.
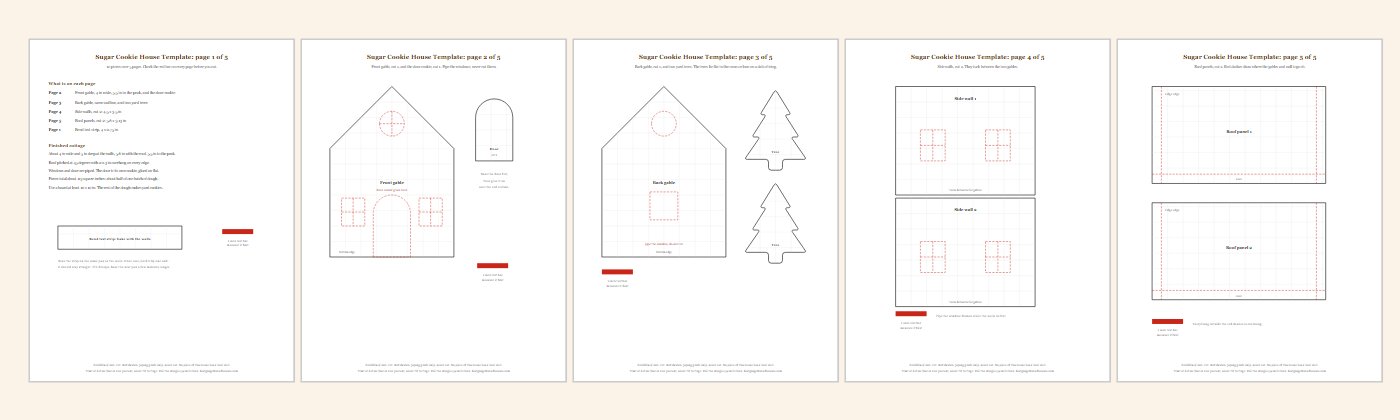
| Piece | Cut | Size |
|---|---|---|
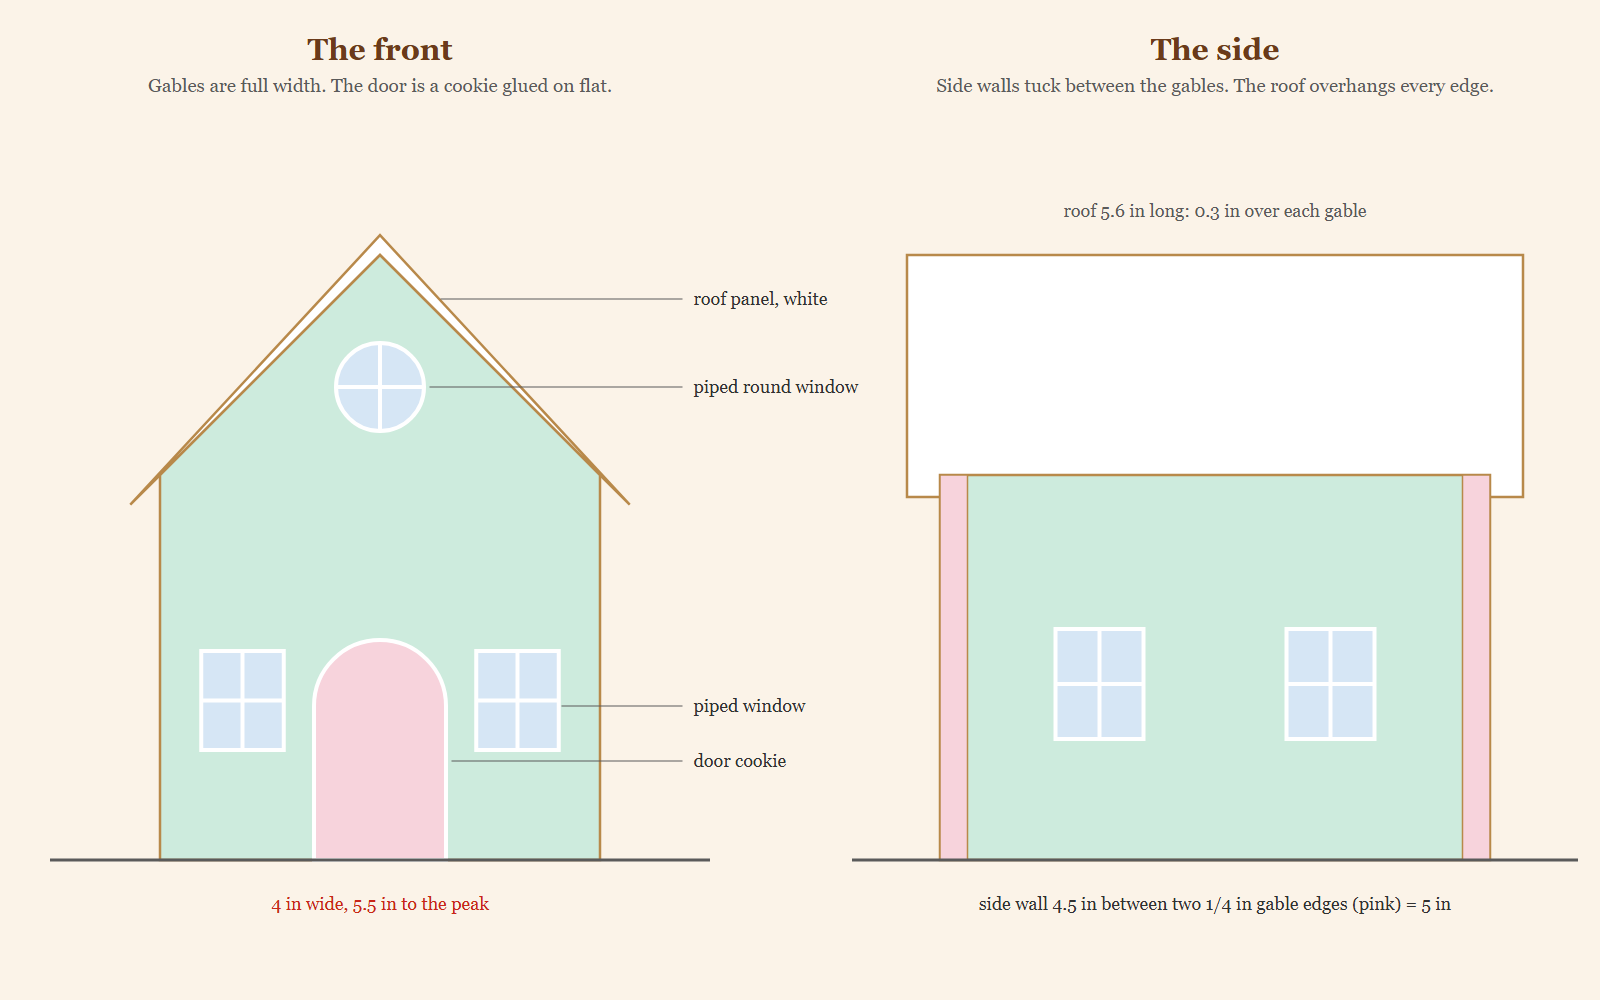
| Front gable | 1 | 4 in wide, 5.5 in to the peak, windows and door outlined to pipe |
| Back gable | 1 | Same outline, one window and a round window to pipe |
| Side walls | 2 | 4.5 x 3.5 in, two windows each to pipe |
| Roof panels | 2 | 5.6 x 3.13 in, 0.3 in overhang on every edge |
| Door | 1 | 1.2 x 2 in, round top, glued on flat |
| Yard trees | 2 | 2 x 2.6 in, three soft tiers |
| Bend test strip | 1 | 4 x 0.75 in, baked with the walls |
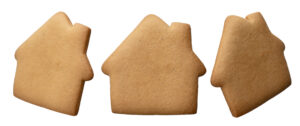
The pieces come to about 113 square inches. One batch of this dough covers about 175 square inches at 1/4 inch, worked out from its weight, so about 60 square inches are left for snowflakes, trees and a cookie for every helper. The roof is pitched at 45 degrees, and the side walls tuck between the two gables, which is why they are 4.5 inches long on a 5 inch deep house.
Why Sugar Cookie Dough Spreads, and How This One Doesn’t
Look at the sugar cookie houses people search for and you see the same thing: the dough is a party cookie dough. ZoëBakes’ lovely holiday house uses a cookie dough with 2 teaspoons of baking powder, and her own recipe tells you to space the cookies an inch apart because they spread slightly. Food Network Kitchen’s sugar cookie house uses a little baking soda. Neither gives a template you can print.
On a plate, a little spread is fine. On a house, a wall that spreads 1/8 inch no longer meets its corner. So this dough changes four things.
No baking powder or soda. King Arthur Baking puts it plainly: “Dough made without leavening will hold its shape better than dough using baking powder or baking soda.” Their Holiday Butter Cookies, the base for this dough, have no leavening at all, and the recipe says the cookies “can be close together; they’ll barely spread.”
Half the butter becomes shortening. Shortening melts at a higher temperature than butter, so King Arthur’s guide to spreading cookies suggests half butter and half shortening for cookies that hold their shape. The butter stays for flavor.
Less sugar. The same guide suggests cutting sugar by about 10 percent, because sugar pulls in liquid and leaves the flour less to hold. This dough uses confectioners sugar trimmed by about that much from the scaled recipe.
Cold going in. Chill the dough, then freeze the cut pieces for 10 minutes, the way Food Network Kitchen does with its house pieces. Bake on parchment, never a greased pan, and let your pans cool between batches. King Arthur notes that both grease and a hot pan start the spread before the oven does.
Ingredient Notes
Flour. Weigh it if you can. Too little flour leaves nothing to hold the fat when it melts, and a scooped cup can be far off from a spooned one.
Butter and shortening. Use butter that is cool and gives a little under your finger, not soft and shiny. If you have no shortening, all butter works, but expect a little more spread and trim more while the pieces are warm.
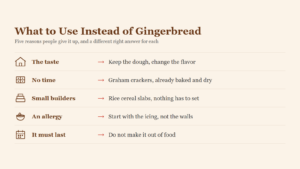
Almond extract. It is what makes a plain cookie taste like something. Leave it out for anyone with a nut allergy, and our guide to swapping gingerbread for a different building material walks through allergies in more detail.
Color. Use gel color, never liquid. Extra liquid is one of the things King Arthur lists as a cause of spreading.
How Thick to Roll the Walls and How Long to Bake Them
Roll every piece to 1/4 inch. King Arthur calls 1/4 inch cut-outs the sturdy ones, best for travel and kids’ decorating, and 1/8 inch cookies fragile. Food Network Kitchen rolls its sugar cookie house to about 1/4 inch, “no thicker,” and ZoëBakes says to roll thicker for bigger houses. A thicker sugar cookie takes much longer to bake through in the middle, so this house stays small instead.
| Piece | Thickness | Bake at 350 degrees F | Done when |
|---|---|---|---|
| Walls and roof panels | 1/4 in | About 16 to 20 minutes | Edges golden, middle firm and matte |
| Door and trees | 1/4 in | About 12 to 16 minutes | Edges just turning golden |
| Bend test strip | 1/4 in | With the walls | Stays straight held by one end, once cool |
The wall time comes from Food Network Kitchen’s house pieces, about 20 minutes at 350 degrees F at 1/4 inch. The small piece time sits between their 1/4 inch cookies at about 16 minutes and King Arthur’s thinner butter cookies at 12 to 14. Bake one pan at a time with similar sizes together, as ZoëBakes advises, so small pieces don’t over-bake while the big ones finish.
Pastel or White Winter: Two Looks
The dough bakes pale gold, so it takes soft color far better than dark gingerbread does. That is why our pink gingerbread house puts its color in the icing, and why this one can go either way.
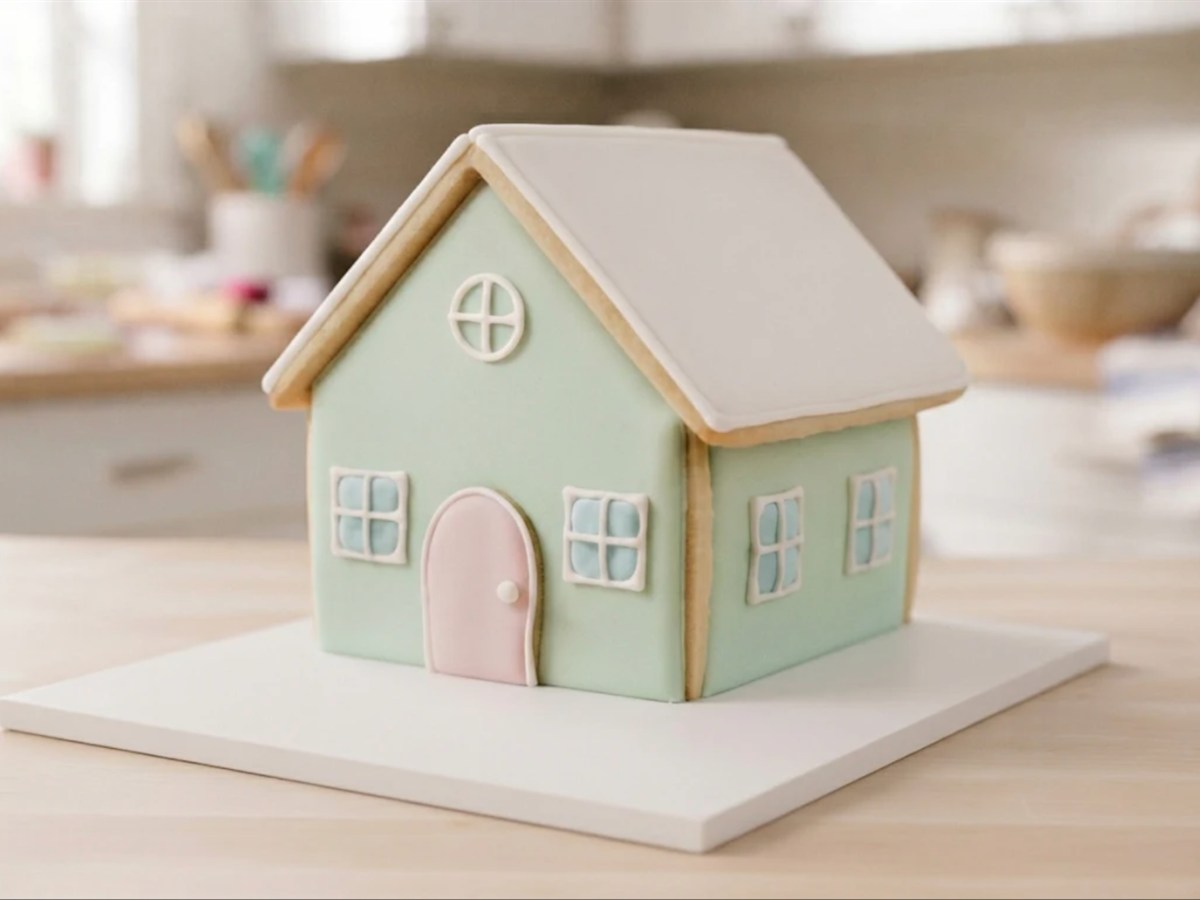
Pastel candy cottage. Flood the walls mint, pink or lavender, leave the roof white, and pipe the window panes baby blue with white frames. Glue on a pink door cookie. Pastel colors need only a toothpick dip of gel, and a flood needs to dry overnight before the walls stand.
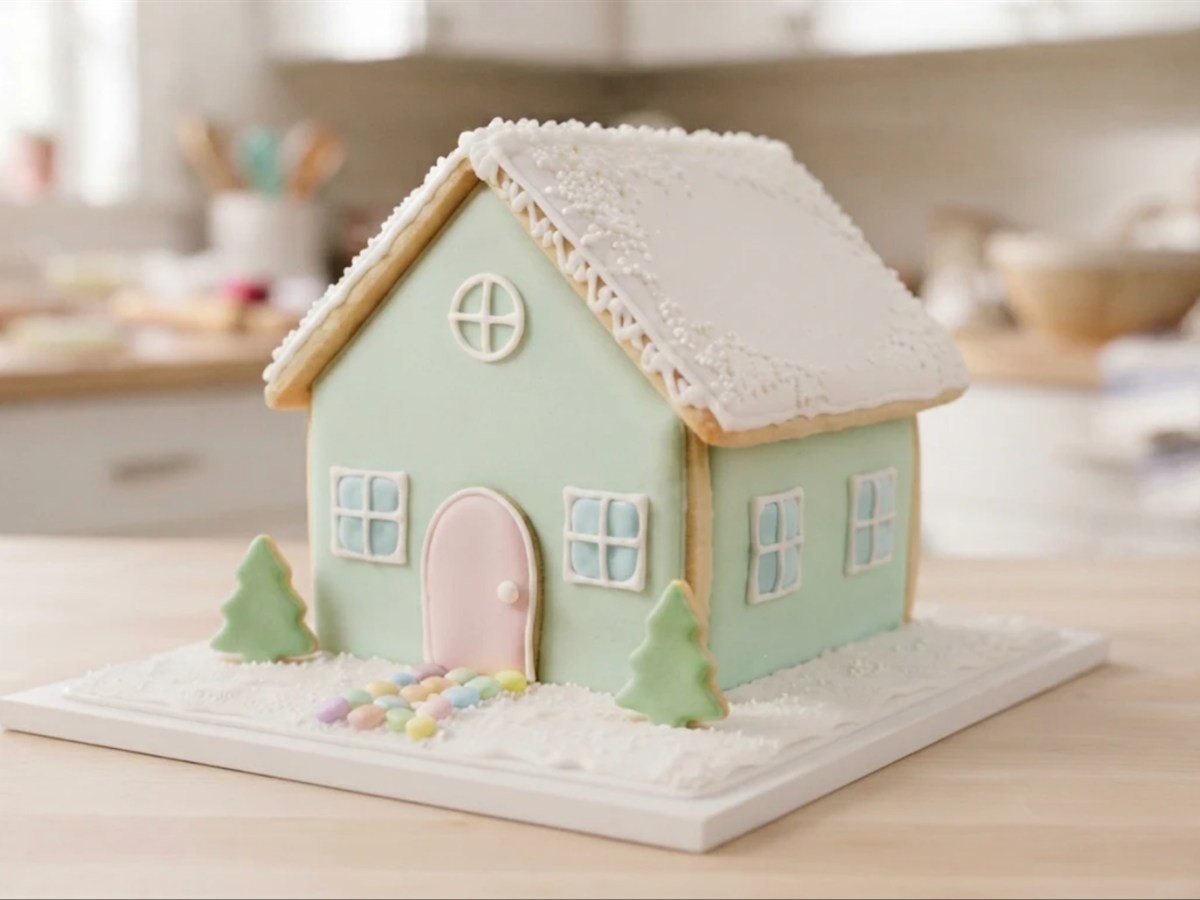
White winter cottage. Leave the walls bare cookie and pipe everything in white: window frames, roof scallops, icicles and a snowflake on each gable. The golden cookie looks like timber against the white. Thin lines dry in about 2 hours, so this look can stand the same day.
Tinted dough. You can knead a little gel color into part of the dough for pastel walls with no flood. Keep it light, because the edges still bake golden and show through a pale tint. Try your colors in the planner first.
Sugar Cookie House Color Planner
Pick a look, change any color, and see the cottage front update. Below it, the icing bowls to mix and how long they need to dry.
A planning drawing of the template front, not a photo. Gel colors vary by brand, so mix a spoonful first and let it dry before you color a whole bowl. Pastels darken a little as they dry. Nothing you pick leaves your browser.
What You Need for the Sugar Cookie House
You need one batch of dough, two batches of royal icing and a little candy. Everything else is kitchen gear you probably own.
Materials
- 1 batch of the no-spread sugar cookie dough in the card above. About half of it makes the house.
- 2 batches of royal icing that dries hard enough to hold a wall, made one at a time. Keep about two thirds of the first batch stiff for gluing.
- Gel food coloring in 2 or 3 pastel shades, such as mint, pink and sky blue.
- White nonpareils or sanding sugar for sparkle on the roof.
- Small pastel candies for the path, such as candy-coated chocolates or gumdrops.
- Powdered sugar for a snowfall over the yard.
Tools
- Rolling pin with 1/4 inch guide strips, parchment and 2 half sheet pans
- A small sharp knife, scissors and a ruler
- 2 or 3 piping bags with small round tips
- 4 cans for propping walls
- A cake board or tray at least 10 by 10 inches
How Long It Takes, Day by Day
Plan on six short sessions over two days, about 4 hours of hands-on work. Most of the time is icing drying, and the look you pick decides the longest wait.
| When | What you do | Hands-on | Then wait |
|---|---|---|---|
| Day 1, morning | Make the dough. | 25 minutes | 2 hours chilling |
| Day 1, late morning | Print, roll, cut, freeze, bake and trim. | About 1 3/4 hours | 30 minutes cooling |
| Day 1, afternoon | Pipe and flood the pieces flat, glue the door. | 45 minutes | Overnight for a flood, 2 hours for lines |
| Day 2, morning | Stand the four walls. | 20 minutes | 2 hours |
| Day 2, late morning | Set the roof. | 15 minutes | 4 hours |
| Day 2, afternoon | Snow, trees and the path. | 30 minutes | Overnight before you move it |
Sugar Cookie House Build Day Planner
Pick when you want the house finished and which look you are making. The planner counts back through the chill, the bake and every icing wait.
For planning only: icing sets faster or slower with the weather, so treat each wait as a minimum and check that joints feel firm before moving on. The chill and freeze are fixed; only the icing waits change with your kitchen. Nothing you enter leaves your browser.
How to Make a Sugar Cookie House Step by Step
1.Make the dough without baking powder
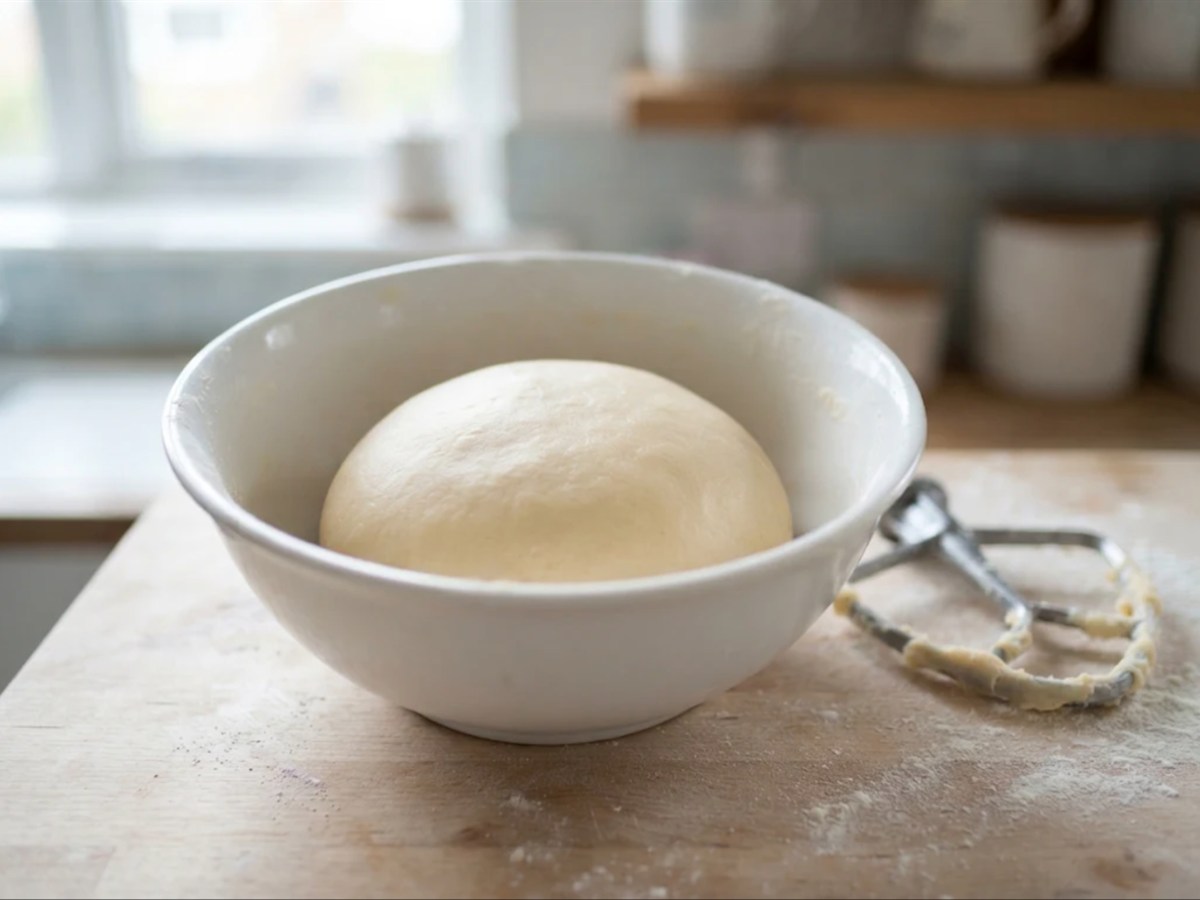
Whisk the flour and salt. Beat the butter, shortening and sugar on medium until smooth, about a minute, then beat in the egg and both extracts. Mix in the flour on low and stop the moment no dry flour shows. If it stays crumbly, add cold water a tablespoon at a time.
Why this matters: with no baking powder in the bowl, nothing makes the walls puff. Stop once the flour disappears and the dough squeezes together in your hand.
2.Chill the dough flat
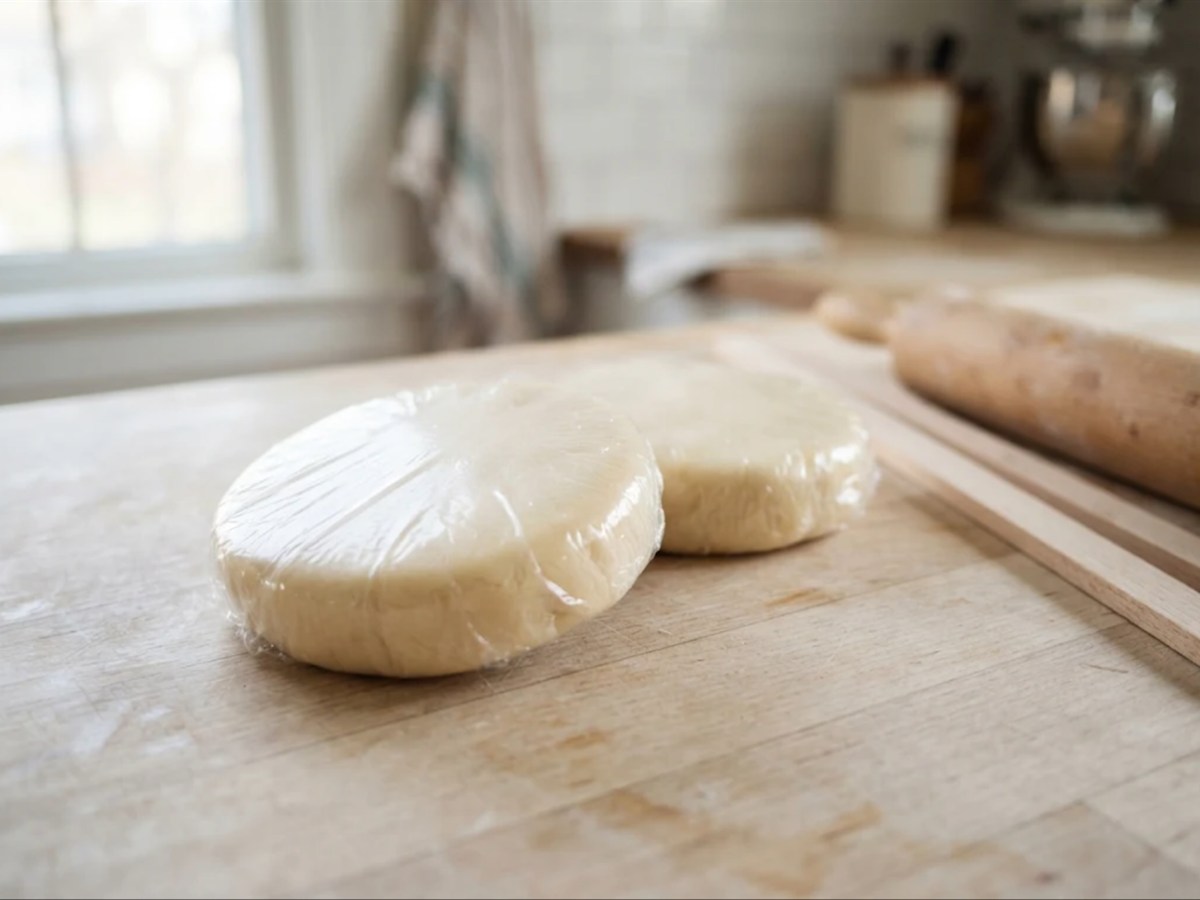
Split the dough in two, flatten each half into a disc about 1 inch thick, wrap and chill for 2 hours. Let the discs sit out 20 to 30 minutes before rolling. They should still feel cold, not rock hard.
Why this matters: cold fat is what keeps the edges sharp in the oven. A flat disc chills evenly and rolls without cracking.
3.Print the template and roll the dough 1/4 inch thick
Print all five pages at Actual Size and check the red bar with a ruler. Roll one disc on a sheet of parchment between 1/4 inch guides until the pin rides on both.
Why this matters: a wall rolled thin in the middle bakes through at the edges first and bends. Even thickness means even baking.
4.Cut the pieces and freeze them
Lay the paper pieces on the dough and cut straight down with a small sharp knife. Cut the gables, side walls and roof from one disc, and the door, trees and test strip from the second. Peel away the scraps, slide the parchment onto a pan and freeze for 10 minutes.
Why this matters: you never lift a raw wall, so it can't stretch. Ten minutes in the freezer firms the edges before the heat reaches them.
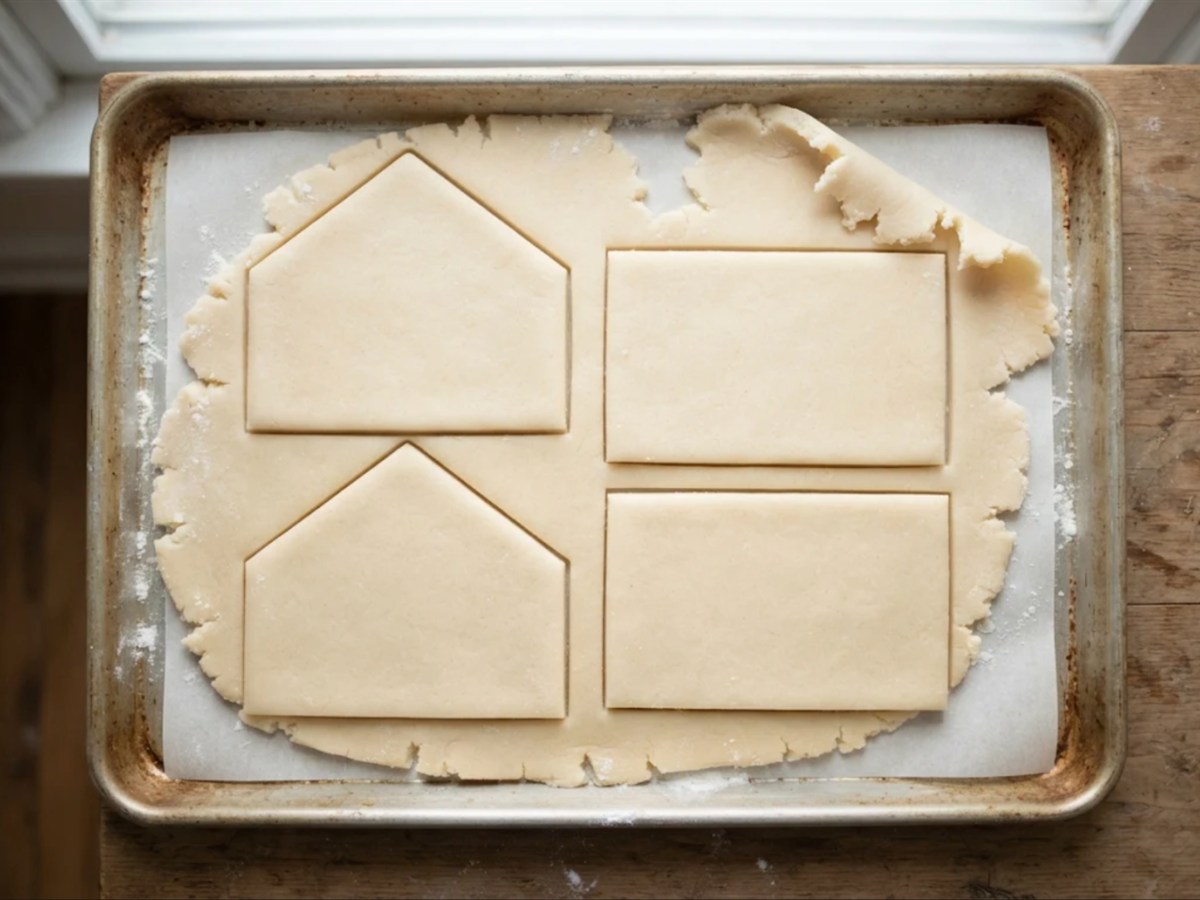
5.Bake the pieces, then trim them warm
Bake at 350 degrees F one pan at a time, rotating halfway: walls and roof about 16 to 20 minutes, the door and trees about 12 to 16. Within a couple of minutes, lay each paper piece back on its cookie and trim any edge that spread. Cool the pieces 30 minutes on the pan.
Check as you go: a done panel has golden edges and a firm, matte middle. Once the test strip is cool, hold it by one end. If it droops, give the next pan a few more minutes. An oven thermometer helps, because King Arthur warns that an oven that runs cool lets the fat melt before the cookie sets.
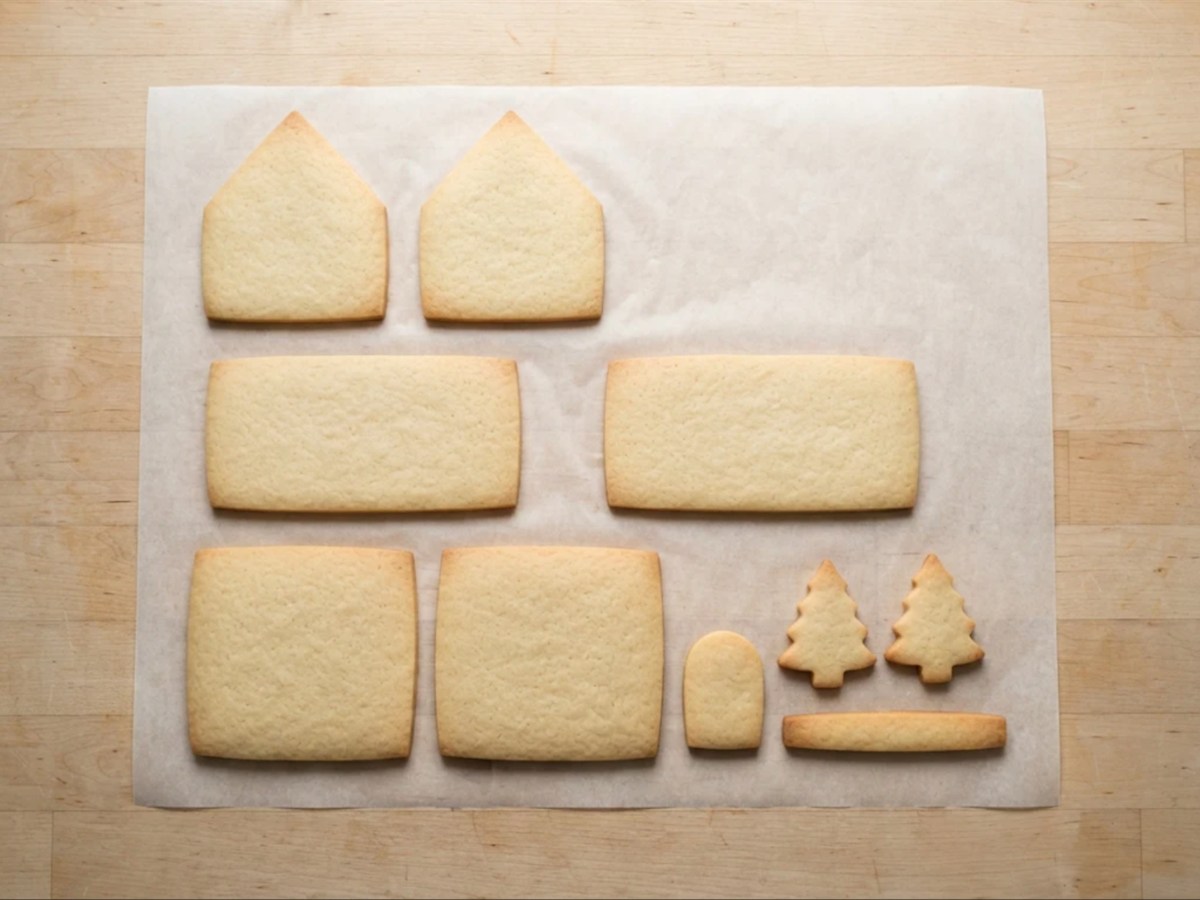
6.Pipe the details while the pieces lie flat
Pipe the window frames, panes and trim along the red guides, and flood the walls now if you chose the pastel look. Glue the door cookie over its outline. Let thin lines dry about 2 hours, or a flood overnight.
Why this matters: icing piped on a standing wall slides. Flat, every line stays where you put it, and kids can decorate at the table.
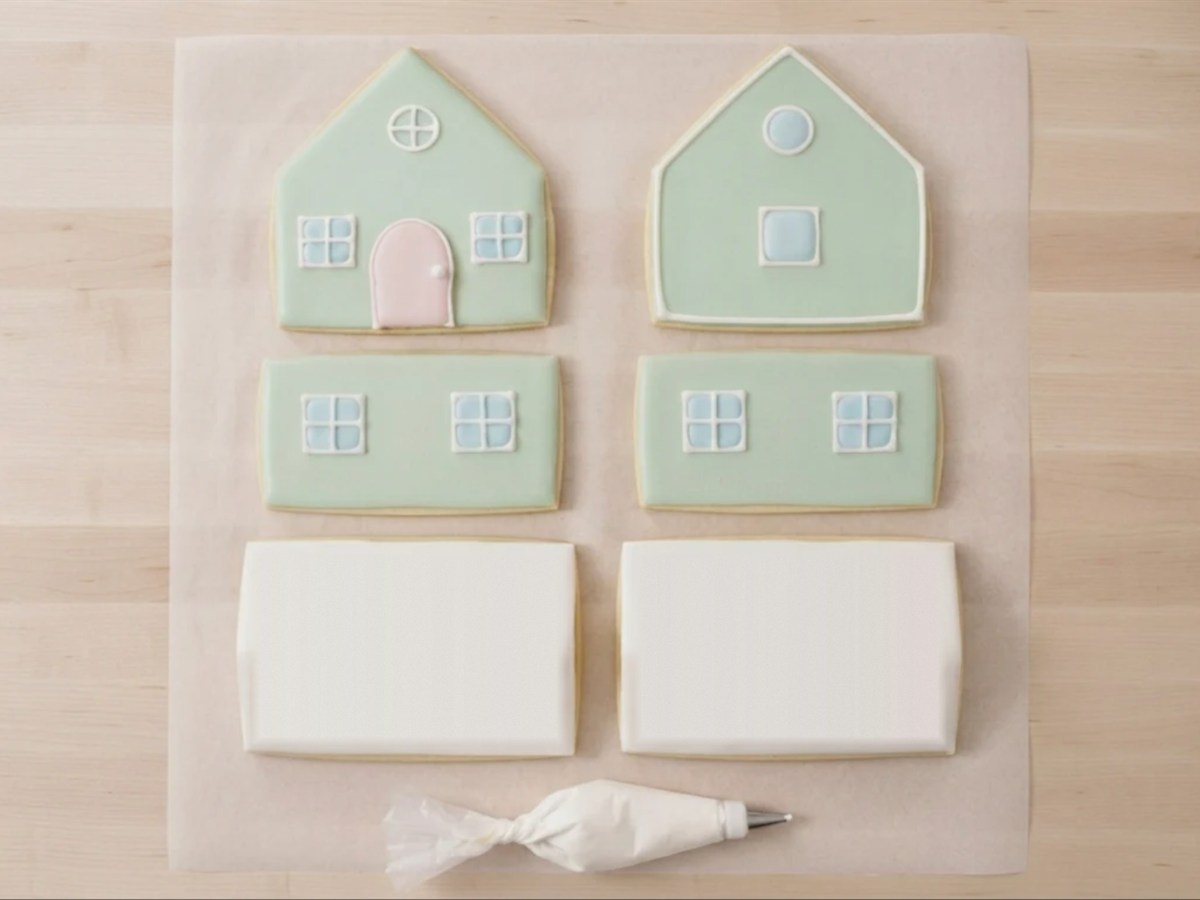
7.Stand the four walls on the board
Pipe a rectangle of stiff icing on the board. Stand the front gable, then a side wall tucked behind its edge, then the back gable and the second side wall. Pipe the inside corners, prop each wall with a can and wait 2 hours.
Why this matters: the side walls go between the gables. Put them outside and the walls stop lining up with the gable slopes, so the roof will not sit flat.
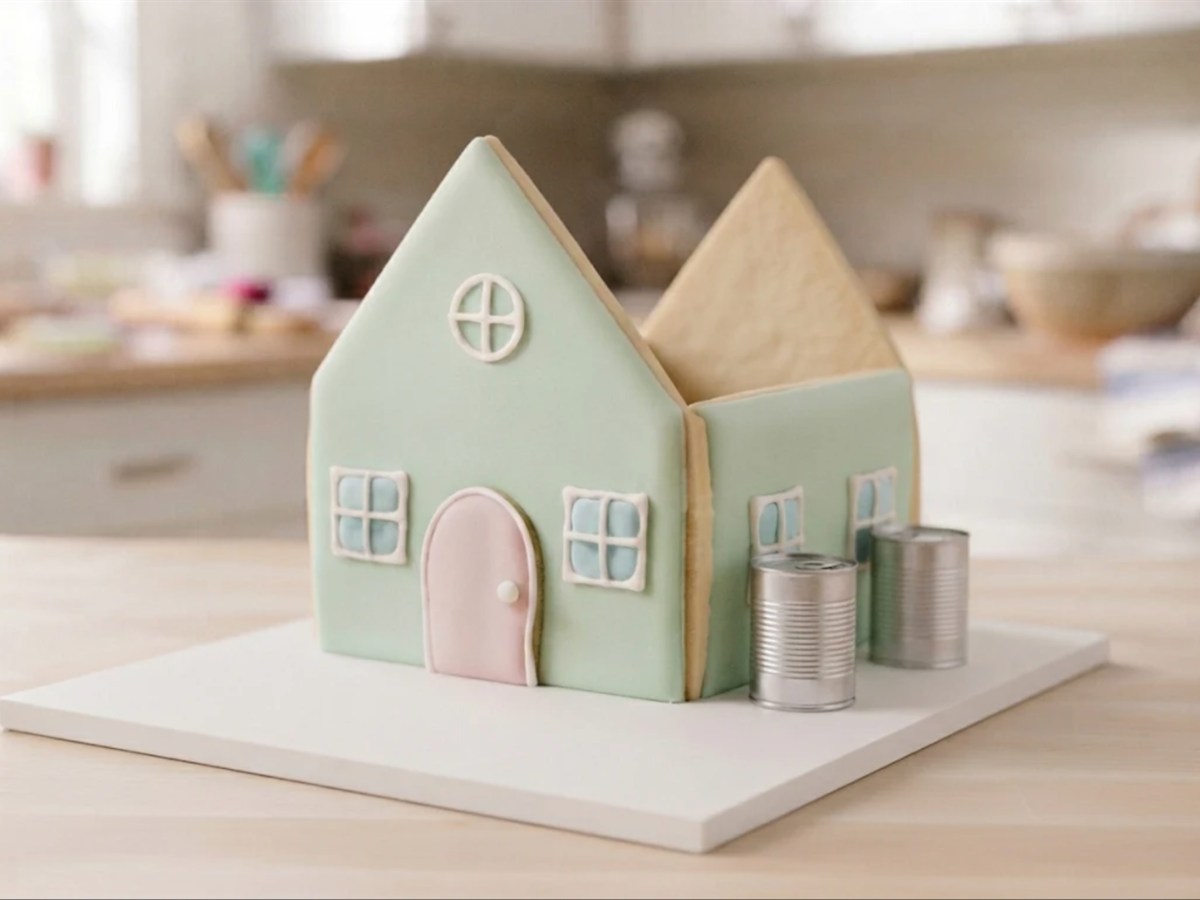
8.Set the roof panels
Pipe stiff icing along the gable slopes and the tops of the side walls. Set one roof panel, hold it for a minute, then set the second so it meets the first at the ridge. Pipe a line along the ridge and wait 4 hours before any snow or candy.
Why this matters: our icing table puts 2 hours on walls before a roof and 4 hours on a roof before anything heavy goes on top.
9.Finish the snow and the yard, then leave it overnight
Spread icing over the roof and pull it into soft drifts, then sprinkle on the nonpareils. Ice the board, stand the trees against dabs of icing, and lay a candy path to the door. Leave the house overnight before you move it.
Why this matters: the icing needs about 8 to 12 hours to cure. The yard also hides the icing line at the base.
Troubleshooting
| What you see | Why it happens | What to do |
|---|---|---|
| The pieces spread and the corners rounded | Warm dough, a greased or hot pan, or an oven running cool | Trim against the template while warm. Next time freeze the pieces 10 minutes, bake on parchment and use a cool pan. |
| The edges browned before the middle set | Thin spots in the roll, or small and big pieces on one pan | Roll between guides, and bake similar sizes together. |
| A panel bends when you lift it | Under-baked in the middle | Put it back in for 3 to 4 minutes. A bent panel will bow in the wall. |
| The dough cracks when you roll it | Too cold straight from the fridge, or too dry | Let it sit 20 to 30 minutes. If it still cracks, work in a teaspoon of cold water. |
| A wall leans or slides | Too little icing, or loose icing | Use icing stiff enough that a peak stands straight, and prop every wall for the full 2 hours. |
| The roof slides down | It went on before the walls set | Lift it off, wait the full 2 hours, then set it again on fresh icing. |
| Pastel colors bled into each other | Flood laid next to a wet flood | Let one color crust before you flood the next one beside it. |
| The house went soft overnight | Damp air in the room | Keep it away from the stove and the dishwasher. Our icing page says a damp kitchen needs much longer waits. |
Smaller and Quicker Versions
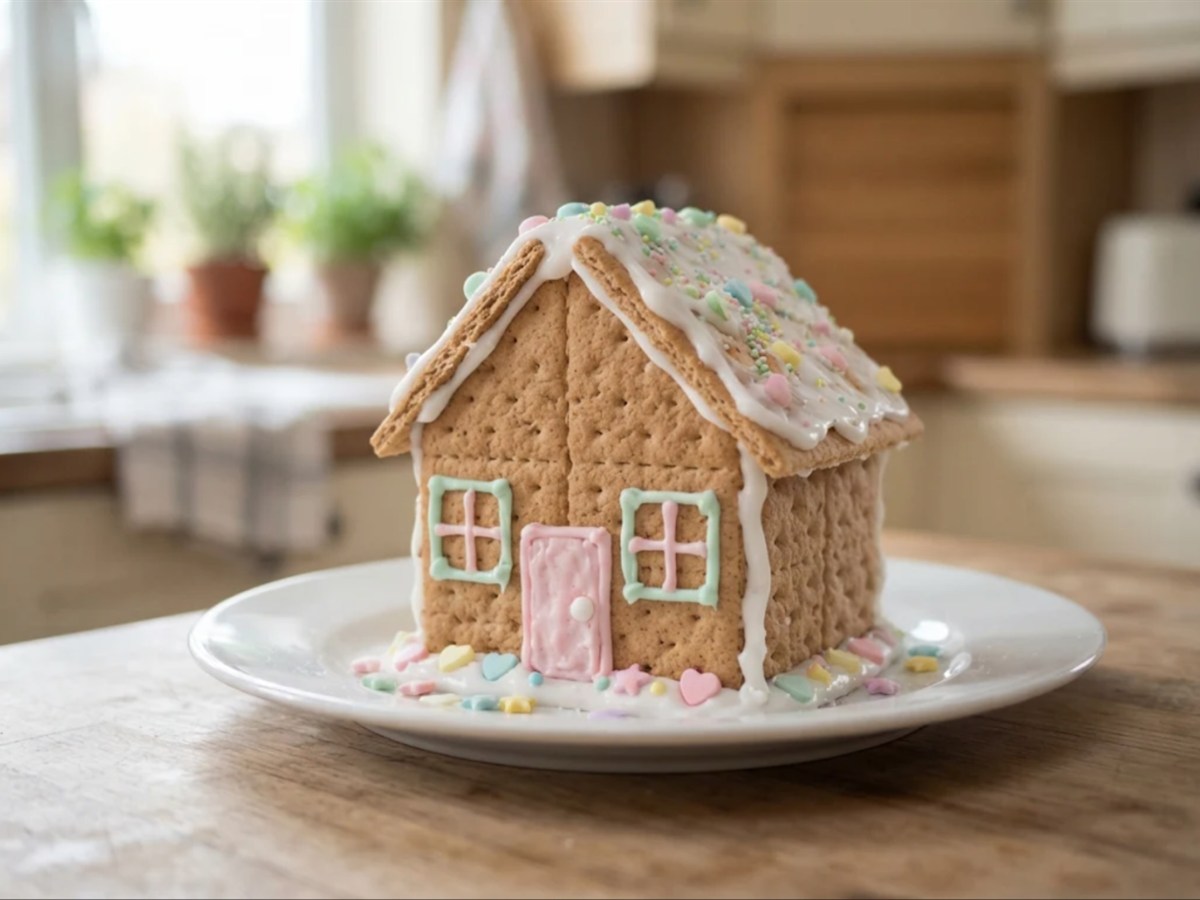
No-bake graham cottage. For small hands, a box of four graham cracker halves with two more leaned together for a roof gives the same pastel look in an afternoon. Our graham cracker house that kids can build without an oven covers the icing that holds crackers.
A bigger house. Past about 6 inches a wall, use gingerbread. Our sturdy construction gingerbread for larger builds bakes harder and covers about 225 square inches a batch. If spice is the only complaint, our guide to gingerbread house alternatives shows how to respice that dough with vanilla and almond.
Storage Instructions
Keep the house in a cool, dry room, away from the stove, the dishwasher and sunny windows, because damp air softens cookie walls. Wrapped dough keeps a couple of days in the fridge or about 3 weeks in the freezer, and our guide to freezing dough and thawing it the day before works the same way here. If the house will be eaten, eat it while it is fresh. For when to stop eating it and keep it for show, see how long a gingerbread house lasts.
FAQ
Can you use regular sugar cookie dough for a house?
You can, but most recipes have baking powder or soda, so the walls spread and the corners stop meeting. Use an unleavened dough like this one, roll it 1/4 inch and trim it warm.
How thick should a sugar cookie house be?
1/4 inch for every piece. Thinner walls are fragile, and thicker ones take much longer to bake through in the middle.
Is a sugar cookie house as strong as gingerbread?
No. Butter makes a softer cookie, which is why this house is small and has no cut windows. For a big showpiece, use construction gingerbread.
Can I make it for Easter or a birthday?
Yes. Food Network Kitchen's sugar cookie house is an Easter bunny house. Swap the snow for green coconut grass and keep the pastel colors.
Can I cut out the windows?
You can cut the side windows, but every hole weakens a soft wall. Pipe them for a first build.
What icing should I use?
Royal icing with meringue powder. It dries hard, which a buttercream never does, and it is safe for a house that gets nibbled.
More Sugar Cookie and Gingerbread House Recipes
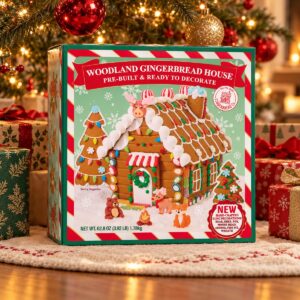
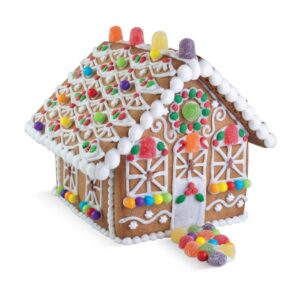
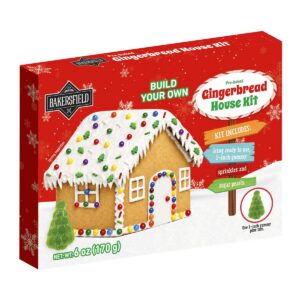
For more ways to dress the cottage, try eight kinds of edible snow or the roof ideas that suit a small house. Leftover dough makes a yard of piped snowflake cookies. When a wall will not stand straight, our tips for walls that lean work on any house, and there are dozens more shapes on our free gingerbread house templates page. When you want a head start, our ranked list of gingerbread house kits sorts the boxes that stay standing from the wobbly ones.