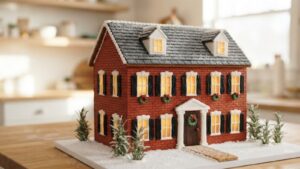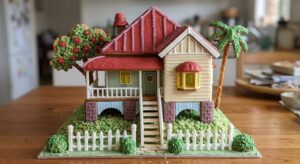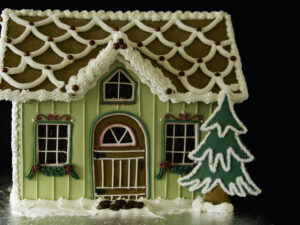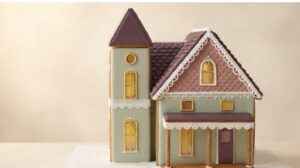
Most gingerbread houses go wrong at the decorating, not the building. The candy slides off a standing wall, the icicles droop into blobs and the windows end up as smudges.
This guide covers 14 decorating techniques, from piped lines and icicles to stained glass windows, painted panels, lights and a snowy yard. It draws on the methods cake decorators and candy makers publish, plus the set times from our printable house templates. It is for anyone with a kit or a homemade house and a free afternoon, kids included.
You get a planner that puts your chosen techniques in order and a quick check for icing that is too thick or too thin. Start with the order, because it decides almost everything else.
How to Decorate a Gingerbread House, Start to Finish
Decorate a gingerbread house in this order. Each step waits for the one before it to set.
- Mix royal icing in three thicknesses: stiff for glue, medium for piping and thin for flooding.
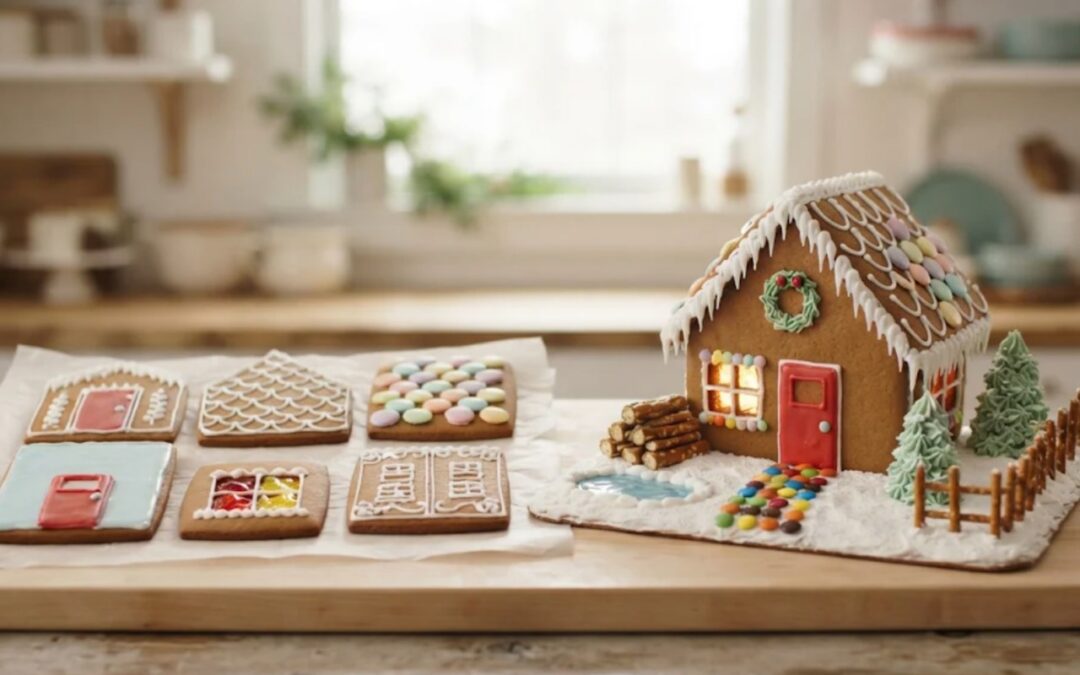
- Lay the walls and roof panels flat and pipe the outlines, windows, doors and patterns on them.
- Flood any colored areas, add light candy and let the panels dry flat until the icing is hard.
- Build the house with stiff icing, prop the walls and let it set before you load the roof.
- Add the heavy pieces and the things that hang over seams: roof candy, icicles, garlands and the chimney.
- Finish the base last: snow, a path, a fence, trees and lights.
That is the whole method. The rest of this page is how to do each step well.
Decorate Flat, Then Build
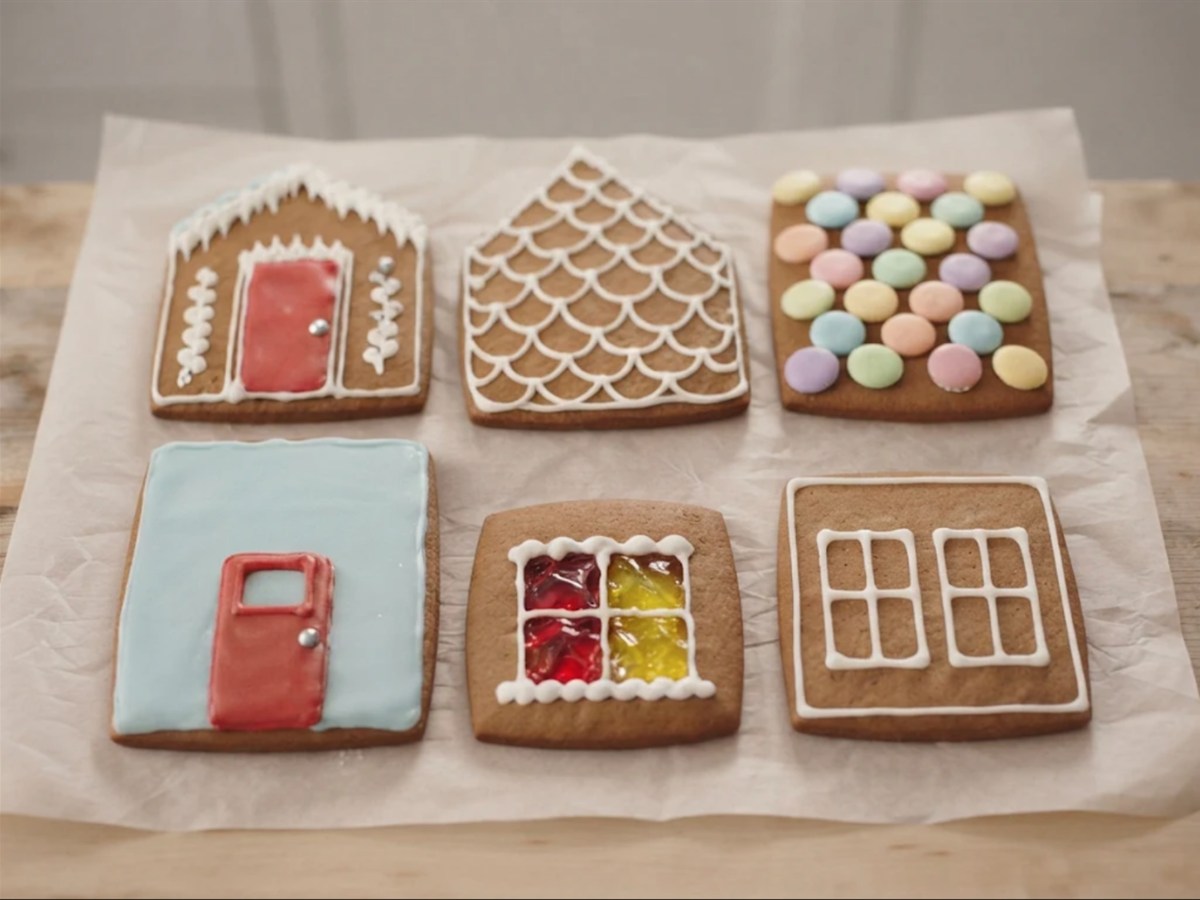
The single biggest change you can make is to decorate the panels while they lie flat. On a flat panel, gravity presses the candy into the icing. On a standing wall, gravity pulls it off. Nothing else about the icing or the candy changes, which is why our list of gingerbread house tips calls this the one most people do backwards.
Flat decorating is also easier for small hands. A child can pipe a door on a panel lying on the table far more neatly than on a wall at eye level.
Not everything belongs on the flat panel, though. Anything that crosses a seam, hangs off an edge or weighs a lot has to wait until the house stands. Here is how the work splits.
| Stage | What goes on | Icing | Wait before the next stage |
|---|---|---|---|
| 1. Flat panels | Outlines, window frames, doors, shutters, brick and siding lines, flooded color, painted details, sprinkles, flat light candy, stained glass windows (baked in) | Medium for lines, thin for flooding | Until the icing is hard to the touch. Flooded areas often need overnight |
| 2. Assembly | Walls, then roof | Stiff | 2 hours on our farmhouse and log cabin templates, 4 hours on the Snow White and Victorian builds, longer before anything heavy |
| 3. On the house | Roof shingles that cross the ridge, icicles, swags along the eaves, garlands, wreaths, the chimney, seam piping | Medium, stiff for heavy candy | About an hour, until icicles stop moving |
| 4. The base | Snow, paths, fences, trees made ahead, lights | Stiff for snow, medium for details | Done |
Picture two cousins at the same table with the same kit. One builds first and spends half an hour pressing gumdrops onto a wall that keeps dropping them. The other pipes her windows and shingles with the panels flat, goes to lunch and builds after. Her candy stays on, and she spends the afternoon on icicles instead of repairs.
Tick the techniques you want below and the planner sorts them into those four stages, with the icing each one needs and how long to wait.
Decorating Order Planner
Tick the techniques you want. The planner sorts them into the order that works, with the icing each one needs and how long to wait between stages.
For planning only. Set and dry times vary with your kitchen’s humidity and how thick the icing is, so test with a fingertip before moving on. Not professional advice. Your ticks are saved in this browser only (localStorage) and nothing is sent anywhere.
Three Icings Do All the Work
Royal icing is the glue, the paint and the snow on a gingerbread house. The difference between a line that holds and a line that slumps is how thick the icing is, not how steady your hand is. Mix one batch, then split it into three bowls.
| Icing | How it looks | The test | Use it for |
|---|---|---|---|
| Stiff | Like thick toothpaste | Lift a spoon out and the peak stands straight up | Gluing walls and roof, heavy candy, snow drifts, piped trees |
| Medium or piping | Like soft toothpaste | The peak bends over at the tip | Outlines, dots, swags, icicles, writing, window frames |
| Thin or flood | Like thick syrup | A ribbon dropped on the surface sinks back in by a count of about 10 | Filling color between outlines on flat panels |
To thin icing, add water a little at a time. Wilton’s cookie-icing method adds about half a teaspoon of water for every half cup of icing to reach a thin consistency, then checks with the count. To thicken, beat in powdered sugar a spoonful at a time. Keep every bowl covered with a damp towel, because royal icing starts to crust almost right away.
If you are making icing from scratch and anyone will eat the house, use meringue powder or pasteurized egg whites. The FDA’s egg safety guidance says dishes served with raw egg should use pasteurized eggs or egg products, and uncooked royal icing is one of those dishes. Our royal icing recipe has a meringue powder version. Short on time? A tub of ready-made icing works too, and the store-bought icings we compared sorts them by what each one can hold.
Not sure your bowl is right? Pick the technique and what the icing is doing, and the checker below tells you which way to adjust it.
Icing Consistency Checker
Pick the job and what your icing is doing. You get the thickness it needs, the test for it and which way to adjust.
Informational only, results not guaranteed. Humidity and your recipe change how icing behaves, so adjust in small amounts and test again. Not professional advice. Nothing you pick is stored or sent anywhere.
What You Need
Materials
- A gingerbread house, baked from scratch or from a kit, with the panels cooled completely before you start
- Royal icing made with meringue powder and powdered sugar, enough for three bowls: about a third stiff, a third medium and a third thin
- Gel food coloring in red, green, brown and black for piping, flooding and painting
- Clear vanilla or lemon extract, or clear vodka, for thinning gel color into paint
- Hard candy such as Jolly Ranchers or Life Savers, crushed, for stained glass windows
- White sanding sugar and sprinkles for sparkle and snow
- Candy for the jobs you pick: pretzels for fences, mini candies for paths, peppermints and gumdrops for the yard
- Sugar cones for trees, if you want a forest
- Battery LED tea lights or a short string of battery fairy lights, if you want the house to glow
Tools
- Disposable piping bags and couplers
- Small round piping tips such as a 2 and a 3, plus a star tip
- Small food-safe paintbrushes
- A small offset spatula
- Parchment paper and a cake board or tray for the base
- Toothpicks for nudging icing into corners and popping bubbles
- Cans or jars to prop the walls while the icing sets
- A turntable or a lazy Susan, so you can turn the house instead of reaching around it
14 Gingerbread House Decorating Techniques
Each technique below says where it goes in the order, which icing it needs and the mistake to avoid. They run from the first lines you pipe to the last flake of snow.
1.Piped Outlines and Lines

Stage: flat panels. Icing: medium, in a bag with a small round tip.
Lines are the base of every other technique. Wilton suggests a small round tip, like a 2 or a 3, for outlining doors and windows. Touch the tip to the panel, squeeze and lift it about a quarter inch so the icing falls onto the cookie as you move. Stop squeezing before you lift away. Dragging the tip along the surface gives a thin, wobbly line, while letting the icing drop gives a smooth one.
Trace the edges of each wall, then the windows and door. Siding, brick lines and timber frames are just more lines in rows.
2.Dots, Beads and Pull-Out Dots

Stage: flat panels or on the house. Icing: medium.
Hold the bag straight up, squeeze until the dot is the size you want, stop squeezing, then lift. Dots in a row make polka-dot trim or a string of lights. A bead is a dot you drag a little to one side before you stop, so each one overlaps the last, and a row of them makes a neat border along a seam.
A pull-out dot is the same dot with the tip pulled away as you ease off the pressure. It leaves a little tail, and it is the shape behind icicles and piped grass.
3.Swags and Scallops

Stage: on the house, along the eaves. Icing: medium.
A swag is a line that hangs. Touch the icing to the wall, squeeze and move sideways while letting the line droop into a curve, then touch it back to the wall. To keep them even, mark the spacing first with tiny dots every inch along the edge, then pipe from dot to dot. Cover each join with a dot or a small candy.
A tight zigzag along the eave is the quick version. Wilton offers it as a faster trim when you have more houses than time.
4.Icicles

Stage: on the house, after the roof has set. Icing: medium, slightly softer than for lines.
Icicles are pull-out dots piped downward. Wilton's method is to pipe pull-out dots around the roof edge and vary the pressure for icicles of different sizes. Squeeze a dot at the eave, pull the tip down, ease off and stop squeezing before you lift. Mix long and short, thick and thin, so they look like they formed over a few cold nights.
Pipe them after the roof is solid. Their weight pulls on the roof joint, and icing too thin will run into puddles on the walls. For more ways to finish the edge, see how to cover a gingerbread roof.
5.Roof Shingle Patterns

Stage: flat roof panels for piped and light shingles, on the house for heavy ones. Icing: medium for piping, stiff for heavy candy.
Three patterns cover most roofs. Fish scales are rows of small U shapes piped from the bottom edge up, each row overlapping the one below. Straight shingles are short horizontal lines, staggered row to row like bricks. Candy shingles are light pieces, such as cereal squares or wafer candies, set in staggered rows on a line of icing.
Always start at the bottom edge and work up toward the ridge, so each row covers the top of the row below. Our roof guide compares nine coverings by weight and difficulty if you want a full roof plan.
6.Snow Effects

Stage: on the house and the base, near the end. Icing: stiff.
Snow does two jobs. It looks like winter, and it hides gaps and messy seams. Wilton spreads stiff icing with a spatula for drifts and banks, or smooths it flat for an even layer. While the icing is wet, sprinkle white sanding sugar for sparkle or shredded coconut for a fluffy look. A last dusting of powdered sugar through a fine sieve looks like fresh snowfall, but add it at the very end, once the icing is fully dry, because powdered sugar is so fine it dissolves into damp surfaces.
Snow is a whole technique of its own, from roof loads to drifts against a door, and it gets more room in a dedicated guide.
7.Windows and Stained Glass
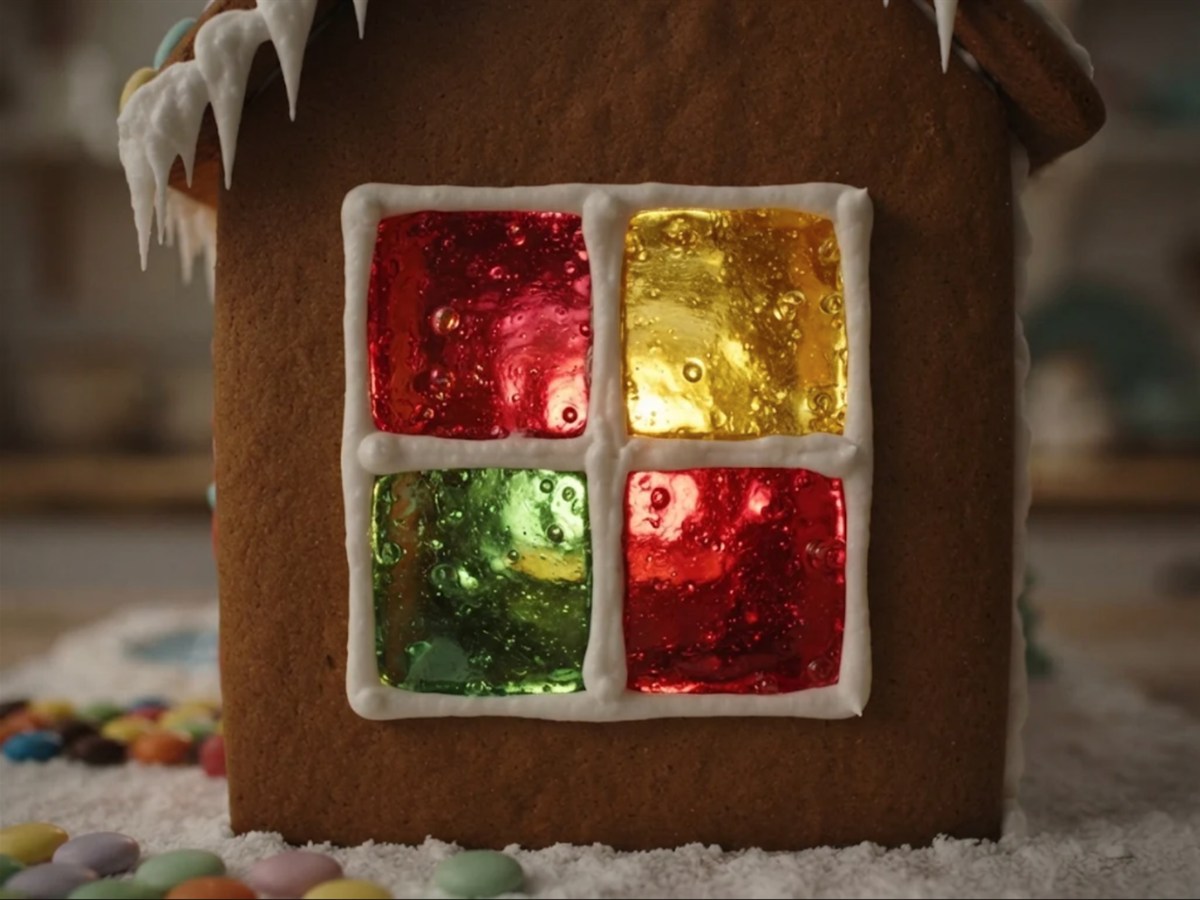
Stage: flat panels, during baking for stained glass. Icing: medium for frames.
There are two kinds of window. A piped window is drawn on the wall: outline it, flood the inside with thin icing in a pale color or leave it as bare cookie, then pipe the frame and a cross for the panes. Wilton tops piped panes with white sanding sugar for a frosty look.
A stained glass window is a real opening filled with melted candy. Cut the window out of the dough before baking, bake the panel most of the way, fill each opening with crushed hard candy and return it to the oven until the candy melts flat and glassy. Our window guide covers stained glass candy windows step by step, including the altitude adjustment. Cool the panels completely on the tray before you touch them, because melted candy is far hotter than the cookie around it.
8.Painting Gingerbread With Food Coloring
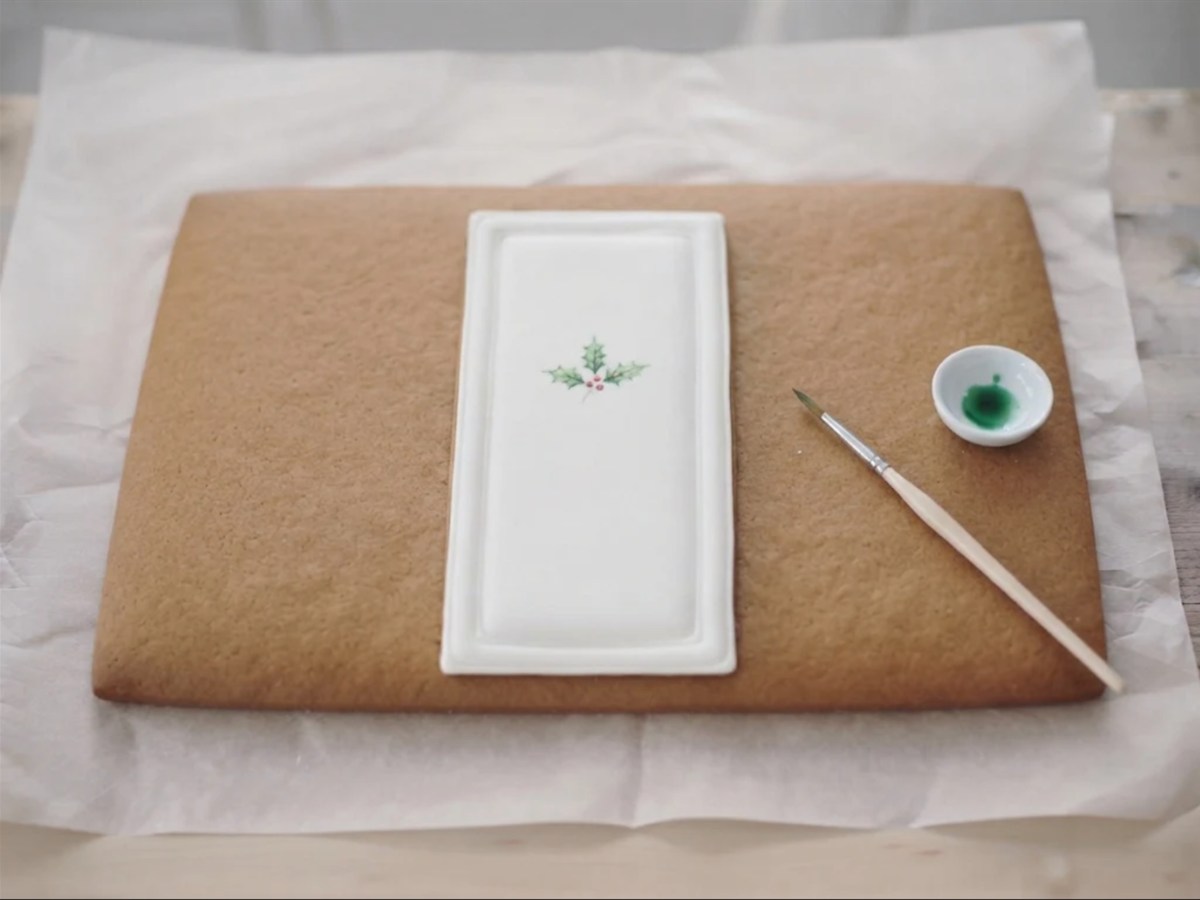
Stage: flat panels, after flooded icing is dry. Icing: none, this is paint.
Gel food coloring thinned with a few drops of clear extract or clear vodka makes a paint that dries fast. The alcohol evaporates faster than water, so it is much less likely to soften the icing. Paint only icing that has dried hard, with a lightly loaded brush. Paint on hard, dry white icing for bright color, or straight onto bare gingerbread for a soft, stained look like wood grain or old brick.
Work in thin layers and let each one dry. Too much liquid in one spot dissolves the icing underneath and leaves a pit. Painting has enough to it that it has its own full tutorial.
9.Flooding Panels With Color
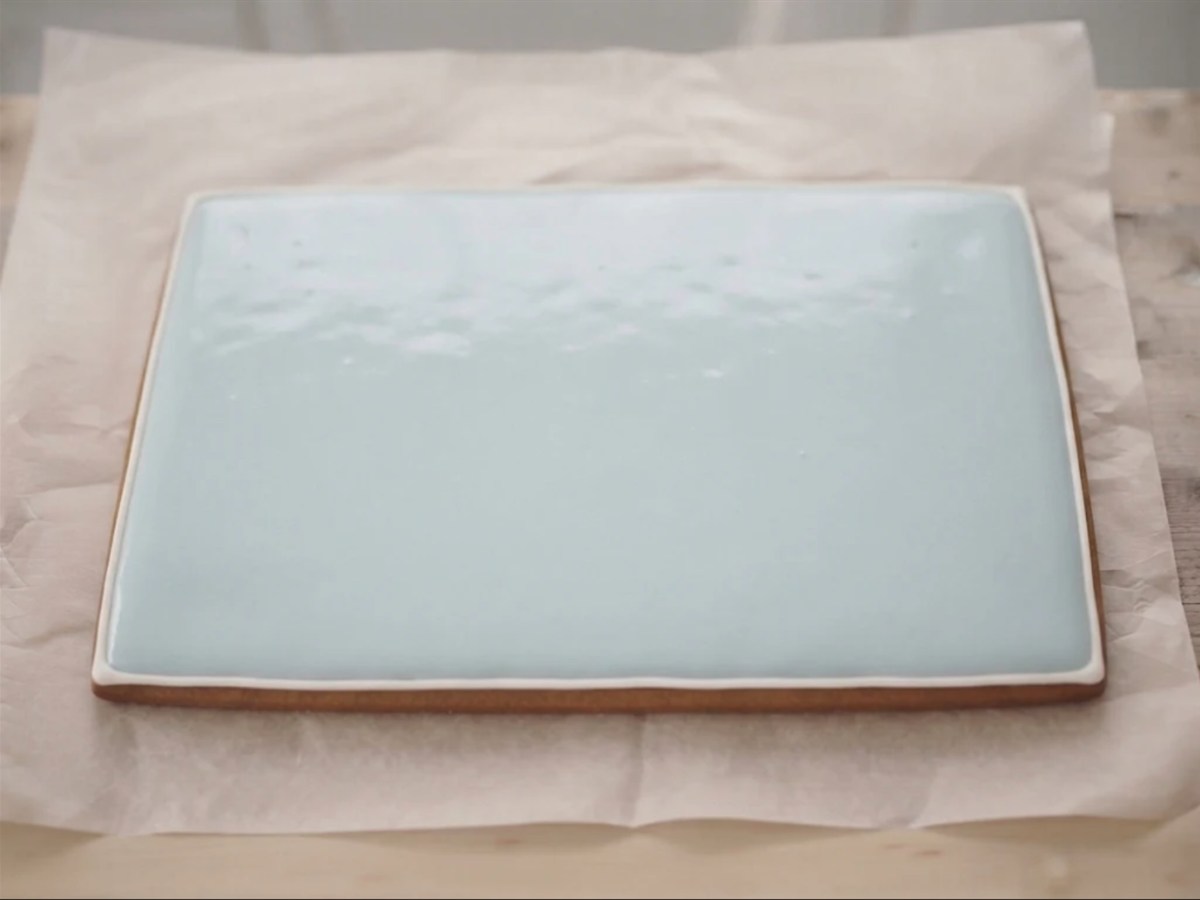
Stage: flat panels only. Icing: medium for the outline, thin for the fill.
Flooding is how cookie decorators get smooth, solid color, and it works on house walls too. Pipe an outline in medium icing to make a dam. Fill inside it with thin icing, then nudge it into the corners with a toothpick and pop any bubbles. Give the panel a gentle shake to level it.
Flooded panels must dry flat until hard before they stand up. Wilton puts royal icing at a good 8 hours to dry completely, so plan on overnight. If you pipe a dark color next to white while both are wet, the color can bleed, worse in a humid kitchen, so let one dry before the other goes beside it.
Picture someone flooding all four walls a soft blue on Saturday evening. On Sunday morning the walls are hard and smooth, ready for white trim and the build. Built on Saturday night instead, the wet icing would have sagged into the seams.
10.Doors and Shutters
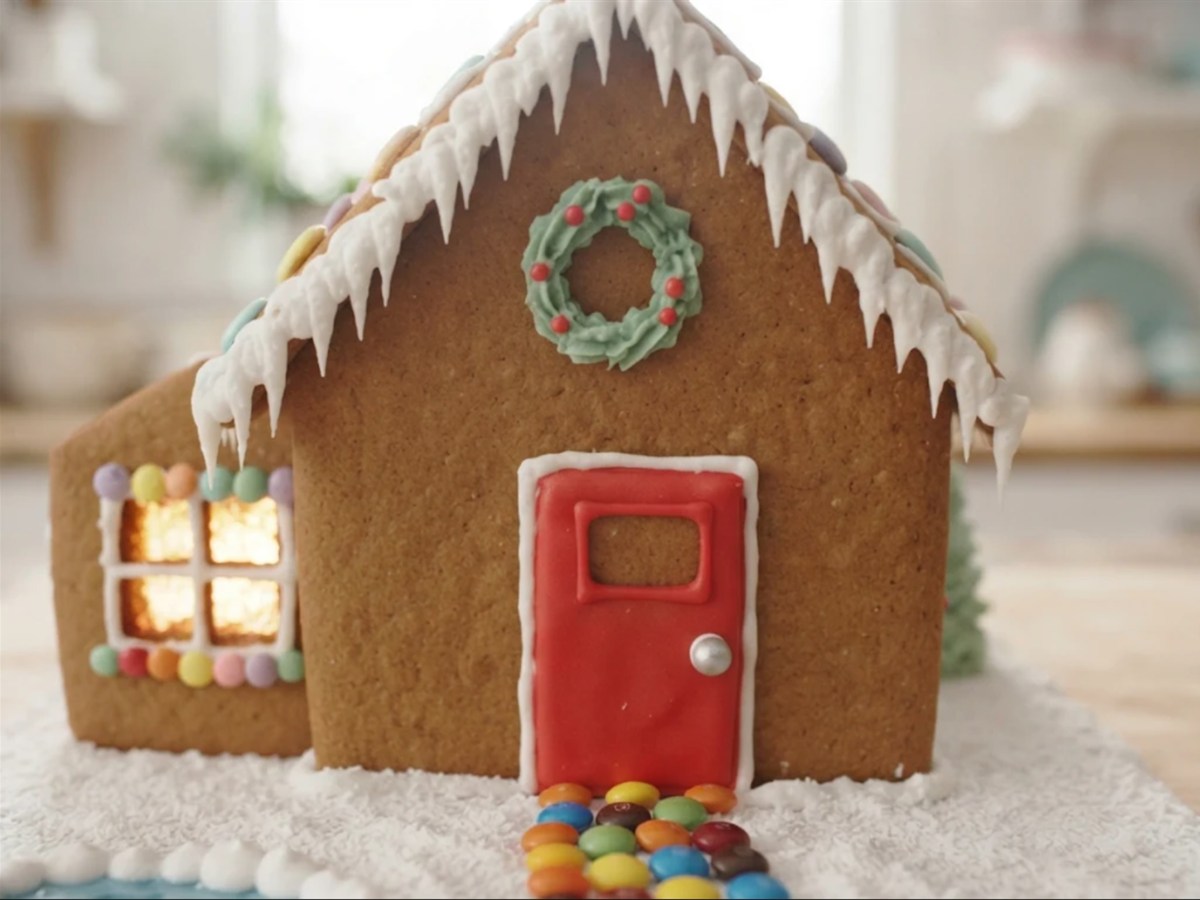
Stage: flat panels. Icing: medium and thin.
Every house needs a front door, and it is the first thing people look at after the roof. Wilton fills the door shape with icing using a spatula, then outlines it with a small round tip in a contrasting color so it stands out. Flooding works too. Add planks with thin lines, a dot or a small candy for the knob and a tiny wreath once it is dry.
Shutters are small rectangles on each side of a window. A pair of flat candies, a piece of wafer cookie or two flooded strips all work.
11.Paths, Fences and Stone Walls
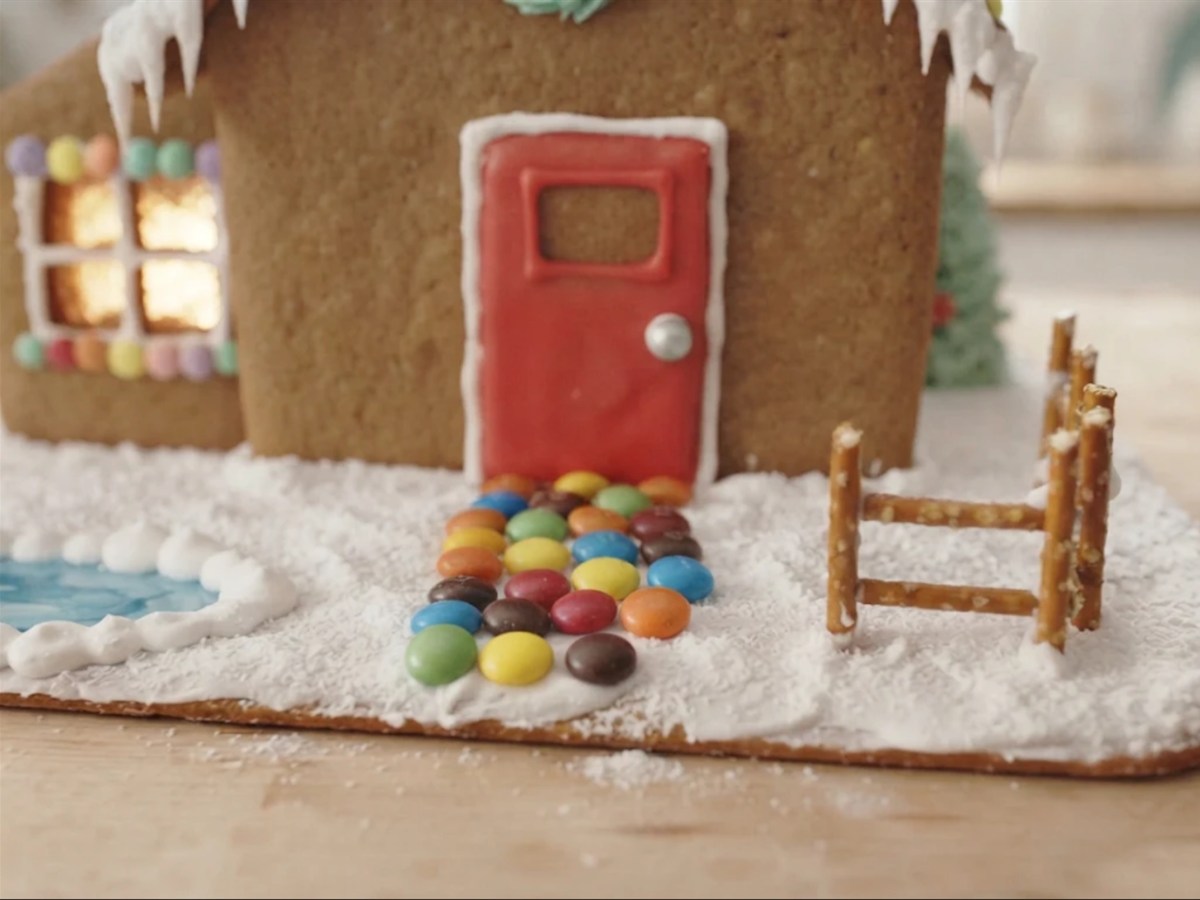
Stage: the base. Icing: stiff.
A path is a run of flat candies pressed into a strip of stiff icing on the base: jumbo sprinkles, wafer candies, sliced almonds or broken chocolate. Lay it before the snow so the snow can bank up against its edges. A fence is pretzel sticks stood in a line of stiff icing, with a pretzel laid across the top, or a row of candy canes. Mini candies piled in icing make a stone wall.
Prop tall fence posts for a few minutes while the icing grabs. Our candy picks by part of the house list which candies suit paths and fences best.
12.Wreaths, Garlands and Trees
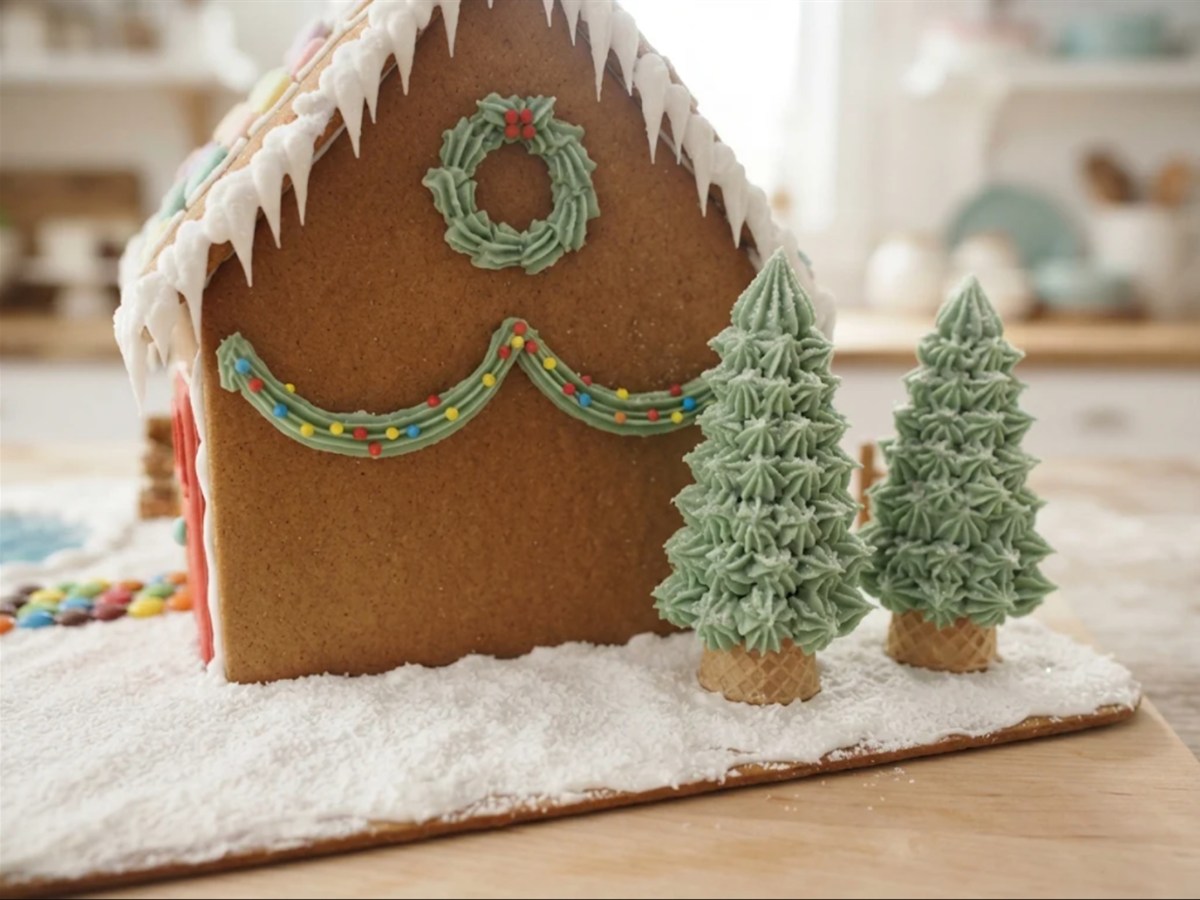
Stage: make trees ahead, add wreaths and garlands on the house. Icing: medium green with a star tip.
A wreath is a ring of green stars or pull-out dots with red dots for berries. A garland is the same idea stretched along a roof edge or under a window, piped as a zigzag of green with tiny colored dots for lights.
Trees take longer, so make them a day ahead. Wilton recommends at least a day so they dry completely, and you can move them around the yard until the layout looks right. For small trees, pipe a dot the size of a quarter on parchment and stack smaller dots on top. For tall ones, pipe stars or pull-out stars all over an upside-down sugar cone. To shorten a cone, Wilton marks a line with a wet brush and cuts along it with a serrated knife. For a tree made of cookie instead, see our stacked gingerbread star tree.
13.Lighting the House

Stage: plan it before you build, add the light last. Icing: none.
A light inside turns stained glass windows from pretty to magic. Use battery LED tea lights or a short string of battery fairy lights, never a real candle. The National Fire Protection Association advises keeping candles at least 12 inches from anything that can burn and suggests flameless candles instead. A gingerbread house is a box of dry sugar and cookie, so a flame inside it breaks that rule by about 12 inches.
Decide on lights before you build. Cut a small doorway in the bottom edge of the back wall before baking, cut a hole in the cake board and set the house over it, or notch the back wall so a fairy-light wire can reach a battery box behind the house. Any of the three lets you reach the switch. Our light-up gingerbread house build walks through all three routes and which light suits which house.
14.Landscaping the Base
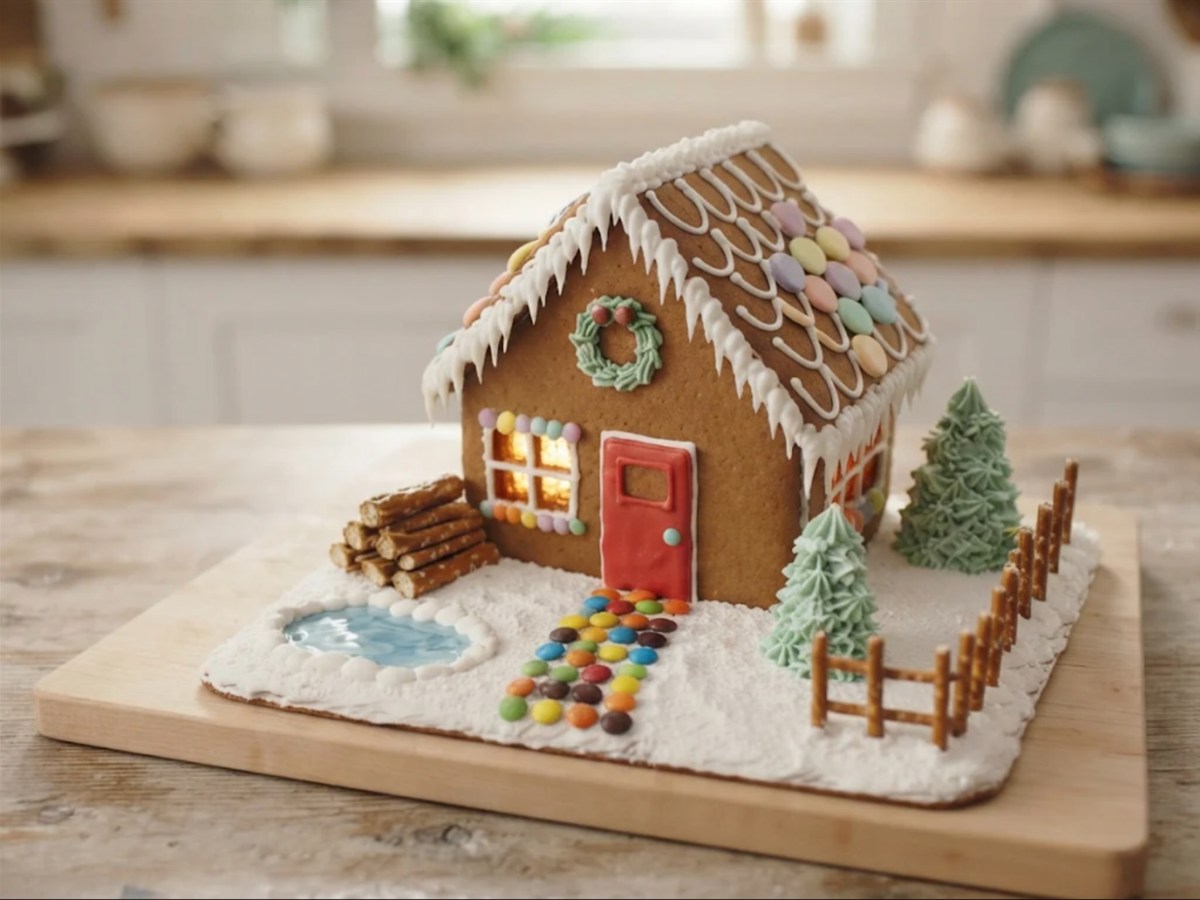
Stage: last. Icing: stiff.
The base turns a house into a scene. Work from the house outward. Lay the path first, then the fence, then set the trees you made ahead in dabs of stiff icing. Spread snow between everything with a spatula and fill gaps around the walls. A pond is a patch of blue melted candy or blue flood icing with a white icing edge. A woodpile is pretzel rods stacked in icing beside the door.
Leave the very edge of the board clean, or cover it with a ribbon, so the scene looks finished. Planning several houses on one board? A gingerbread village uses the same yard tricks across a whole street.
Which Techniques Fit Your House
The right mix depends on who is decorating, how much time you have and whether the house came in a box. Here is where the answer changes.
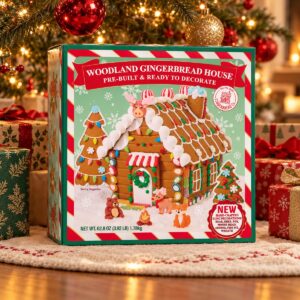
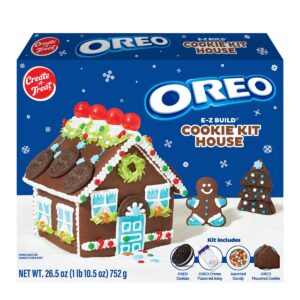
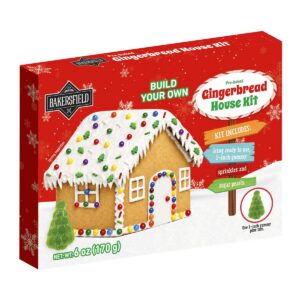
If you are decorating a kit house, skip stained glass, since the panels are already baked without window openings. Lean on piped outlines, dots, icicles, candy shingles and a snowy base. Check the icing pouch first: some kit icings are too thin for walls, so stiffen it with powdered sugar or use your own. If you are still choosing, our ranked gingerbread house kits note which ones come with mix you prepare and which come with tubes. If you baked from scratch, you can cut windows for stained glass and plan light holes before the dough goes in the oven, so decide on those two before you bake.
If young kids are decorating, give them flat panels, one bag of medium icing each with the tip already cut and bowls of light candy. Dots, candy shingles, paths and snow are the techniques that work for small hands. As a parent with a five-year-old at the table, save icicles, swags and flooding for yourself or an older helper. If adults or older kids are decorating, flooding, painting and stained glass are where the house starts to look like the ones in our gallery of decorated houses.
If you only have an afternoon, pick three techniques: outlines, candy shingles and snow. Build first, decorate on the house and use stiff icing for everything so you are not waiting on flooded panels. If you have a weekend, decorate flat on the first day, build and add icicles on the second and make trees ahead on the first night.
If the house will be eaten, use meringue powder icing and keep inedible items like ribbon, wire and lights out of the parts people will break off. If it is for display only, you can add as much as the structure will hold, and it will keep looking good much longer. How long a gingerbread house lasts depends a lot on which of those two it is.
Say a scout leader has eight kids, eight kit houses and 90 minutes. She pre-stiffens every kit icing at home, hands out flat panels and three bowls of candy per table and builds each house herself while the kids eat snacks. In the last 20 minutes the kids add candy roofs and snow to their own standing houses. Every house goes home in one piece.
When Gingerbread House Decorating Goes Wrong
Most decorating problems come from one of three causes: icing at the wrong thickness, a surface that was still wet or decoration put on too early. Find your problem below.
| What happened | Why | The fix |
|---|---|---|
| Candy slides off the wall | The wall was standing and the icing was too soft | Decorate panels flat next time. For now, use stiff icing and hold each piece for a few seconds |
| Lines are wobbly or break | The tip was dragging, or the icing was too stiff to flow | Lift the tip a quarter inch and let the icing fall. Add water a few drops at a time |
| Icicles turned into puddles | The icing was too thin or the roof was still wet | Thicken with powdered sugar and wait until the roof is solid |
| Flooded color has craters or bubbles | Air in the icing, or it was too thin | Pop bubbles with a toothpick right after flooding and let it rest before using |
| Red or dark color bled into white | Both colors were wet side by side, often in a humid kitchen | Let the first color dry hard before the second goes next to it |
| Paint left pits in the icing | Too much liquid, or water instead of alcohol | Use clear extract or vodka and paint in thin layers |
| Stained glass is cloudy or brown | Too much heat or too long in the oven, especially at altitude | Pull the tray as soon as the candy pools flat and see the altitude note on our candy page |
| Walls lean once decorated | Heavy decoration went on before the walls set | Prop with cans and wait, then add heavy pieces in stages |
Gingerbread House Decorating FAQ
What is the best icing for decorating a gingerbread house?
Royal icing. It dries hard, so it works as glue and holds decorations in place. Use it in three thicknesses: stiff for building and heavy candy, medium for piping and thin for flooding color.
Should you decorate a gingerbread house before or after you put it together?
Both. Decorate the walls and roof flat first, with anything that sits inside the edges of a panel. Add the pieces that cross seams or hang off edges, like icicles and garlands, after the house has set.
How long should icing dry before you decorate a gingerbread house?
Let the assembled house set at least two hours, and longer on tall houses, before you add heavy candy or icicles. Many bakers wait four to six hours or overnight. Flooded panels usually need at least 8 hours, often overnight, to dry hard before they stand up.
How do you make icicles on a gingerbread house?
Pipe pull-out dots downward from the roof edge with medium royal icing and a small round tip. Squeeze, pull down, ease off and stop before you lift. Vary the length for a natural look.
How do you make snow on a gingerbread house?
Spread stiff royal icing with a spatula on the roof and base, then sprinkle sanding sugar or coconut while it is wet. Dust with powdered sugar through a sieve at the very end.
Can you put lights in a gingerbread house?
Yes, use battery LED tea lights or battery fairy lights, never a real candle. Plan a way to reach the switch, such as a hole in the base, before you build.
Start Your Gingerbread House with Best Gingerbread Houses
Decorating goes best on a house that was built to be decorated, with walls that stand straight and windows where you want them. Our free printable templates give you clean panels to decorate flat, and our recipes give you dough and icing that hold. If you would rather skip the baking, start with a gingerbread house kit worth decorating and put the time into the techniques instead.