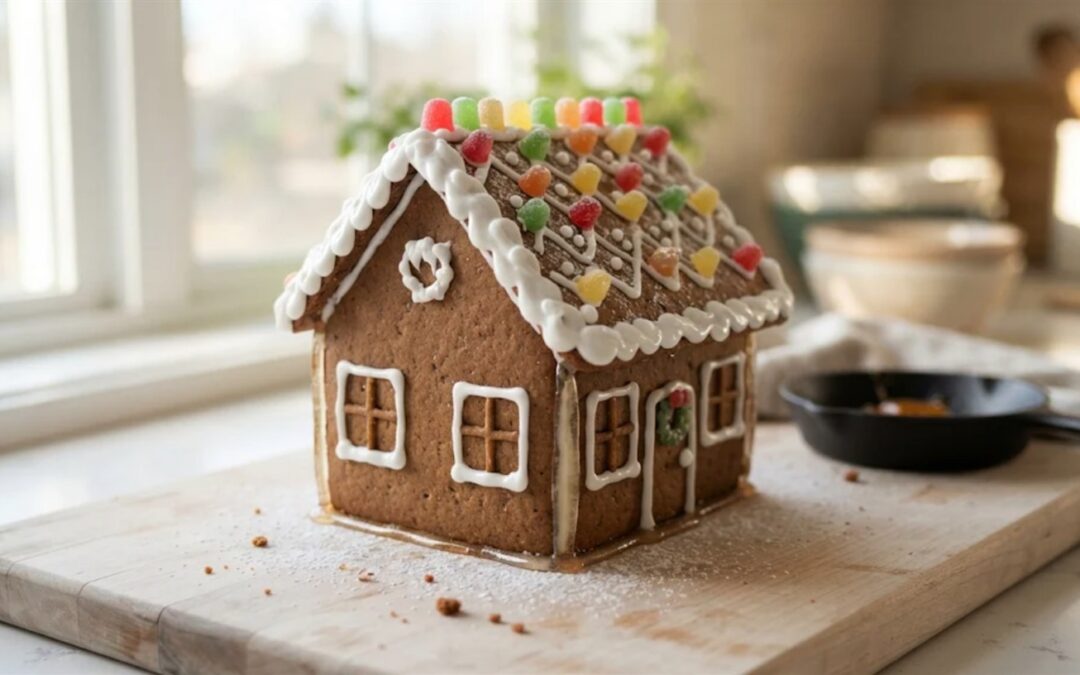
The glue decides whether a gingerbread house stands for a month or slides apart before dinner. Most collapses are not a baking problem. They are a glue problem: the wrong glue, or the roof going on before the glue was ready.
This guide compares eight ways to glue a gingerbread house, from royal icing and melted sugar to white chocolate, store-bought tubes and hot glue for a house nobody will eat. It is built on the set times and amounts from our royal icing tests by kitchen humidity, the methods bakers publish and what builders report in forums. It is for anyone with walls baked and a board ready.
You get the melted sugar glue recipe, a glue picker and a timer that says when the roof can go on. The card comes first, because melted sugar is the glue most people are searching for.
Melted Sugar Glue for Gingerbread Houses
Glues 1 standard house, about 10 by 7 inches · Prep 10 minutes · Melt 5 to 10 minutes · Assemble about 15 minutes
Total time about 35 minutes. Each joint grips in seconds, so the roof goes on as soon as the walls stand.
Equipment: Heavy skillet or saucepan, Heatproof silicone spatula, Spoon, Cake board or tray, Bowl of cold water nearby.
Ingredients
- 1 cup granulated white sugar, about 200 grams, for one standard house about 10 by 7 inches
- Baked gingerbread house panels, fully cooled, with flat trimmed edges
- Royal icing, for decorating once the house stands, optional
Method
- Dry fit the walls and roof panels around the board in the order they go up, and trim any edge that rocks so every joint sits flat.
- Melt the sugar in a heavy skillet over medium heat, stirring gently with a heatproof spatula as it starts to liquefy at the edges.
- Cook until every grain has melted into a clear, pale amber liquid, about 5 to 10 minutes, then turn the heat to low.
- Dip the bottom edge of the first wall straight down into the sugar, holding it by its top edge, then let the excess drip back.
- Set the wall on the board and hold it still for a few seconds, until the sugar grips and it stands on its own.
- Add the other walls one at a time, dipping the bottom edge and one side edge and pressing each against the wall before it until it grips.
- Glue the roof by spooning a thin line of sugar along the top edges of the walls, then set each panel in place and hold it until it stops sliding.
- Reheat the pan on low whenever the sugar thickens, and when the house is done, fill the warm pan with hot water to dissolve what is left.
Notes: melted sugar is far hotter than boiling water and it sticks to skin, so an adult does every dip and children join in once the house stands. Keep a bowl of cold water on the counter, and if sugar touches skin, hold it under cool running water for 20 minutes. For a large or two story house, melt a second cup when the first runs low instead of doubling the pan.
Which Gingerbread House Glue to Use
For a house you want to eat and keep for weeks, use royal icing and give it time. For a house that has to stand within the hour, an adult can glue the walls with melted sugar. For young children, use melted white chocolate on a small house. For a house nobody will eat, use hot glue.
We call this the Glue Chooser Table. Every glue is rated on how fast it sets, how strong it holds, whether the house can still be eaten, whether children can use it and how it copes with damp air. The ratings are our editorial calls, drawn from how each glue behaves and the set times on our own recipe pages.
| Glue | Sets in | Strength | Can you eat the house | Kids | Damp air |
|---|---|---|---|---|---|
| Royal icing | 2 to 3 hours before the roof, overnight to cure | Strongest edible glue once cured | Yes | Yes | Sets slowly, needs the damp kitchen times |
| Melted sugar | Seconds | Rock hard right away | Yes, as hard candy | Adults only, it burns | Can turn sticky over time |
| Caramel glue | Seconds to a minute | Very strong | Yes | Adults only, it burns | Can turn sticky over time |
| White chocolate or candy melts | About 5 minutes, 2 in the fridge | Enough for a small house, stays a little soft | Yes | Yes, warm not hot | Fine, but softens in a warm room |
| Store-bought royal icing or mix | As royal icing | As royal icing, if the label passes | Yes | Yes | As royal icing |
| The icing pouch in a kit | As royal icing | Holds, but often runs out around the roof | Yes | Yes | As royal icing |
| Edible baking glue in a tube | Not stated on the pack | Mixed reviews for walls | Yes | Yes | Unknown |
| Hot glue, for a display house | Under a minute | Strongest of all | No, nothing glued can be eaten | Adults run the gun | Unaffected |
The pattern is simple. Glues that set by drying, like royal icing, are slow and safe. Glues that set by cooling, like sugar and chocolate, are fast, and the hotter they go in, the harder they hold and the more they can burn.
Which Gingerbread House Glue Should You Use?
Four questions, one glue for the walls, plus a backup if your helpers or your kitchen rule out the first choice.
A shortcut built from our glue table, not a guarantee. Melted sugar, caramel and glue guns burn: an adult handles them and children decorate once the house stands. Nothing you pick is stored or sent anywhere.
What You Need for Melted Sugar Glue
This list covers the melted sugar method in the recipe card. Each glue further down lists anything extra it needs.
Materials
- Granulated white sugar, about 1 cup for a standard house, 1/2 cup for a kit-size house
- Baked gingerbread panels, fully cooled, with flat trimmed edges
- A cake board, tray or cutting board to build on
- Royal icing for decorating once the house stands, about 1 cup
- Small cans or jars to prop walls, if you switch to royal icing
Tools
- A heavy skillet or saucepan
- A heatproof silicone spatula
- A metal spoon, for running sugar along the roof edges
- A sharp knife or a fine grater, for trimming panel edges flat
- A bowl of cold water on the counter, for fingers and for first aid
- A piping bag with a small round tip, for the icing
How to Make Gingerbread House Glue With Melted Sugar Step by Step
These eight steps take a standard house from flat panels to a standing house in about half an hour. Every joint grips in seconds, so read the steps through once before the sugar goes on the heat.
1.Dry fit the pieces
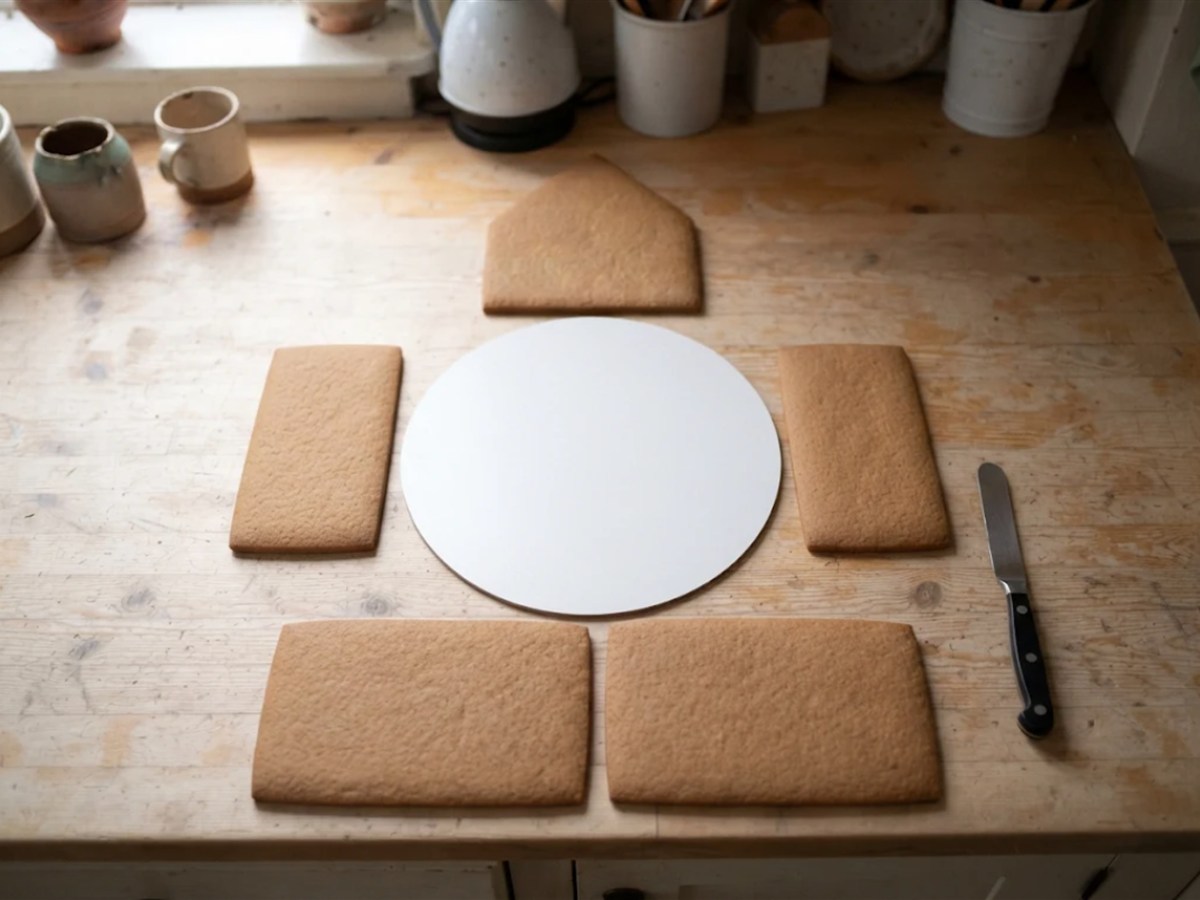
Lay the walls and roof panels around the board in the order they go up. Stand each pair together and trim any edge that rocks, with a sharp knife or a fine grater, until the joint sits flat.
Why this matters: melted sugar sets before you can adjust anything. A panel that does not fit is a panel you will be holding at an angle while the sugar hardens around your mistake.
2.Melt the sugar
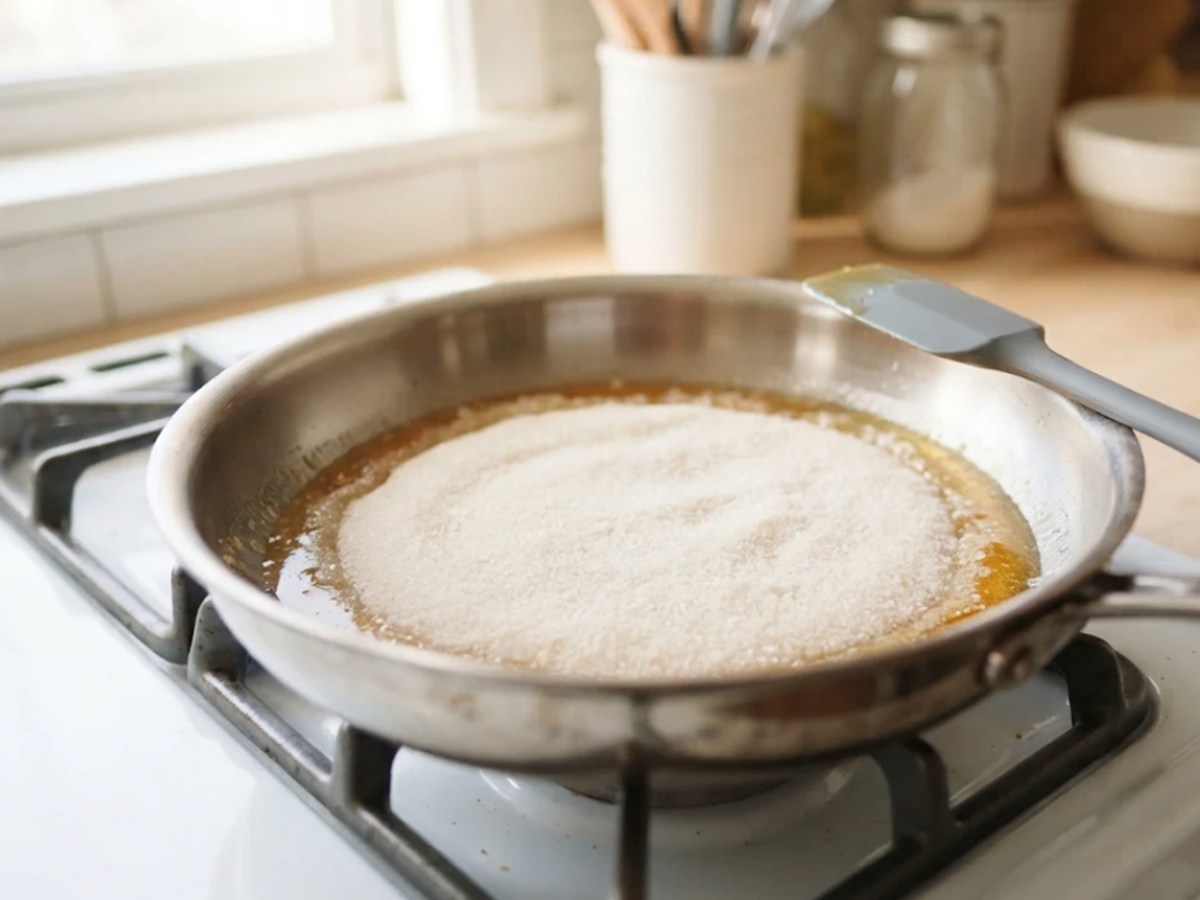
Put the sugar in a heavy skillet over medium heat. Stir gently with a heatproof spatula as it starts to liquefy at the edges, pushing the dry sugar into the melted part.
Why this matters: a heavy pan heats evenly, so the sugar melts in one go instead of burning in one spot while the rest stays dry. Food.com’s melted sugar glue recipe cooks it over medium heat, stirring often, for about 5 to 10 minutes.
3.Cook to light amber
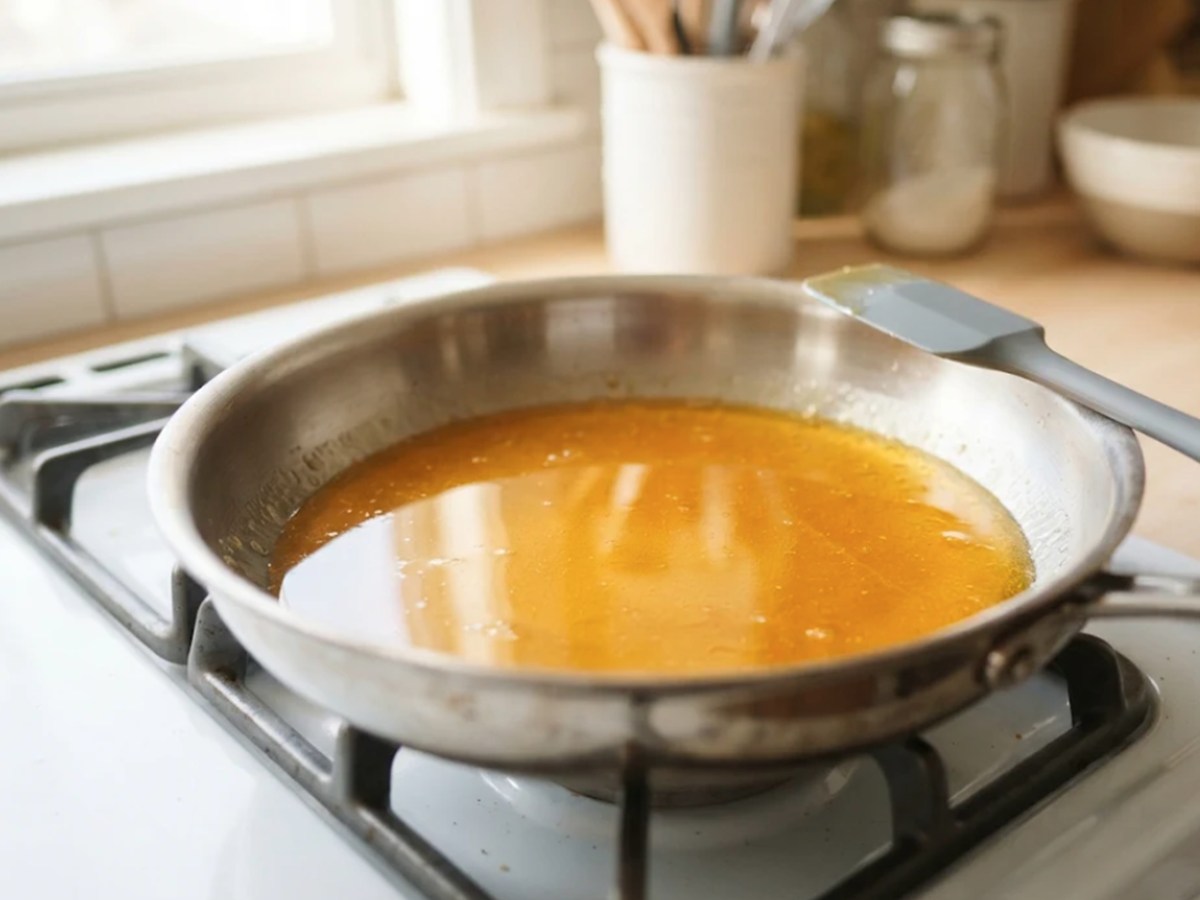
Keep stirring until every grain has melted into a smooth, pale amber liquid, then turn the heat to low.
Check as you go: stop at pale gold. Dark brown sugar tastes bitter and smokes, so if you smell burning, take the pan off the heat at once.
Why this matters: molten sugar is far hotter than boiling water and it sticks to skin. Food Network’s caramel glue recipe warns it is extremely hot and should be kept away from children, and that is the rule for this whole method.
4.Dip the first wall
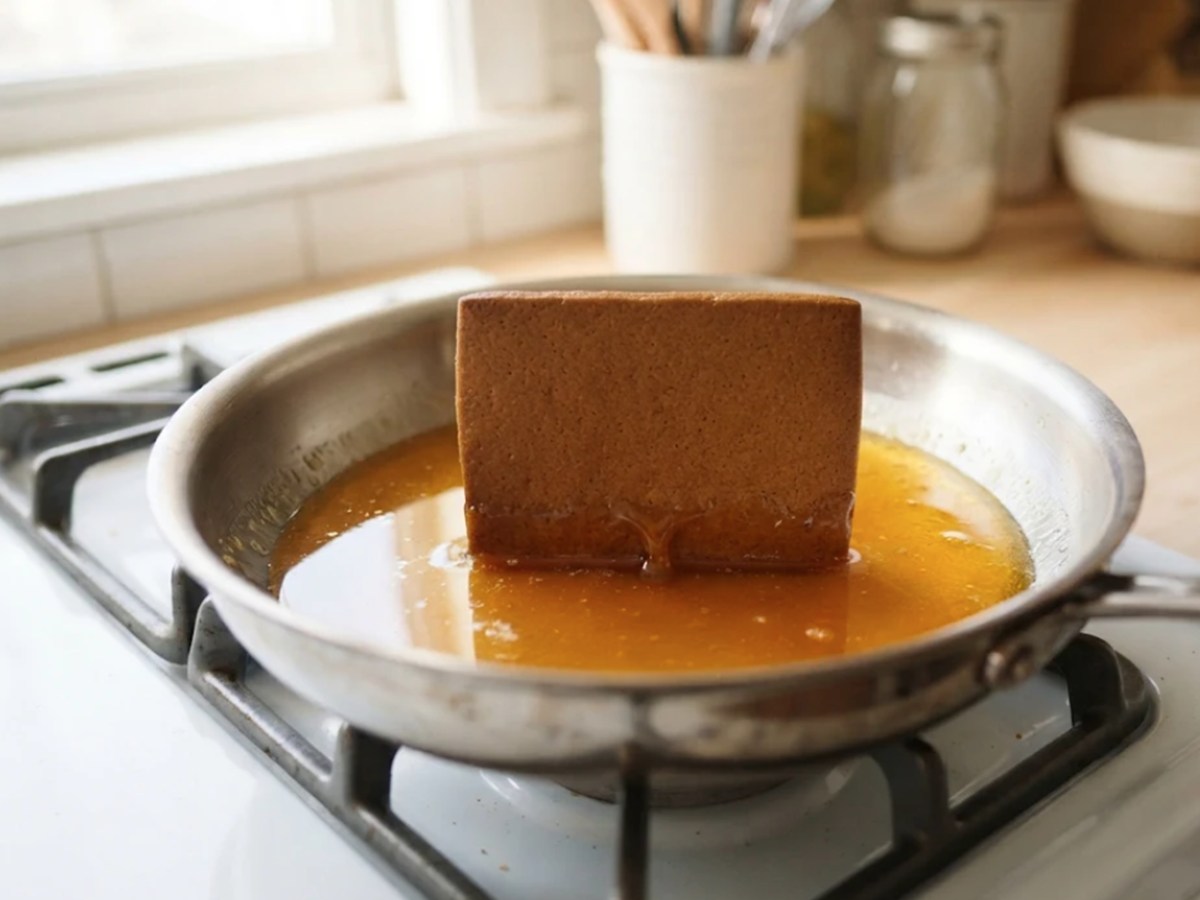
Hold the first wall by its top edge and dip the bottom edge straight down into the sugar, about 1/4 inch deep. Let the excess drip back into the pan for a second.
Why this matters: a thin coat grips faster than a thick blob, and the drip keeps strings of sugar off the board.
5.Set it and hold
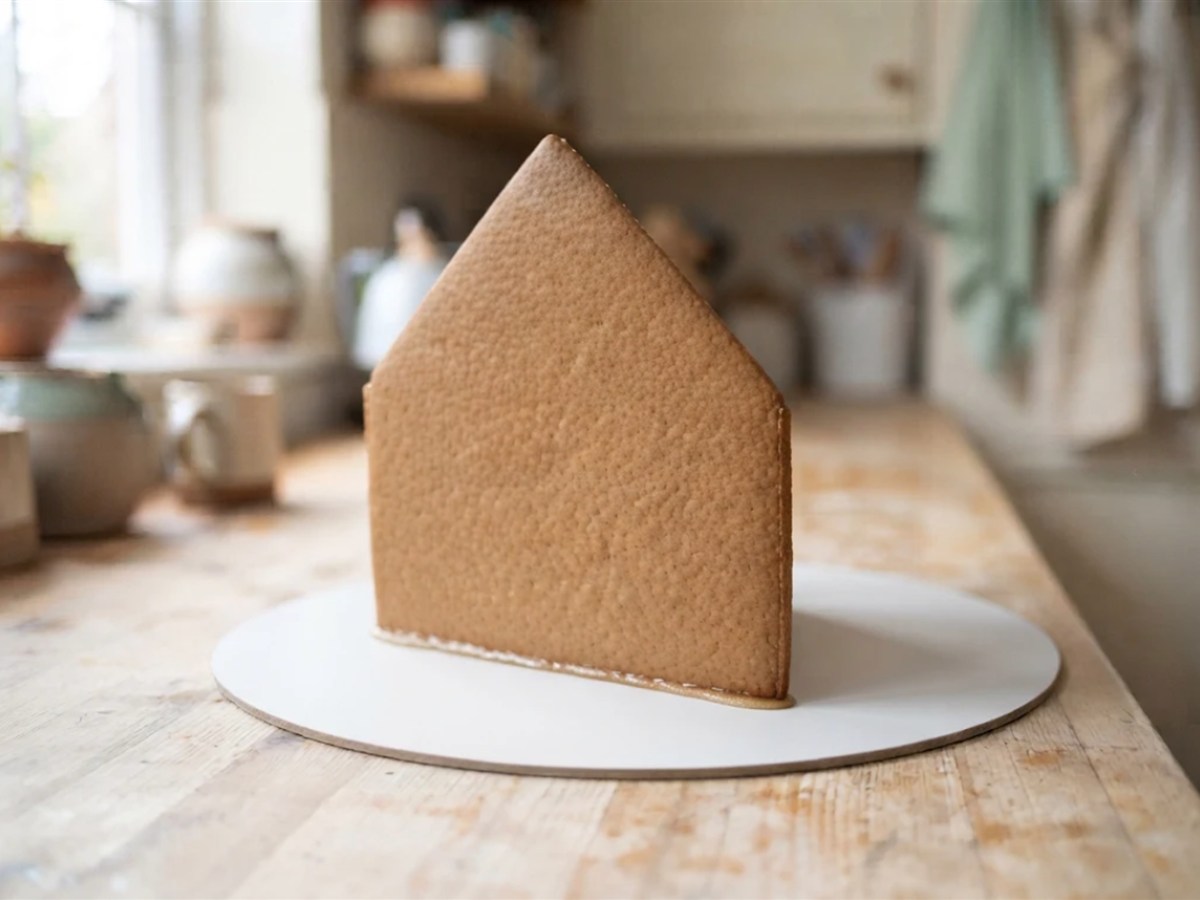
Stand the wall on the board where it belongs and hold it still for a few seconds, until the sugar grips and the wall stands by itself.
Why this matters: the first wall takes the longest, because it has nothing to lean on. Every wall after it bonds to the board and to its neighbor, so it sets faster.
6.Add the other walls
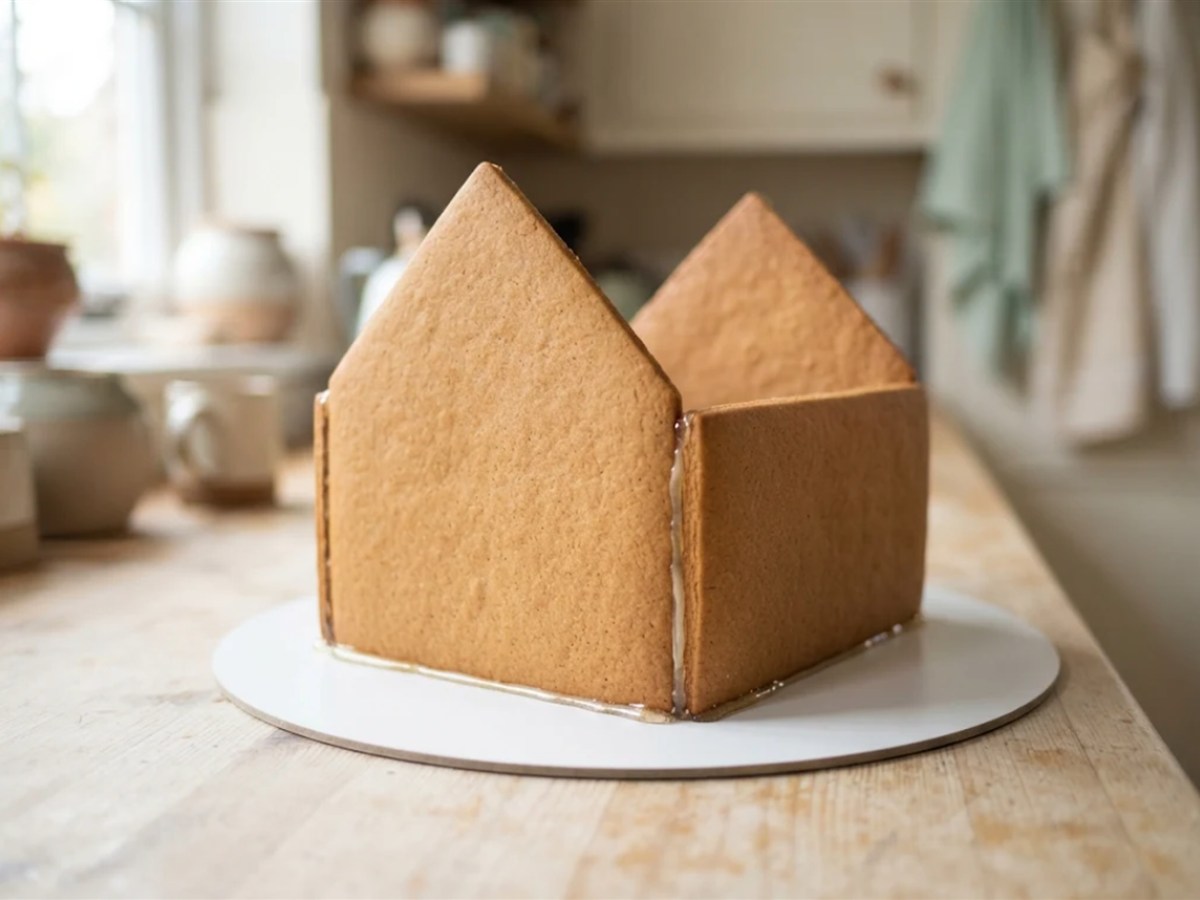
For each wall in turn, dip the bottom edge and the side edge that meets the wall before it. Press it into place, check the corner is square and hold until it grips.
Check as you go: if the sugar in the pan turns thick and stringy, warm it on low for a minute before the next dip.
Why this matters: a corner that sets crooked stays crooked. With royal icing you can nudge a wall for a few minutes. With sugar you get a few seconds.
7.Glue the roof
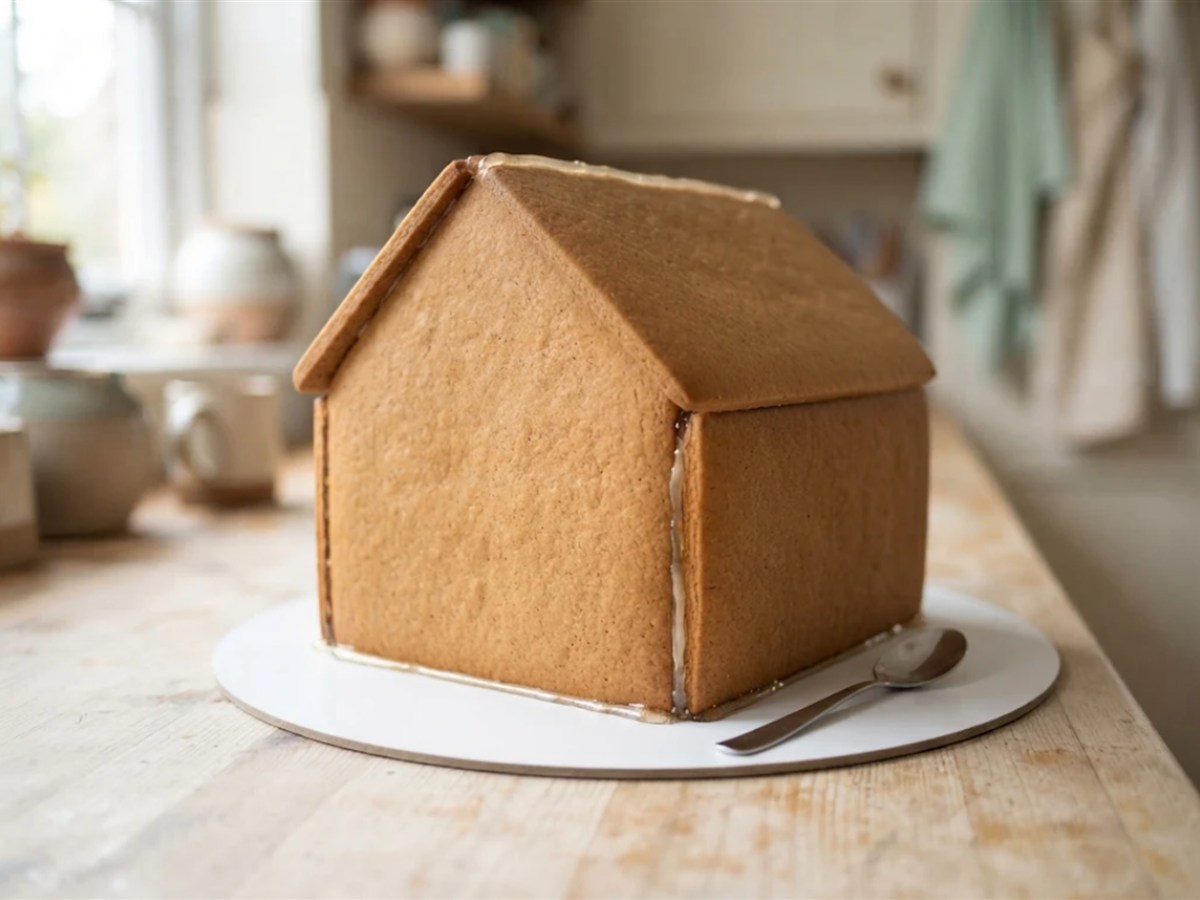
Spoon a thin line of sugar along the top edges of the walls. Set the first roof panel in place and hold it until it stops sliding, then run sugar along its top edge and set the second panel against it at the ridge.
Why this matters: this is the step royal icing makes you wait hours for. On our royal icing page, the walls need 2 hours in a normal kitchen before the roof goes on. With sugar, the roof goes on while the pan is still warm.
8.Reheat and clean up
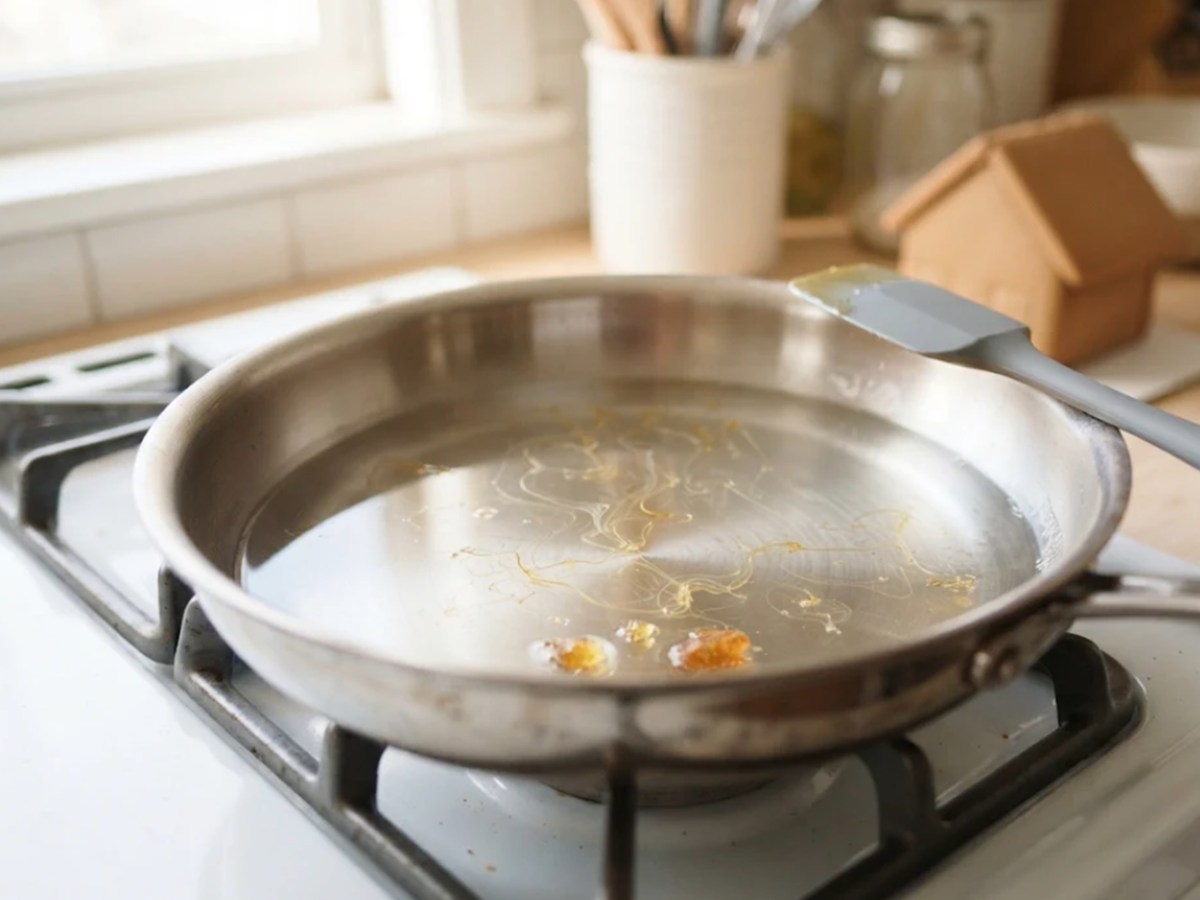
When the house stands, turn off the heat. Let the pan cool a little, then fill it with hot water and leave it to soak. The set sugar dissolves on its own.
Why this matters: hardened sugar is glass, and scraping it scratches the pan. Hot water is all it needs. Never pour cold water into a very hot pan, because it spits.
Picture a first-time builder who starts with sugar, panics at the heat and switches to icing halfway. The two walls glued with sugar are rock solid. The two glued with icing are still soft when the roof goes on, and the house leans toward them by morning. Pick one glue for the walls and roof, and save the other for decorating.
8 Gingerbread House Glues Compared
Melted sugar is the fastest edible glue, but it is one of eight. Here is what each one is, how to use it and where it fails.
1.Royal Icing
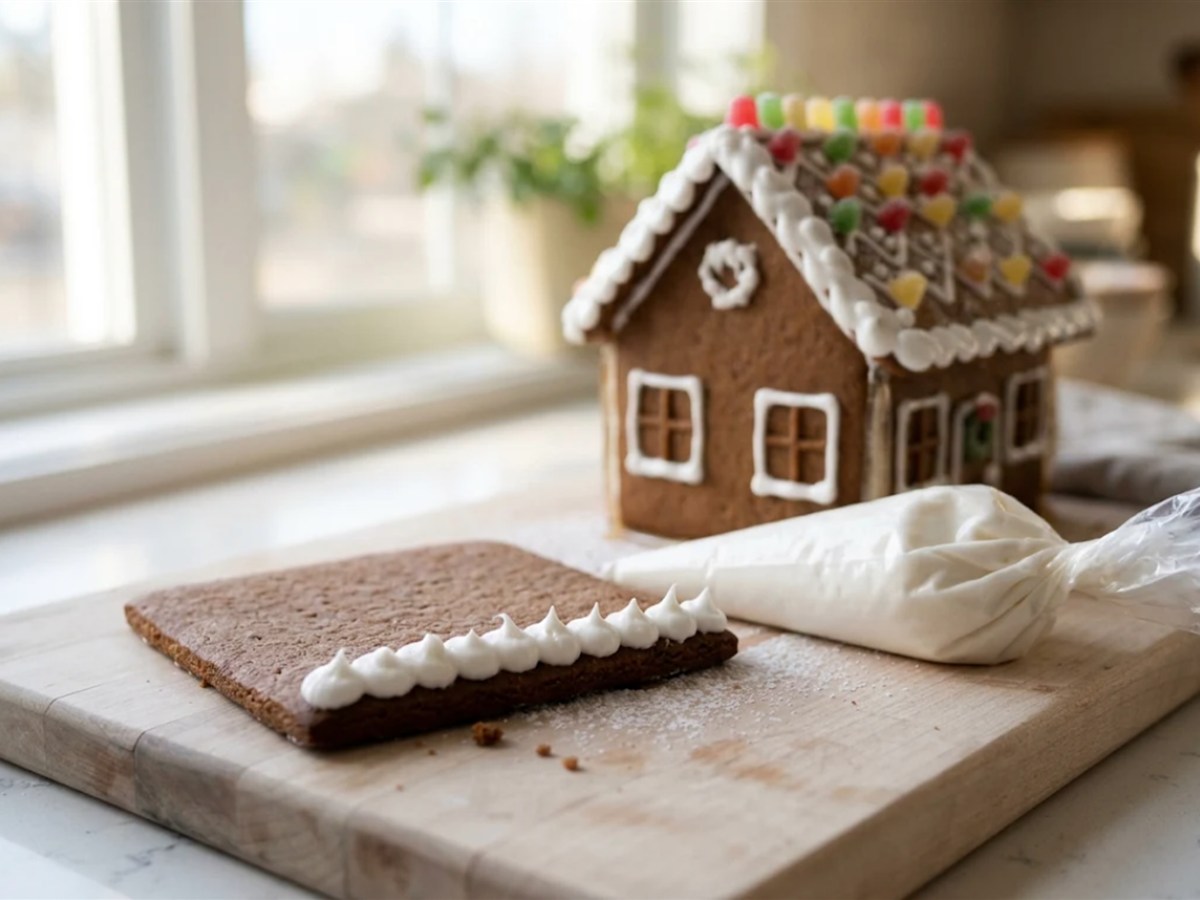
Royal icing is powdered sugar beaten with egg white or meringue powder until it stands in stiff peaks. It is the classic gingerbread house glue, it can be eaten, and once it has cured it is the strongest edible glue on this list.
It works because water evaporates out of it and leaves a rigid sugar frame behind. That is also its weakness: the water has to leave, and in a damp kitchen it barely does. Our set-time table gives 2 hours before the roof in a normal kitchen, 3 hours in a damp one, and overnight to fully cure. Use it straight from the mixer at glue consistency, where a peak stands straight up and a knife line never closes. The batch, the three consistencies and the raw egg question are all in the meringue powder icing recipe.
2.Melted Sugar
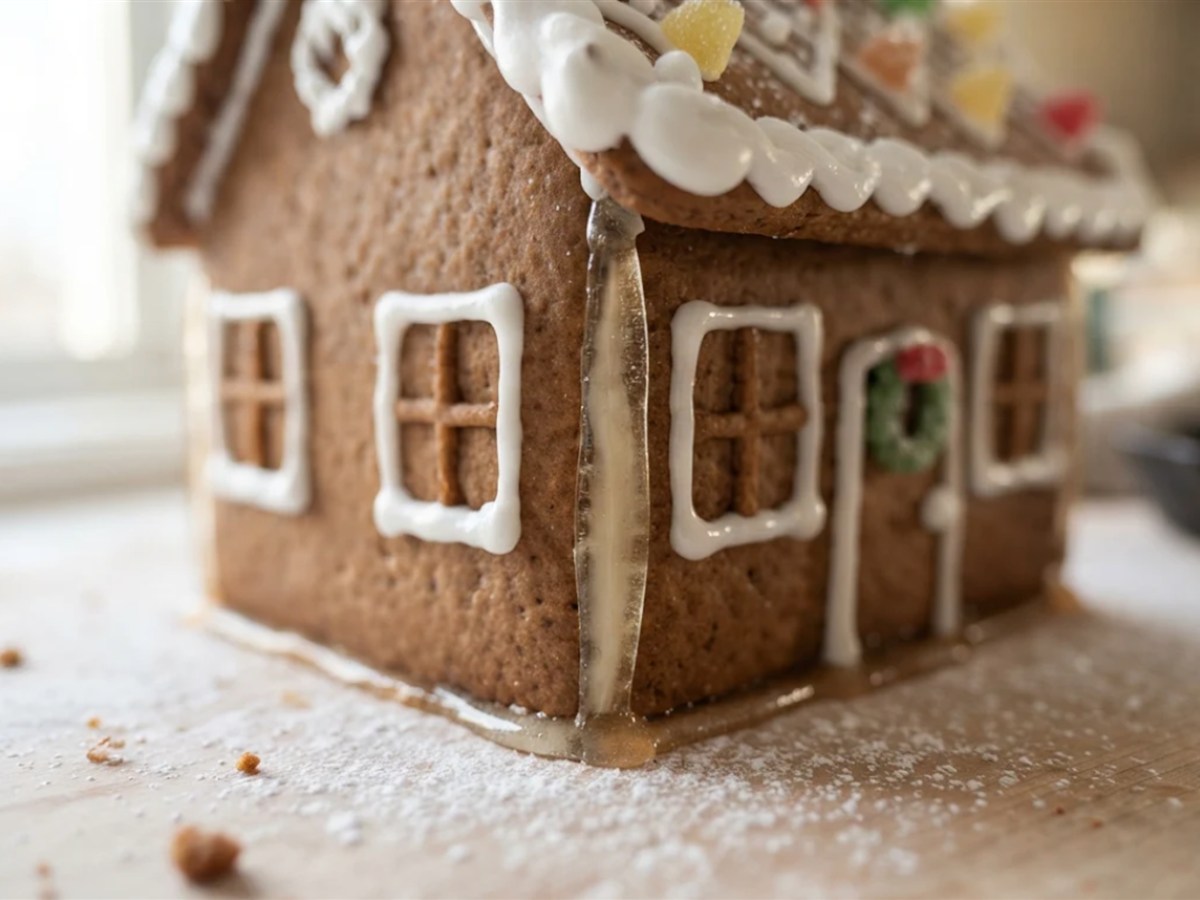
Melted sugar is plain white sugar melted to a pale amber liquid and used to dip the panel edges. It sets in seconds as it cools, it is rock hard, and the house can be decorated straight away. It is the method in the recipe card above.
Builders on Reddit’s r/Baking describe it as fiddly and dangerous but far stronger than icing, and that is a fair summary. An adult does every dip. If sugar touches skin, the NHS advice for burns is to hold it under cool running water for 20 minutes, and never to put butter or cream on it.
3.Caramel Glue
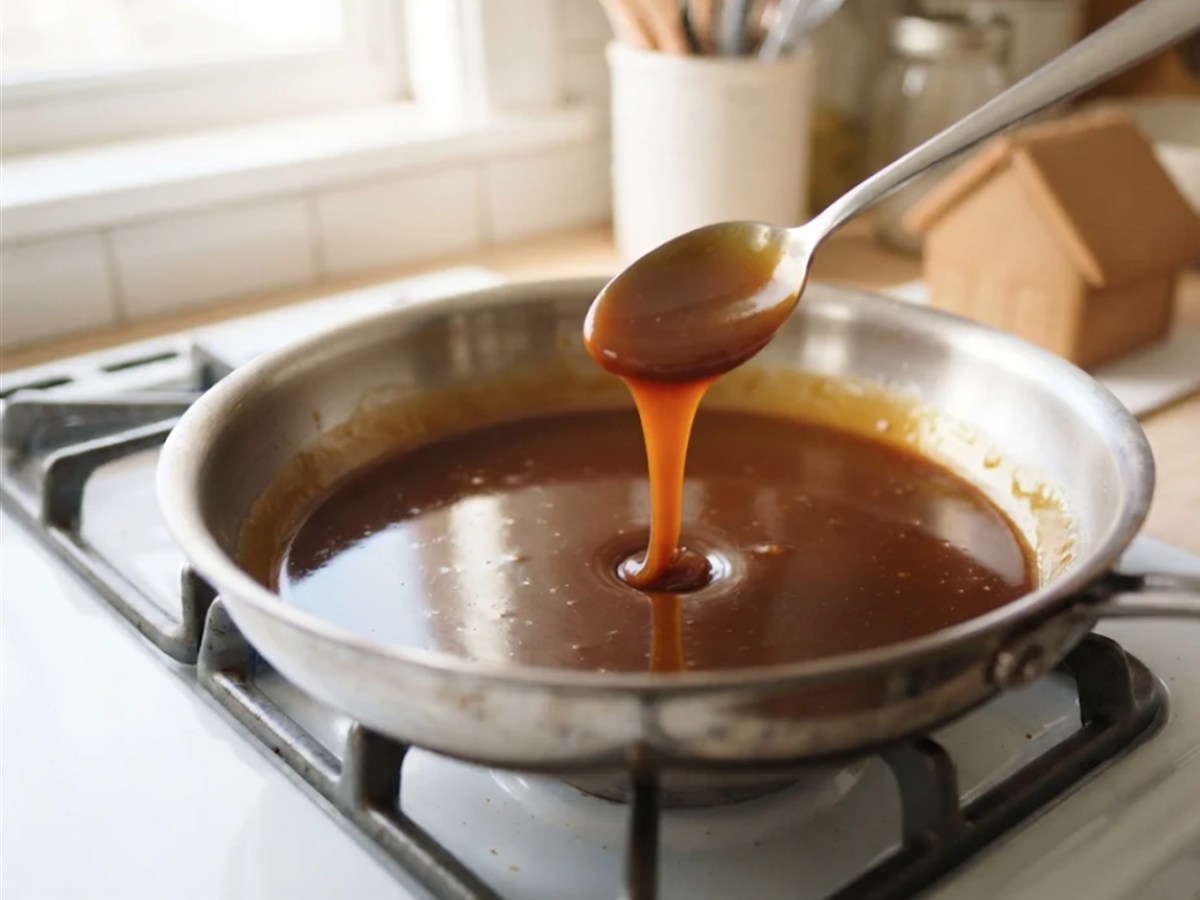
Caramel glue is melted sugar made with a splash of water and lemon juice, cooked slowly to a deep amber. The water helps the sugar melt evenly before it starts to color, so it is a slower, gentler way to the same glue.
Food Network’s caramel for a gingerbread house uses 1 1/2 cups sugar, 1/2 teaspoon lemon juice and 1/4 cup water over medium-low heat, swirled until deep amber in about 12 to 15 minutes, and calls it a very strong glue. It takes longer than dry melted sugar and burns just as badly, so it is still adults only.
4.Melted White Chocolate or Candy Melts
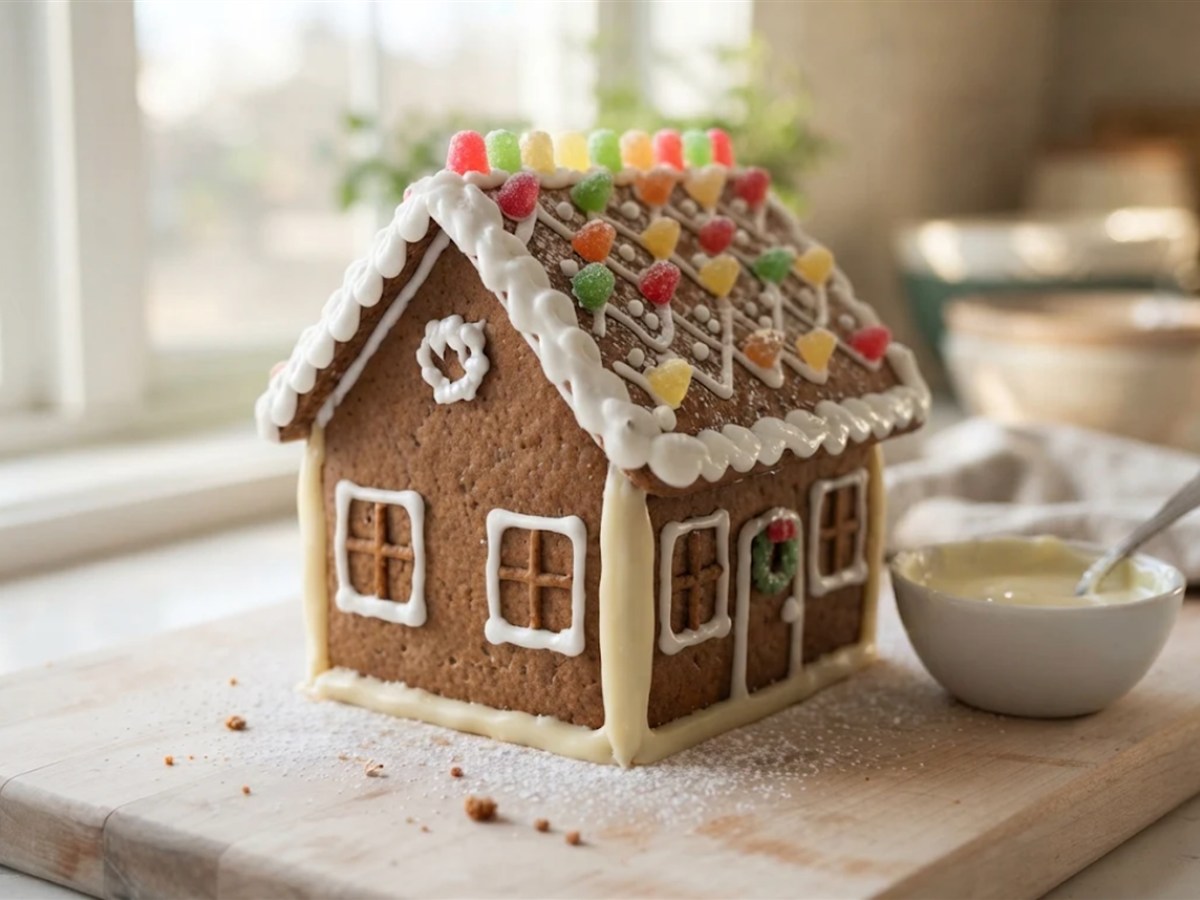
Melted white chocolate or candy melts are melted in the microwave and spread or piped along the joints. They are warm, not hot, so this is the glue young children can use themselves.
On our graham cracker page, white chocolate sets in about 5 minutes at room temperature, or 2 in the fridge, and holds a small house while staying slightly soft. It softens in a warm room and can re-melt near a radiator, so keep it to a kit-size house or smaller. Our graham cracker houses for small builders are built around it.
5.Store-Bought Royal Icing or Icing Mix
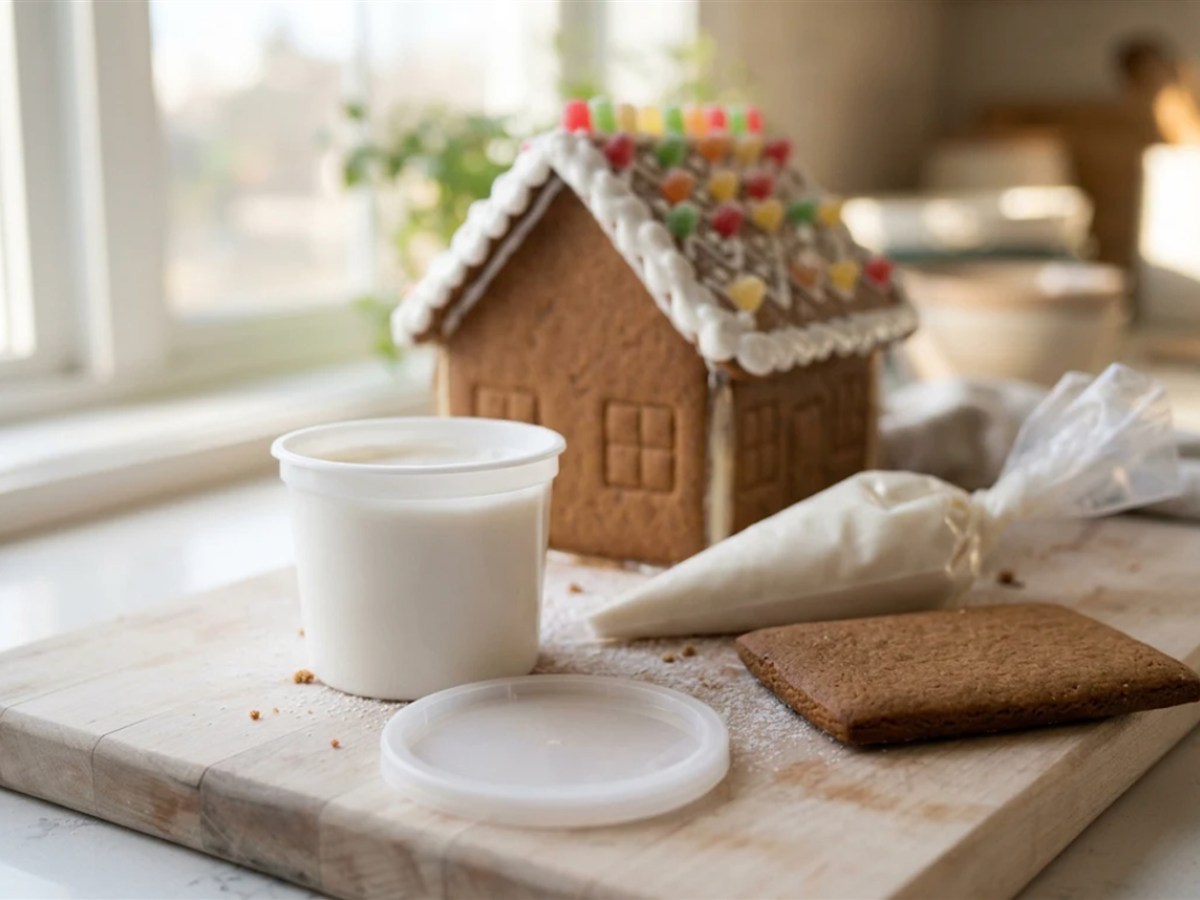
Store-bought royal icing comes ready to use in a tub or bag, or as a dry mix you beat with water. If the label lists sugar plus egg white or meringue powder, it is royal icing under another name and will set just as hard.
If the label lists butter, shortening or oil, it will never set, whatever the tub calls it. Our label test for store icing walks through which products pass.
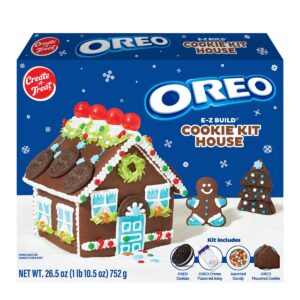
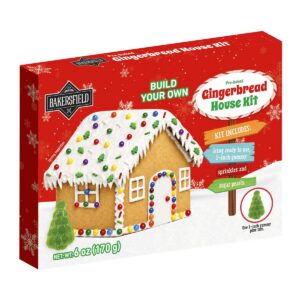
6.The Icing Pouch in a Kit
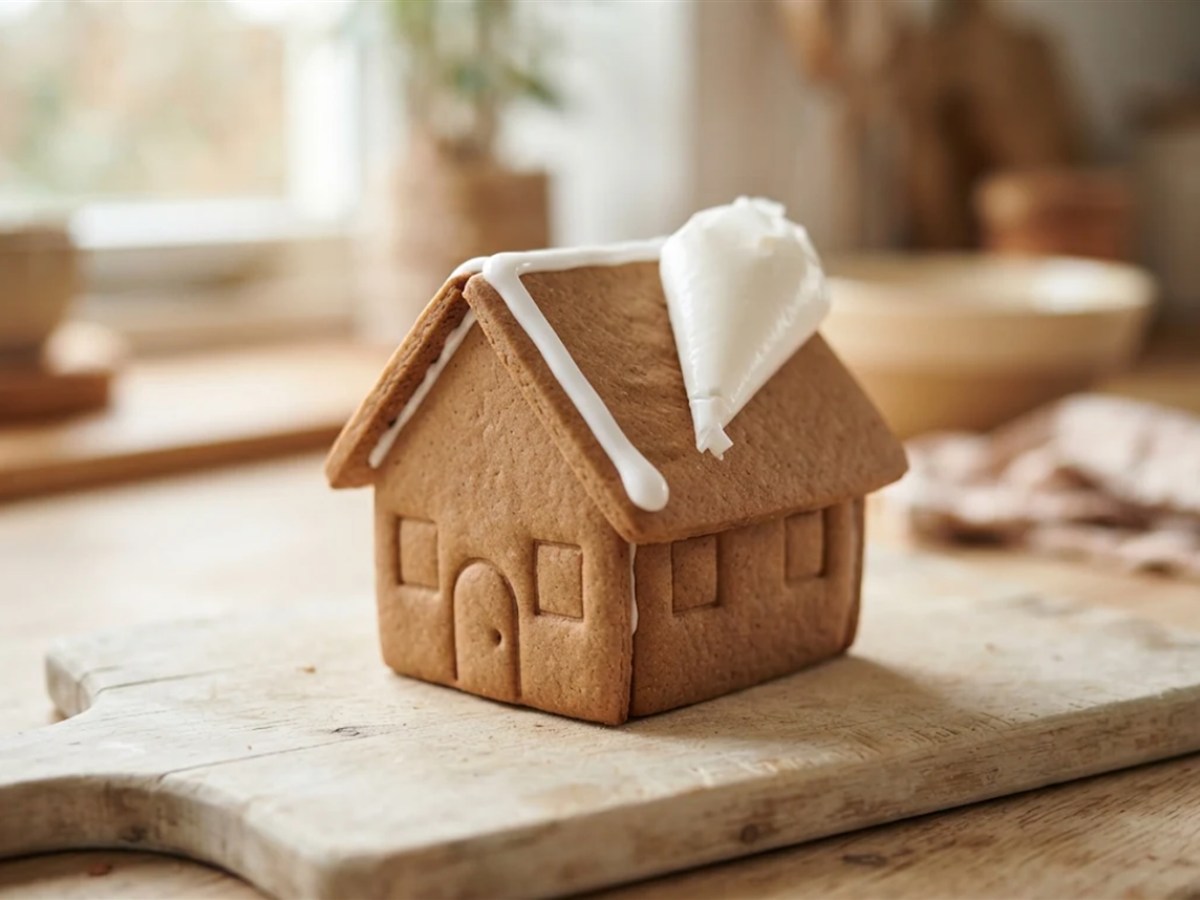
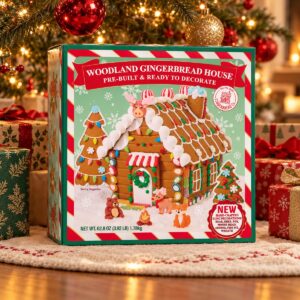
The icing pouch in a kit box is usually a royal icing mix, and it does hold walls. The catch is the amount. On our royal icing page, one pouch typically runs out around the roof, leaving nothing for the candy.
The fix is to glue the walls and roof with a half batch of your own icing, or with melted sugar, and keep the pouch for decorating. Our tips for getting set up before you start cover the rest of a kit build.
7.Edible Baking Glue in a Tube
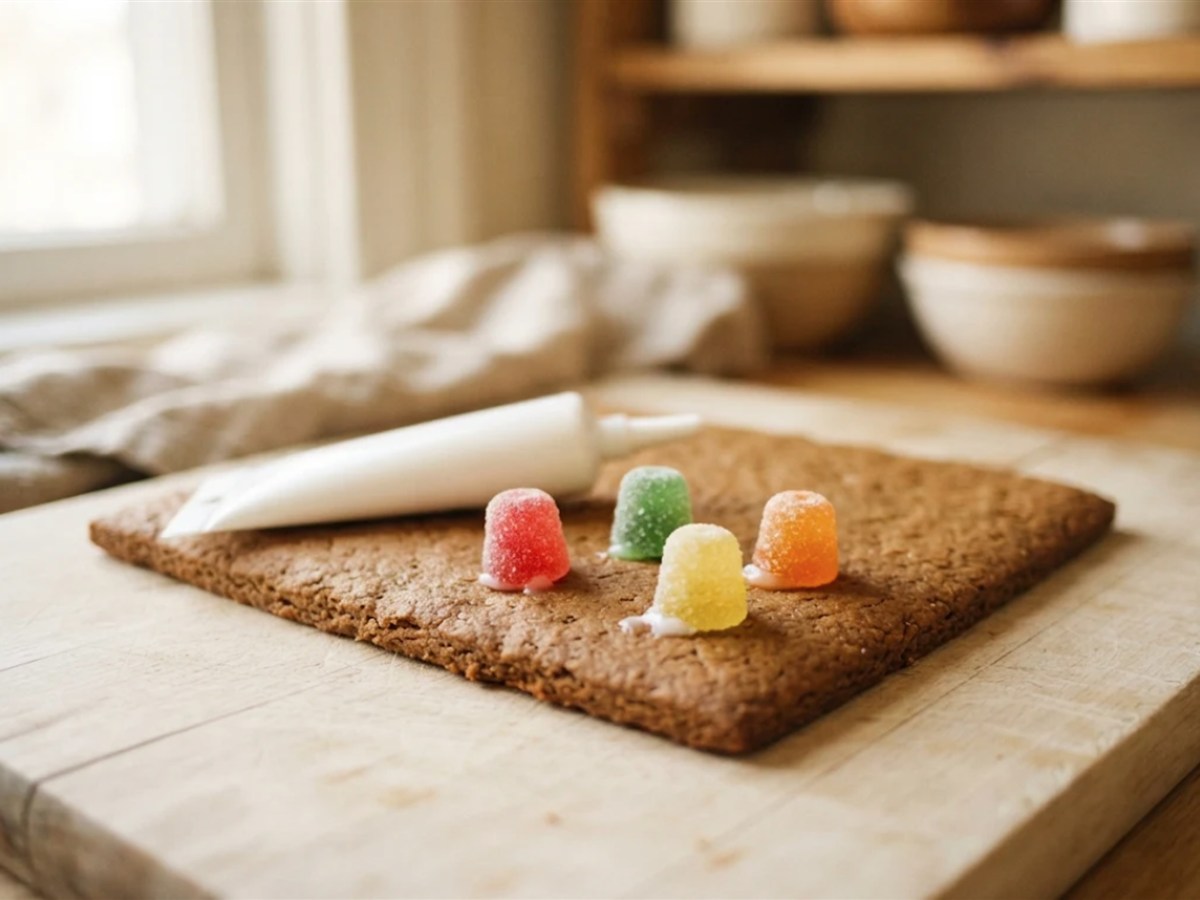
Edible baking glue is a ready-made sugar syrup sold in a squeeze tube for joining gingerbread and sticking on sweets. Dr. Oetker’s baking glue, sold at IKEA, is a 4 ounce tube that a European retailer lists as sugar, water, glucose syrup and modified starch. Its IKEA US reviews average 3.8 of 5: some buyers say it worked, others say it was hard to squeeze or that the walls fell apart.
Edible glue sold for fondant and sugar flowers is a related product, marketed mainly for sticking light decorations. Use either kind for candy and small pieces, and use royal icing or sugar for anything that carries weight.
8.Hot Glue, for a Display House
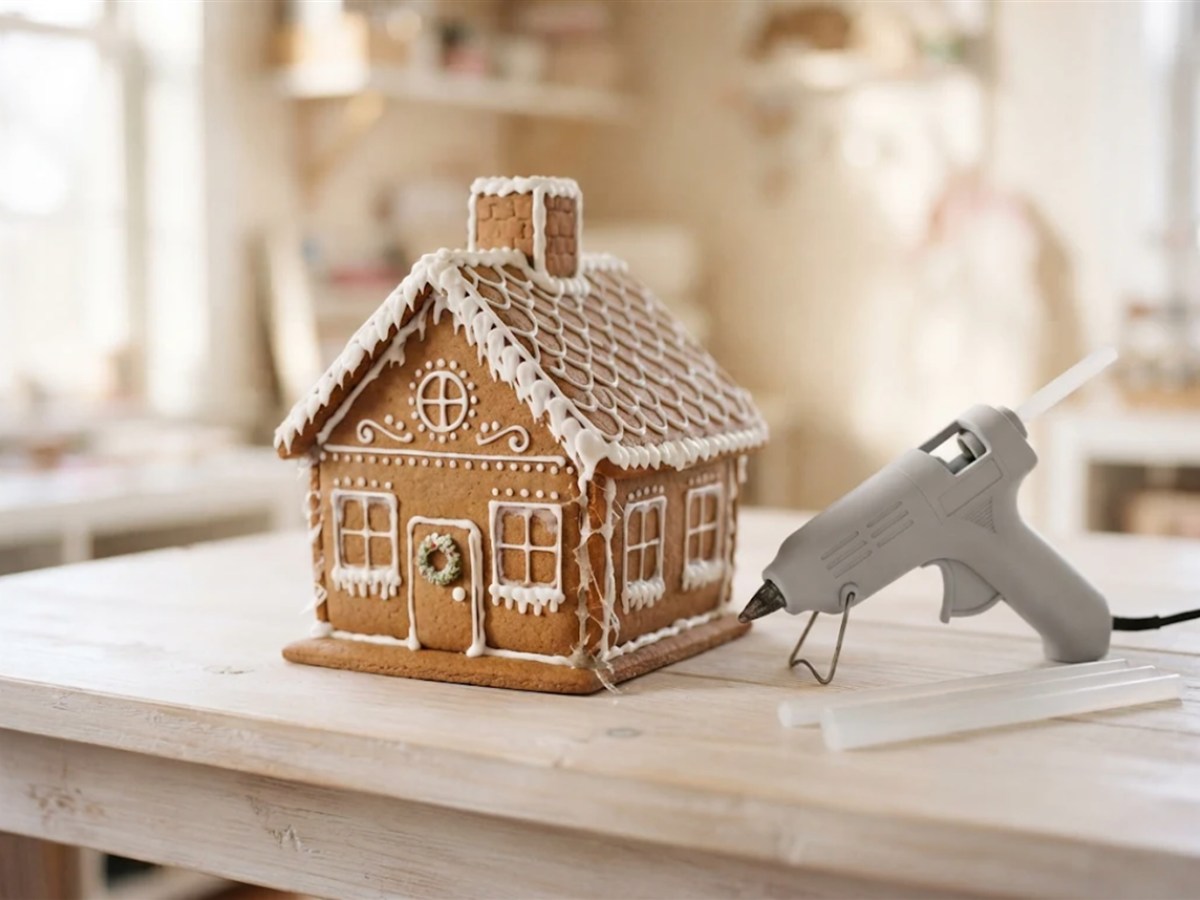
Hot glue from a glue gun is the strongest and fastest glue on this list, and the only one that is not food. Once it touches the gingerbread, the house is a decoration. It suits a contest piece, a centerpiece or a house you plan to keep past the holidays.
Our cardboard house guide finds hot glue grabs in under a minute. Glue Guns Direct puts a high-temperature gun at 195 degrees C, about 383 degrees F, and a low-temperature gun at 130 degrees C, about 266 degrees F, so a low-temperature gun is the gentler choice with children nearby. For houses made from things that are not food at all, see building one from a cardboard box.
Glues That Never Set
Canned frosting, buttercream and cream cheese frosting will never hold a gingerbread wall. They are made with butter, shortening or oil, and fat does not dry out, so the frosting under a wall stays soft forever.
- Canned frosting: fine for sticking candy onto a house that is already standing, and the easiest thing for small children to spread. Never for walls.
- Buttercream: soft decoration on a standing house only.
- Cream cheese frosting: for cakes and cookies, not houses, and it needs the fridge.
Picture a house glued with three corners of royal icing and one corner of tub frosting, because the icing ran out. The three icing corners set overnight. The frosting corner is as soft in the morning as it was at bedtime, and that one corner is where the wall pulls away. Scrape it back to clean gingerbread and re-glue it with real royal icing, because icing will not grip over fat.
When Can the Roof Go On
With melted sugar, caramel or hot glue, the roof can go on as soon as the walls stand. With white chocolate, wait about 5 minutes. With royal icing, wait about 2 hours in a normal kitchen, and give the house a night before you move it.
| Glue | Before the roof | Before heavy candy | Before you move it |
|---|---|---|---|
| Royal icing, dry kitchen | 1 hour 40 minutes | 3 hours 15 minutes after the roof | 8 hours |
| Royal icing, normal kitchen | 2 hours | 4 hours after the roof | Overnight, 8 to 12 hours |
| Royal icing, damp kitchen | 3 hours | 6 hours after the roof | 15 hours |
| Melted sugar or caramel | As soon as the walls stand | Straight away | Once the joints are cold |
| White chocolate or candy melts | About 5 minutes, 2 in the fridge | About 5 minutes | Once firm, in a cool room |
| Hot glue, display only | Under a minute | Straight away | Once cool |
Most collapses happen at the roof. Royal icing can feel dry on the outside while the inside of a thick joint is still soft, and a soft joint lets a wall creep sideways under the weight. These waits are deliberately generous, because a collapse costs an afternoon and waiting is free.
How Much Gingerbread House Glue to Make
Our royal icing page works out to 1/2 cup for a mini house, 1 cup for a kit-size house, 2 cups for a standard house about 10 by 7 inches and about 4 cups for a large or two story house. For melted sugar, 1 cup glues a standard house, and it is easier to melt a second cup than to work from an overfull pan. The timer below does the math for each glue and gives you the clock times.
Gingerbread House Glue Timer
Pick your glue, house and kitchen, and see how much glue to make and when the roof, the candy and the move can happen.
Planning margins, not a guarantee. Royal icing waits are deliberately generous because a collapse costs an afternoon and waiting is free. Add your own working time between steps. Nothing you pick is stored or sent anywhere.
Mix Glues: Sugar for the Walls, Icing for the Candy
The best builds often use two glues. The structural glue holds the house up. The decorating glue holds the candy on and does not need to be strong.
- Walls and roof: melted sugar for speed, or royal icing if you can wait.
- Heavy candy, chimneys and icicles: stiff royal icing.
- Light candy and sprinkles: royal icing, or tub frosting for small hands.
- Snow and trim: royal icing at piping consistency.
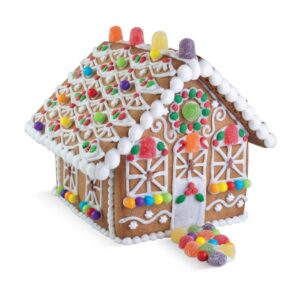
Once the house stands, the finishing work begins. Our guide to decorating in the right order starts where this page ends, and our roof covering ideas show what a strong roof joint can carry.
Troubleshooting
| Problem | Likely cause | Fix |
|---|---|---|
| A wall slid or the house leaned overnight | The roof went on before the royal icing joints were set through | Take the roof off, push the walls square, re-ice, prop them and wait the full time |
| One corner failed and the rest held | A different glue went into that joint, often tub frosting | Scrape it back to clean gingerbread and re-glue with royal icing or sugar |
| Sugar set in the pan before you finished | The heat was off too long | Warm it on low until it runs again |
| Sugar turned dark and bitter | Too hot, or cooked too long | Start a fresh pan and stop at pale amber |
| Strings of sugar across the board | Too much sugar on the edge | Let it drip before you set the wall; snap the strings off once set |
| Chocolate joints went soft | A warm room, a radiator or a sunny window | Move the house somewhere cool, and keep chocolate to small houses |
| Royal icing will not harden | A humid room, or icing thinned too far | Use the damp kitchen times, run a fan nearby and stiffen the next batch |
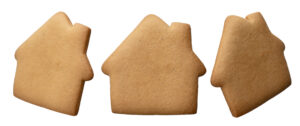
| Walls will not meet at the corners | Panels spread or warped in the oven | Trim the edges flat with a knife or grater before gluing |
Storage Instructions
Leftover meringue powder royal icing keeps airtight at room temperature for up to two weeks, by Wilton's guidance on our icing page, with plastic wrap pressed on its surface; beat it again before using. Melted sugar cannot be stored, so melt only what you need and dissolve the rest in hot water. A glued house keeps best in a cool, dry room, away from steam and sunny windows. How long it stays good to eat is a separate question, covered in our guide to how long gingerbread keeps.
More Gingerbread House Techniques and Recipes
Glue is the first finishing job, and it pairs with every other one. Once the roof is on, add edible snow on the roof, melt stained glass candy windows into the walls before you glue them, or brush on edible paint for the walls. For the panels themselves, start with a dough that bakes flat and hard.
Frequently Asked Questions
What is the best glue for a gingerbread house?
Royal icing is the best edible glue for a house you want to keep, as long as you wait about 2 hours before the roof. Melted sugar is the fastest and hardest, but only an adult should use it.
How do you make glue for a gingerbread house?
Melt 1 cup of granulated sugar in a heavy skillet over medium heat until it is a smooth, pale amber liquid, then dip the panel edges and hold each one a few seconds. For royal icing, beat powdered sugar with meringue powder and water until it stands in stiff peaks.
Can you glue a gingerbread house with sugar?
Yes. Melted sugar sets in seconds and holds harder than royal icing. It is extremely hot, so keep children away from the pan and let them decorate once the house stands.
How do you keep a gingerbread house from falling apart?
Use a glue that sets hard, trim the edges flat so they meet, and do not put the roof on until the walls are ready. With royal icing that means about 2 hours, or 3 in a damp kitchen.
Can I use frosting to glue a gingerbread house?
Not for the walls. Canned frosting and buttercream contain fat, which never dries, so they stay soft. Use them only to stick candy onto a house that is already standing.
Can you use hot glue on a gingerbread house?
Yes, for a display house nobody will eat. Hot glue is not food, so once it touches the gingerbread the house becomes a decoration.
Build Your Next House With Best Gingerbread Houses
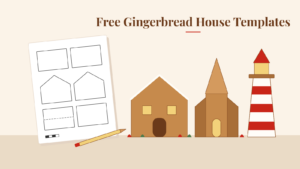
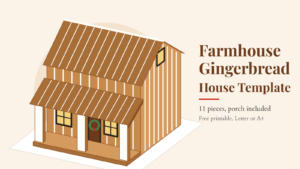
A good glue starts with walls that fit, so start with pieces cut to size. Our free printable house templates print with matching walls and roof panels, or pick a kit from our guide to the best kits and glue it with sugar instead of the pouch. For a full build from dough to roof, follow our step by step house build.